Hogyan készítsünk tiszta arany ékszereket: A Step-by-Step Guide
Processing Technology of Pure Gold Jewelry like chain-type jewelry, bracelets, and rings, pendants, and earrings
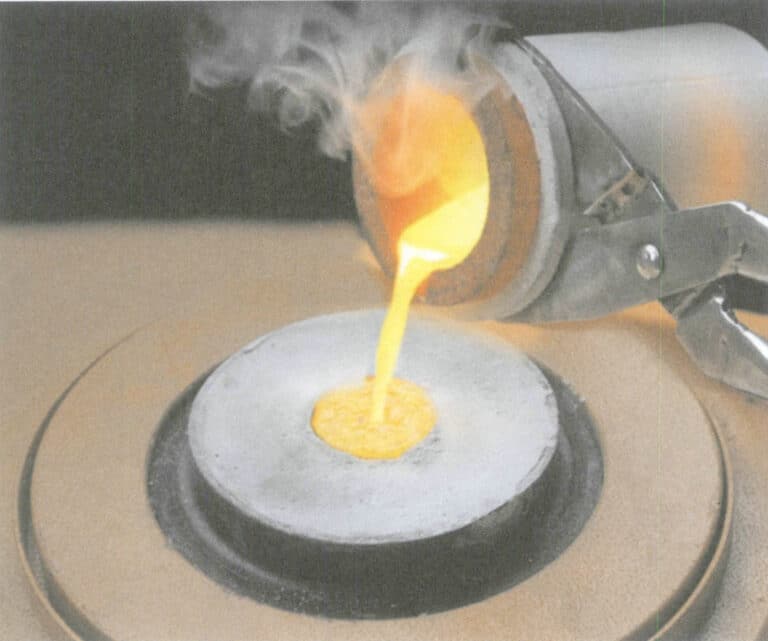
The processing technology of pure gold jewelry mainly consists of casting (pouring), clasping, auxiliary processes, and polishing. Among them, auxiliary processes include sandpaper polishing, sparkling sand finishing, acid dipping, sandblasting, nylon sand polishing, engraving patterns, and stone bonding. The so-called auxiliary processes are arranged according to the specific requirements of the processing order, and not all workpieces need to go through these processes. Compared to the processing technology of K gold jewelry, the processing technology of pure gold jewelry is relatively independent. Below, the pure gold process and its operating procedures will be introduced separately.
The process of pure gold jewelry can be summarized as casting (pouring), clasping, auxiliary processes, polishing, and other steps.
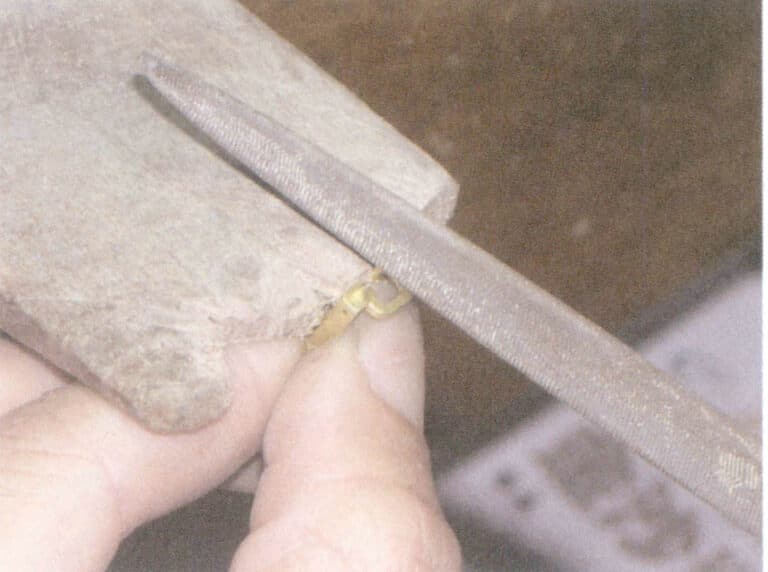
Filing the sprue
Tartalomjegyzék
Section I The Clasping Process of Chain-type Pure Gold Jewelry
1. The Clasping Process Flow of Chain-type Pure Gold Jewelry
1.1 Filing the Sprue
Filing the sprue removes the protruding parts of the workpiece surface that do not meet design requirements, filing the cut sprue to align with the workpiece surface, making the workpiece surface a seamless whole.
(1) Main Tools Used
Coarse filing, smooth filing.
(2) Működési folyamat lépései
First, use a coarse file to file the cut sprue of the workpiece to be roughly level with the surrounding surface, then use a smooth file for finishing so that the workpiece surface has no obvious boundaries and becomes a perfect whole (Figure 7-1).

(3) Notes
① Pay attention to controlling the strength and direction of your hand, and do not file areas that do not require filing.
② A smooth file should be used to trim the workpiece correctly according to the shape and curvature. For flat workpieces, the filing should be flat, straight, and true; for curved workpieces, the filing should follow a curved line from bottom to top.
Filing the sprue video
1.2 Linking
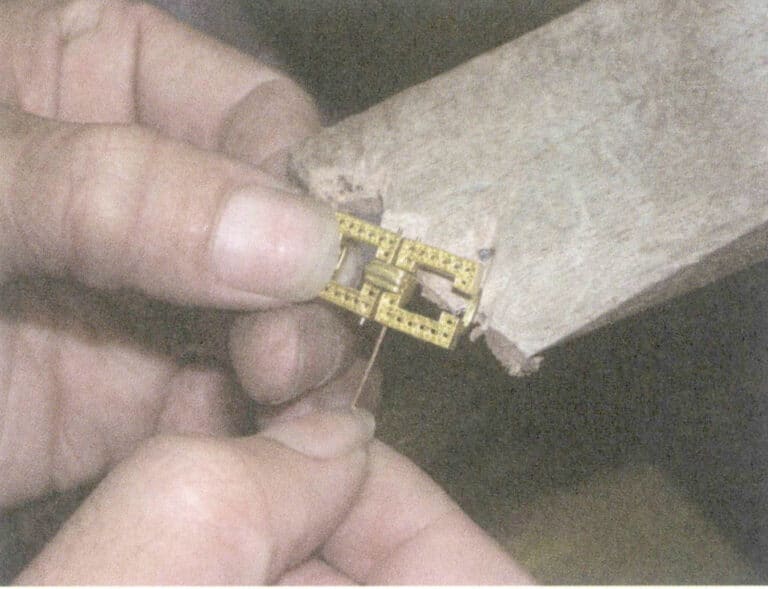
Linking refers to assembling the scattered pieces after filing the sprue according to design requirements, making them into a complete bracelet or necklace.
(1) Main Tools Used
Linking pliers, tweezers, cutting pliers.
(2) Működési folyamat lépései
① Pieces should be classified according to processing requirements, distinguishing between large, medium, small, or various patterns, and then linked together.
② Use pliers to flip the clasp and hold the connected loose parts (Figure 7-2). Use cutting pliers to trim the excess part of the clasp tongue, allowing the two loose parts to be flexibly folded. Ensure the clasped chain is flexible and well-maintained.
(3) Notes
① The processing of chain jewelry must strictly follow the order requirements for classification, ensuring proper matching of clasps without mistakes.
② Each connecting piece must be clasped flatly, rotate flexibly, bend easily, and have secure weld points; otherwise, it may easily deform or break.
Linking video
1.3 Welding Chains
Welding chains involves welding the openings of each clasp that have been properly connected according to requirements, ensuring they are securely clasped and not easily broken. During the welding process, timely repairs must be made to ensure completeness if any defects, such as sand holes, are found on the workpiece.
(1) Main Tools and Materials
The main tools used include combination welding tools, clamps, a borax dish, a lighter, a welding plate, and chain pliers. The main materials used include welding wire, welding sheets, and borax.
(2) Működési folyamat lépései
① Soak the borax powder in water, use scissors to cut the welding sheet into strips about 1mm×60mm long, and place them in the borax dish.
② Place the chains to be welded on the welding plate in the order of their openings, with the more difficult ones placed 1〜2 strips and the easier ones placed 5 ~ 7 strips.
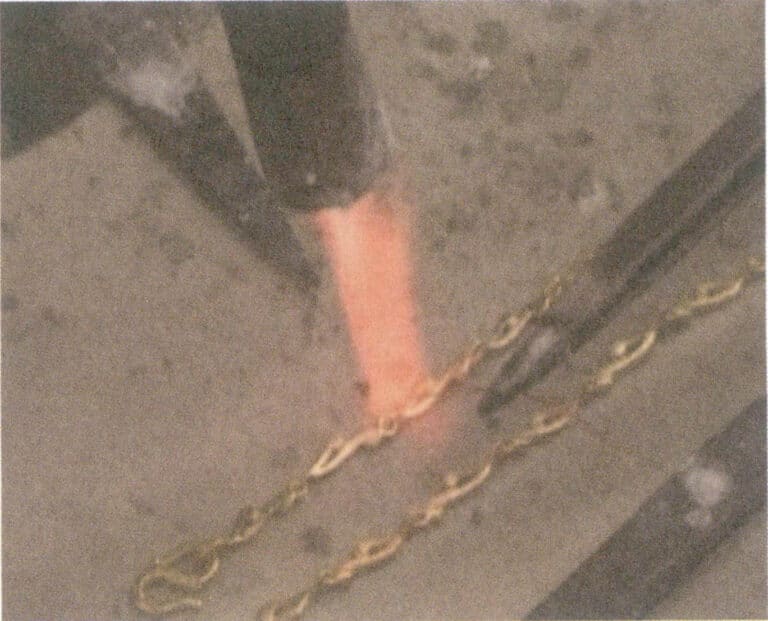
③ Hold the torch in your left hand, step on the wind ball with your left foot, and ignite the torch. Use the welding clamp to hold the welding sheet, make contact with the red-hot chain clasp for spot welding, and slowly move to the right according to the order of the welding points (Figure 7-3). The welding process is best when done on point.
(3) Notes
During the welding process, the coordination of hands and feet must be appropriate and well-timed. According to the requirements of the workpiece’s welding points, the intensity of the flame must be controlled at all times. If the flame is too strong, it can ruin the workpiece or create immovable dead points; if the flame is too weak, the welding points may not heat enough to melt, leading to false or inadequate welds. Too many welding points can affect aesthetics and waste labor time, requiring excess points to be filed down.
Welding chain video
1.4 Shaping
Shaping is adjusting and correcting deformed workpieces after chain finishing or other processes to meet design requirements.
(1) Main Tools Used
Chain pliers, scrapers, iron burs, hammers, etc.
(2) Működési folyamat lépései
Carefully observe whether the overall shape of the workpiece is skewed; if this occurs, it can be gently corrected with chain pliers or pressed flat with hands on a tabletop (Figure 7-4).

(3) Notes
During the correction process of pressing or hammering the workpiece, the force should not be too great; otherwise, it may cause the workpiece to deform during shaping, or the length may not meet design requirements.
Shaping video
1.5 Chain Finishing
The purpose of chain finishing is to remove unevenness, low gloss, or sharp edges and burrs from the surface of the workpiece, making it smoother and more lustrous.
(1) Main Tools Used
Large and small files, scrapers (homemade), hanging grinders, dental burs, ball burs, pink stone particles.
(2) Működési folyamat lépései
① Before starting work, observe the entire chain carefully to determine the processing angle.
② During polishing, it is necessary to proceed according to design requirements, performing different filing processes for parts that require sandblasting, sand polishing, sparkling sand finishing, and brightening (Figure 7-5).
③ File each part’s welding and repair points to make their surfaces smooth, rounded, and aesthetically pleasing.
④ A homemade scraper is used to smooth and polish the dead corners that the small file cannot reach.
⑤ After filling all parts of the chain, check again for any burrs on the filed and finished surfaces. If such situations occur, use a hanging grinder to install a dental bur and dip it in machine oil to finish the burrs until smooth.

(3) Notes
① Carefully verify the design drawings to determine the areas that need to be finished, and do not engage incorrectly.
② The workpiece must not be deformed during the finishing process. If deformation occurs, it needs to be reshaped.
③ When using a dental bur to polish the workpiece, be careful not to break the edge of the workpiece.
Chain finishing video
2. Process Flow for Bracelets and Necklaces
2.1 Processing Technology Flow for Bracelets and Necklaces
2.2 Common Types of Wire-Pulling Chain Craftsmanship
Common types of bracelets and necklaces made through wire-pulling processing mainly include the following categories.
(1) Pearl chain. A semi-circular clasp chain with an inward groove.
(2) Corn chain. Each section resembles corn. Usually, three sections make a string, mixed with pearl chains, to form a chain.
(3) Single clasp chain. Each single loop is linked to form a chain.
(4) Double hook chain. Two overlapping loops form each single loop to create a chain.
2.3 The Process Flow for Making Bracelets and Necklaces
(1) Pulling Wire
Pulling wire means drawing gold bars into a gold wire that meets specifications according to the design requirements. Pulling wire is the first step in processing and making pulled wire chains.
① Main tools used. Blow torch, press machine, end cutting nippers, pulling wire board.
② Operating process steps. First, ignite the blow torch to heat the gold bar until it is red hot, then let it cool naturally; next, use the pressure grooves on the two rollers of the tablet press to gradually thin the gold bar; finally, when the gold bar is pressed to the required size for processing, one end is to be ground thin and rounded with a hammer or file, then passed through the wire drawing plate hole, and gradually drawn thinner until the required specifications are met.
③ Precautions. After drawing into the wire, the diameter of the gold wire must be measured with a caliper. It cannot be determined based on the hole specifications of the wire drawing plate because the mold holes will enlarge due to wear after long-term use, resulting in overweight issues after production.
(2) Making rings
After drawing into the wire, the next step is to make chains according to the order processing requirements, and the first step in making chains is to form the gold wire into individual rings.
① Making rings. If the cross-sectional diameter of the gold wire is less than 1 mm, a special smooth round steel rod can be installed on the hanging grinder head, with one end of the gold wire fixed to the hanging grinder head. Start the hanging grinder and guide the gold wire with your fingers to wind it into even rings around the steel rod.
If the diameter of the gold wire is more than 1 mm, a manual winding mechanism should be used. Similarly, one end of the gold wire is fixed, and the winding machine is operated by hand. Depending on the size, different specifications of steel rods are installed to ensure the gold wire is evenly wound around the steel rod (Figure 7-6).

Making pearl rings. First, pull the gold wire to meet the specified requirements, then use a press machine to flatten it. Next, use a needle-nosed pliers to clamp the end of the gold wire into a flat semicircle, select a drawing plate hole that meets the specified diameter, and pull the flat wire into a concave semicircle (the width of the gold piece should be slightly larger than that of the hole). Remove the wound spiral wire from the steel rod and cut it according to the production requirements.
The corn shape is made by cutting it to a certain length along the cross-section, creating segments of “corn core.”
Other chains are cut straight along the longitudinal section to form individual loops.
② Precautions. The steel rod used for winding the gold wire must be of the correct specification. When cutting the wire, it should be cut straight, without deformation, and the sizes of the cut loops must be uniform.
(3) Buckling Ring
As the order diagram requires, the buckling ring is made by connecting the various cut rings into the corresponding shapes, forming a long chain.
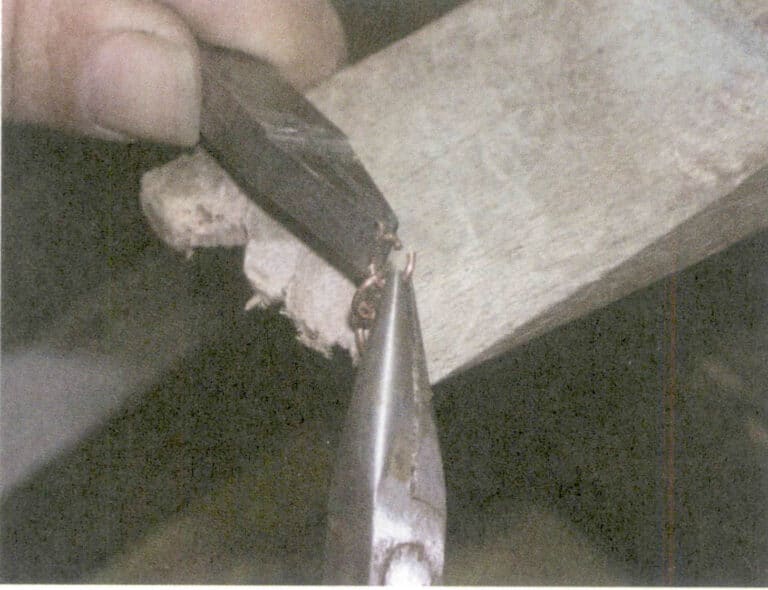
Operation process steps. The method of fastening a pearl chain is to link one ring to another to form a chain (Figure 7-7); the corn chain is made by first shaping the gold wire into a four-sided pyramid on a circular base, then filling it with “corn cores,” usually grouping three “corns” together, and then fastening a pearl ring on top, continuing this way until the desired length is reached; the double fastening chain (double fastening) connects two rings, linking them in a chain.
(4) Welding Clasp
Welding clasp means welding the openings of each connected ring and circle together so they cannot be separated.
① Operation Process Steps.
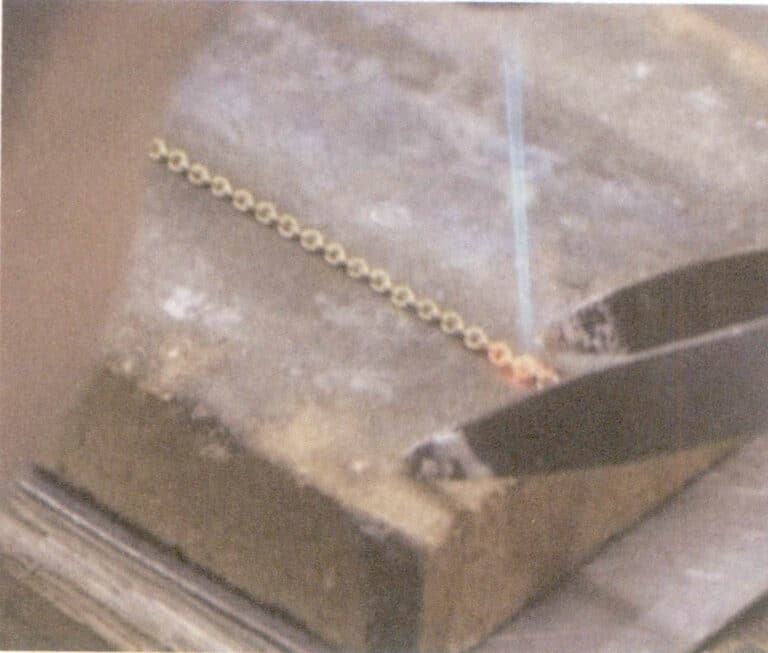
Method one: Ignite the blow torch, heat the opening of the ring until it turns red, use tweezers to hold a fine gold piece immersed in borax water, and place it at the heated opening; the molten welding liquid quickly welds the ring opening together under the action of borax (Figure 7-8).
Method 2: Use a small spoon to take out the gold powder soaked in borax water, and apply it at the opening to melt, which can also achieve a quick welding effect (this method is generally used for welding small rings).
The corn chain must also be welded firmly between each ring of the “corn core” and between the “corn core” and the outer frame.
② Precautions. During welding, ensure the weld is even, the weld points should not be excessive, and special attention is needed when welding the corn chain.
(5) Twisting Chains
Twisting the chain means twisting the chain with a welded opening at a certain angle to ensure good and uniform connections between each link.
① Main tools used. Hand drill, needle-nose pliers.
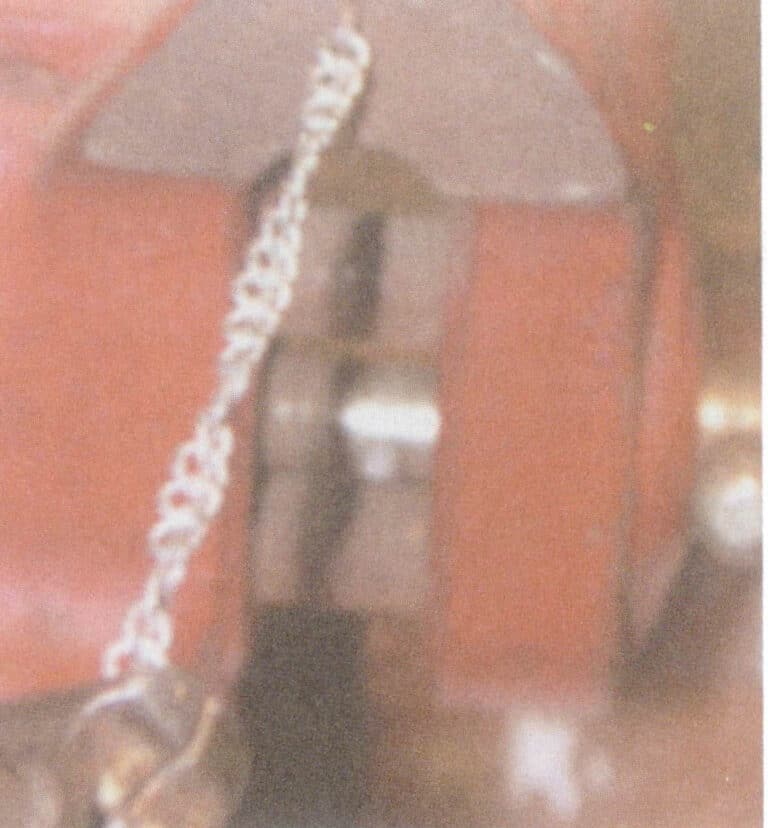
② Operating procedure steps. Fix one end of the chain, hook the other end onto the hand drill, and pull tight and straight; one person turns the hand drill handle while the other uses the needle-nose pliers to correct the twisted areas, ensuring that the angles between each link of the chain are consistent and well-connected (Figure 7 – 9).
③ Precautions. It is essential to do so moderately during the twisting and correcting of the chain. If twisted or clamped excessively, it may cause the chain to break.
(6) Flattening
Flattening means making the angle of each link in the chain consistent and the surface even.
① Main tools used. Hammer, welding layout table, press machine.
② Operating process steps. First, place the twisted chain flat on the welding table and gently tap it flat with a hammer; next, adjust the gap height between the rollers of the press machine according to the production requirements, and feed the chain into the press machine for rolling (Figure 7-10); then, use a blow gun to heat the chain that has been pressed once until it glows red, and let it cool naturally; finally, repeat the above steps for the heated chain.
③ Craft technical requirements. Regardless of how the finished chain is placed, as long as one end is lifted, the rest will smoothly align without any folding or tangling.
(7) Engraving Patterns
Carving patterns means engraving decorative designs on the chain to enhance the appearance of the jewelry, making it more beautiful and unique.
① Engraving firm patterns. Adjust the scale according to the required width of the pattern. Stick the double-sided tape on a square wooden block, straighten the chain to avoid knots, lay it flat on the double-sided tape, and gently tap with a rubber hammer to ensure the chain adheres to the adhesive surface. Use a brush dipped in wintergreen oil and evenly apply the oil to the surface of the chain to be carved. Place the wooden block with the attached chain on the workbench of the carving machine, ensuring the chain surface is aligned with the carving knife. Press the power switch and slowly and evenly push the wooden block with the left hand while using the right hand to control the lever to move the carving knife up and down, allowing the knife to carve patterns onto the surface of the chain (Figure 7-11).
② Engraving cross patterns. Determine the turning tool used based on the workpiece, and fix the base of the workpiece (use a base with wheels for manual chains). Stick the double-sided tape on the base, attach the chain flat to the tape, and secure it. Determine the position of the workpiece to be engraved and adjust the angle between cutting knife and the base. Rotate the base with the left hand while holding the control lever with the right hand to control the engraving angle and the depth of the cutting. If there is a deviation in the engraving position, it can be adjusted by changing the angle of the base to achieve the processing goal.
③ Precautions. The chain must be flat and secure on the wooden block to prevent loosening during engraving. Be sure to apply oil on the chain before engraving to avoid the workpiece sticking to the metal powder. During the engraving process, both hands should coordinate to control the speed of the wooden block’s advancement and the depth of the pattern.
Engraving patterns video
(8) Filing Surface
① Main tools used. Coarse file, smooth file, wrench, fixture gauge.
② Operating procedure steps. Adjust the height of the fixture’s filing slot according to the width of the chain so that the part of the chain exposed in the slot is the only part to be processed. After adjusting the height and depth of the chain and slot appropriately, tighten the fixture’s end fastening screws with a wrench to secure the chain in the fixture. Use a coarse file to file down the protruding edge of the chain in the fixture, then use a smooth file to polish the edge that was filed with the coarse file. After finishing one edge of the chain, file the other edge. Once one edge of the chain is finished, the depth of the fixture slot is now equal to the width of the chain, at which point the height of the fixture should be adjusted to the required height for processing the chain. After both sides of the chain are processed, use a brush to sweep away the remaining metal powder, then proceed to the disc polishing process.
③ Precautions. Strictly follow the weight limit requirements of the processing order. Apply chalk to the coarse and smooth files to prevent metal powder from sticking to the files and minimize metal consumption as much as possible. Strive for overall smoothness, and do not file the chain into a concave or convex shape.
(9) Installing the Clasp
Installing the clasp means attaching the chain clasp to the chain. The chain clasp is the opening and closing device for bracelets or necklaces and is a key component for the convenience of wearing and removing each chain.
① Classification of chain clasps. Includes: W-type (generally used for necklaces), S-type (generally used for bracelets), threaded type, lock type, etc.
② Operational process steps. Cut the processed long chain to the length required by the processing order. Install the clasp at one end of the chain (Figure 7-12), then use a torch to weld it. It must ensure that the ends of the chain clasp together flexibly, making it easy to wear and remove.
The later processes of the pull wire chain, such as sanding, acid washing, polishing, etc., are similar to the operations above.
Installing the clasp video
Bracelet and necklace craft video
Copywrite @ Sobling.Jewelry - Egyedi ékszergyártó, OEM és ODM ékszergyár
Section II The Clasping Process of Pure Gold Bracelets
1. The Clamping Process Flow of the Pure Gold Bracelets
The clamping process flow of the pure gold bracelet includes: filing the sprue → clamping the bracelet → welding the base plate→ welding the calibration tube → sawing the tube→ welding the bracelet tongue→ sawing the hand operation position→ adjusting→ shaping→ file finishing→ welding the “8” shaped tightening system.
The above is the general clamping process flow for a pure gold bracelet; for special types of full gold bracelets, the process flow may vary depending on the style.
2. Operating Procedure
2.1 Filing the Sprue
2.2 Clamping Bracelet
Clamping bracelet is made by pouring the bracelet blank into an oval shape, allowing it to fit snugly around the wrist.
(1) Main Tools and Materials
The main tools used include a set of combination welding tools, welding tiles, a borax dish, welding clamps, a saw frame, needle-nose pliers, a bracelet core drill bit, and a bracelet top. The main materials used include borax, welding wire, and welding sheets.
(2) Működési folyamat lépései
① For single-section bracelets, distinguish between the bracelet face and the bracelet base, and check whether there are quality issues with the bracelet casting blanks (such as cracks, grooves, etc.).
② Pair the bracelet face and base together, and use a steel ruler to measure whether the size of the bracelet meets the size requirements of the order.
③ Clamp one bracelet face onto the welding block with a welding clamp and spot weld at the opening of the bracelet face, then pick up the bracelet base and align it with the bracelet face, using a torch to weld the base and face together securely.
④ Shape the hand yoke that has been welded on one side onto the yoke cylinder so that the hand yoke becomes complete through shaping (Figure 7-13).
⑤ Measure the overall size of the bracelet again with a steel ruler to check if it meets the standard requirements.

(3) Notes
① The bracelet face and bottom must not be mismatched; the bracelet face and bottom welding must be neat and regular, without misalignment.
② Avoid using excessive force to strike during shaping, as this may cause marks on the bracelet’s surface, making it more difficult to finish and file.
Bracelet Clamping Process Video
2.3 Welding Backing Plate
The purpose of the welding backing plate is to process and manufacture the bracelet tongue box.
(1) Main Tools Used
Blow gun, tweezers, welding clamp, bracelet drill core bit.
(2) Működési folyamat lépései
① Choose a suitable solid gold base plate according to the size of the bracelet, soften it, bend it into an arc according to the curvature of the bracelet drill core bit, and use a file to adjust it, ensuring the length of the base plate matches the concave position of the bracelet tube and fits tightly.
② Use the welding clamp to hold the bracelet horizontally, place the base plate properly, lightly weld a point at the end of the base plate for positioning, then remove the bracelet from the welding clamp, lay it flat on the welding tile, and use welding tools to weld along the base plate until fully welded (Figure 7-14).
2.4 Welding the Rotating Shaft
The welding tube connects the surface and the bottom of the bracelet, allowing it to open and close flexibly after being opened.
(1) Main Tools Used
Blow gun, tweezers, soldering plate, solder wire, borax, needle-nose pliers, rat-tail file.
(2) Működési folyamat lépései
① Prepare a suitable pair of Rotating tubes, ensuring a good fit with the bracelet, and apply toothpaste on the sleeves to prevent them from being welded shut.
② Use a saw bow to saw a square opening slightly smaller than the outer diameter of the calibration tube along the original welding line, then use a rat-tail file to shape the square opening to match the tube, filing while measuring against the calibration tube to ensure a snug fit.
③ Place a pair of Rotating tubes in the center of the bracelet calibration position with the calibration tube sitting flat and the top parallel to the bracelet surface.
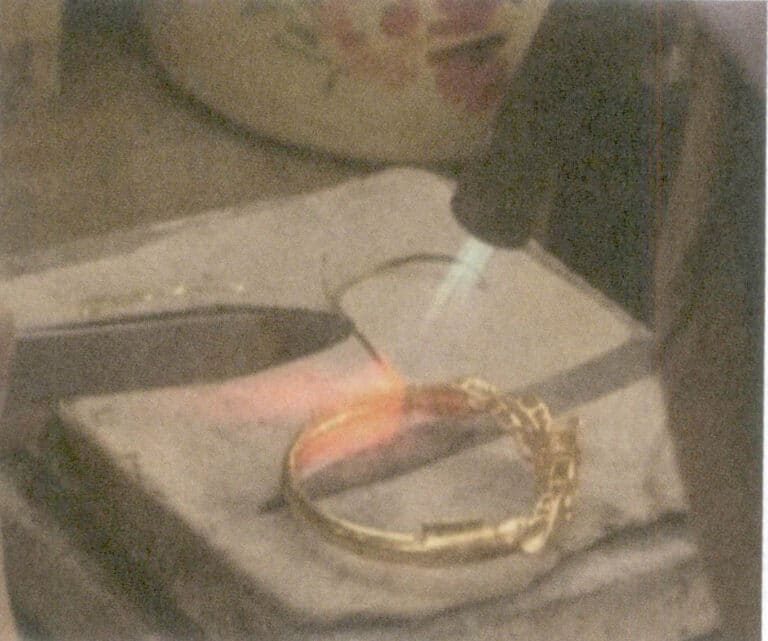
④ Use a welding clamp to hold the bracelet surface and use spot welding to securely weld the contact point between the tube and the bracelet (Figure 7-15).
Figure 7-15 Welding the calibration tube
(3) Notes
The two halves of the bracelet must not be misaligned (clamped). The tube is prone to be sawed crooked, sawed through, or filed crooked, so special attention should be paid. Additionally, when spot welding, be careful not to let the welding liquid seep into the tube; otherwise, it will cause the tube to block and require rework.
2.5 Sawing the Tube
Sawing the tube means allowing the welded tube of the bracelet to open and close freely.
(1) Main Tools Used
Bow saw (saw bow).
(2) Működési folyamat lépései
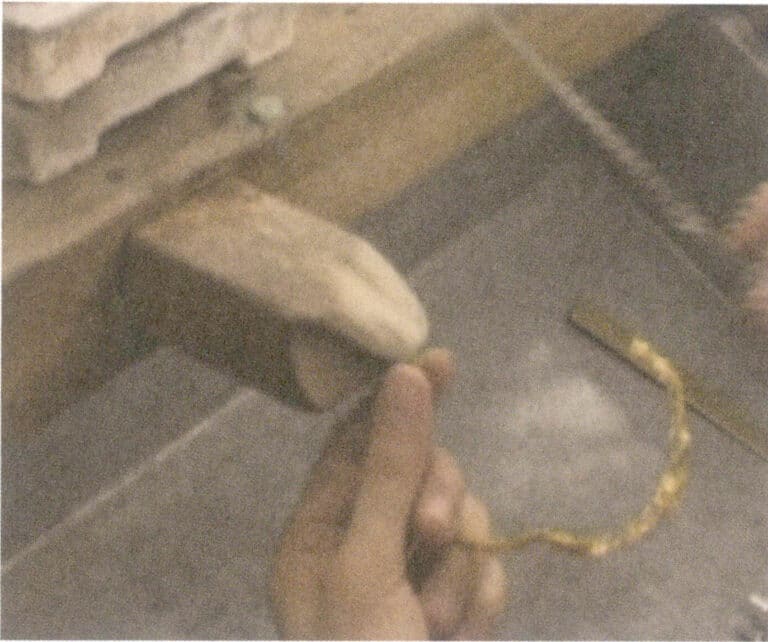
Release the saw bow and saw blade, insert them into the inner circle of the bracelet, then tighten the saw bow and saw open the weld point on the side with the calibration tube along the gap where the two halves of the bracelet are connected (Figure 7-16).
(3) Notes
When sawing the bracelet, be careful to see along the gap where the two halves of the bracelet are connected; otherwise, the bracelet may not open or close properly, rendering previous efforts futile.
2.6 Welding the Bracelet Tongue
Bracelet tongue is an important device to open and close the gold bracelet.
(1) The Main Tools Used
Blow torches, tweezers, welding tile, welding wire, borax, sharp-nosed pliers, and rat-tail files.
(2) Operation Process Steps
① Select the appropriate bracelet tongue, playing the “900” word mark, with a coarse file that will be filed into a trapezoid.
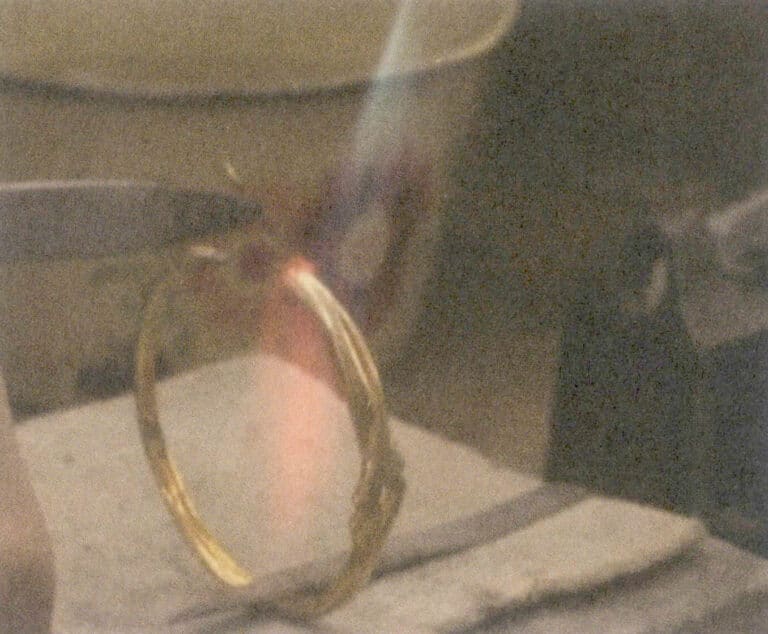
② Annealing treatment of bracelet tongue, with pliers curved arc, and then file a little trimming, the long end of the bracelet into the bottom of the bracelet tongue box and spot welding will be fixed bracelet tongue, and then the bracelet tongue and the bottom of the bracelet contact bit on, under the welding, to completely solid (protruding portion of the 5 ~ 6mm, Figure 7-17).
③ Use both hands to pinch the bracelet on both sides and test if the bracelet tongue can smoothly insert into the bracelet tongue box ( After insertion, the bracelet tongue should be completely invisible from the outside).
2.7 Sawing Hand Operation button
The hand operation button is designed to make opening and closing the bracelet easier while ensuring the two parts are accurately positioned and tightly combined.
(1) Main Tools Used
Bow saw, small file, bolt cutter, hanging grinder, dental bur.
(2) Működési folyamat lépései
Insert the bracelet tongue into the bracelet tongue box, then use the saw bow to saw downwards at a distance of 3 ~ 4 mm from the interface. When you reach half the height of the gate plate, turn 90° in the direction and continue sawing until you reach the middle position between the bracelet tongues, at which point the button position is ready. Then, weld a suitable button at the button position.
(3) Notes
When sawing the hand operation position, special attention should be paid to ensure that the saw position is correct for easy welding of the seam decoration.
2.8 Adjustment
Adjustment ensures that the two parts of the bracelet are accurately positioned, tightly combined, and meet the requirements for flexible and smooth opening and closing.
(1) Main Tools Used
Bow saw, small file, bolt cutters, hanging grinder, dental bur.
(2) Működési folyamat lépései
① Use a small file to trim the bracelet tongue, and use a dental bur to clean the welding slag and gold beads inside the bracelet tongue box, ensuring the box is square.
② On the bracelet tongue box of the bracelet face, I saw a parallel line about 1 mm away from the edge of the bracelet tongue box, with a depth of 0.5 mm.
③ Insert the bracelet tongue into the bracelet tongue box, bringing the two parts of the bracelet together, then follow the groove that was initially sawed, using the saw to move down the groove, lightly scratching the bracelet tongue to leave a shallow groove (the groove serves as a positioning point for the bracelet’s clasp).
④ Choose a suitable piece of metal as the clasp, install it in the opening just sawed, and weld it securely after filing off the excess.
(3) Notes
After completing all the work, the bracelet tongue should be repeatedly inserted into the bracelet tongue box for testing. When the bracelet tongue is inserted into the box, a crisp “click” sound should be heard, indicating that the fit between the bracelet tongue and the box is correct; otherwise, adjustments should be made.
2.9 Shaping
Shaping is handling any deformations that may occur during production through a series of procedures, ensuring that the final product fully meets the standards.
(1) Főbb használt eszközök
Hammer, bracelet drill core bit, anvil, coarse file, smooth file, bracelet top.
(2) Működési folyamat lépései
① Place one side of the bracelet on the anvil and gently rivet the exposed line with a small hammer, shaping it into a rivet; repeat the same operation on the other side.
② After assembling the bracelet, place it on the bracelet drill core bit and press down to ensure it fits perfectly with the core bit, forming a standard bracelet shape.
2.10 File Finishing
File finishing removes marks left on the surface of the workpiece during machining, making the bracelet more complete and aesthetically pleasing.
(1) Main Tools Used
Large file, medium file.
(2) Működési folyamat lépései
Use a large file to roughly flatten the workpiece, then use a medium file to finish it, making the bracelet overall smooth.
(3) Notes
When filing, it is important to control the strength and direction of your hand, avoiding contact with areas that do not need filing. When using a file for finishing, it should be applied correctly according to the shape and curvature of the workpiece; for flat workpieces, the filing should be flat, straight, and true, while for curved workpieces, the filing should follow an upward arc from bottom to top.
2.11 Welding the "8" Shaped Tightening System
The “8” shaped welding system connects the two parts of the bracelet more tightly to prevent it from falling off.
(1) Main Tools Used
Blow gun, borax, tweezers, needle-nose pliers, welding wire.
(2) Működési folyamat lépései
① Take the connection point of the two sections of the yoke with bracelet tongue positioning as the centerline, and weld a gold bead on each side at the 3 〜4 mm position towards the bracelet surface. Drill a 0.6 mm through hole in the gold bead on the side, ensuring the hole diameter is parallel to the side of the bracelet.
② Use 92 gold wire ( ∅0.5 mm x 32 mm ) to pass through the through hole of the gold bead, then fold it in half. The two wire ends will meet and overlap at the other end of the gold bead, and then the blow gun will fuse the two wire ends.
③ Cut off the excess gold wire and use needle-nose pliers to pinch it into an “8” shape between the two beads.
(3) Notes
The tightness of the “8” shape should be appropriate; if too tight, it may break due to long-term friction, and if too loose, it won’t serve its purpose. Therefore, it should fit together with a little force when clasping.
Section III The Clasping Craftsmanship of Pure Gold Rings, Pendants, and Earrings
1. The Clasping Process of Gold Rings, Pendants, and Earrings
2. Welding Ear pins, Bails, and Jump Rings
Ear pins are an essential component of earrings. Due to the difficulty of direct casting, they need to be welded on after casting. Bails and jump rings are important components for hanging pendants, which are also welded on later. The operational procedures are as follows.
(1) Main Tools and Materials Used
The main tools used include combination welding tools, a borax dish, welding clamps, and welding tiles. The materials include borax, appropriately sized ear pins, bails, jump rings, and welding wire.
(2) Működési folyamat lépései
① Place the well-shaped and matched earrings on the soldering board and insert the ear pins properly.
② Hold the ignited torch in your left hand, use the welding clamp to hold the welding wire for spot welding until the ear pinhole is filled to about 2/3, and apply a little borax at the ear hole position, burning it with the torch until it is fully welded.
③ When welding the bails and the jump rings, first weld the bails, then secure the jump rings before proceeding with spot welding, ensuring the weld points are smooth and not coming apart.
(3) Notes
(1) When welding the ear pins, special attention must be paid to controlling the size and strength of the flame, and it must not cause the ear pins to melt and shorten (because the welding wire is 95% purity, while the ear pins are 92% purity).
(2) The weld points should be uniform When spot welding at the ear pinhole.
(3) When welding the bails and jump rings, if the weld point is too large, it must be repaired and polished to make it smooth and even.
The clamping process of pendent video
Section IV Auxiliary Processes in the Craft of Pure Gold Jewelry
1. Sandpaper Polishing
Sandpaper polishing is used to eliminate marks that may be left during the finishing and shaping process, making the surface of the workpiece smoother and more polished.
(1) Main Tools Used
Hanging grinder, sandpaper rolls (conical, circular), sandpaper discs, steel burs, waste dental burs.
(2) Működési folyamat lépései
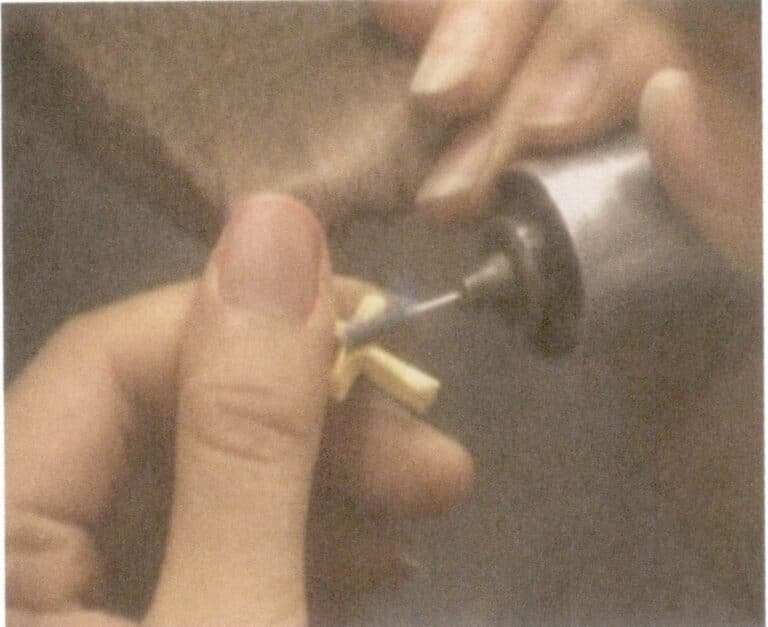
① Install the rolled sandpaper on the hanging grinder head and polish the required parts of the workpiece (Figure 7-18).
② Sand the inner ring with a sandpaper disc.
Sandpaper polishing video
2. Sparkling Sand-Like Finishing
Sparkling sand-like finishing refers to creating a dotted network on the surface of the workpiece at the required design locations, presenting an uneven and textured appearance and enhancing the three-dimensional effect of the workpiece.
(1) Main Tools Used
Hanging grinder, diamond flash drill bit, slingshot.
(2) Működési folyamat lépései
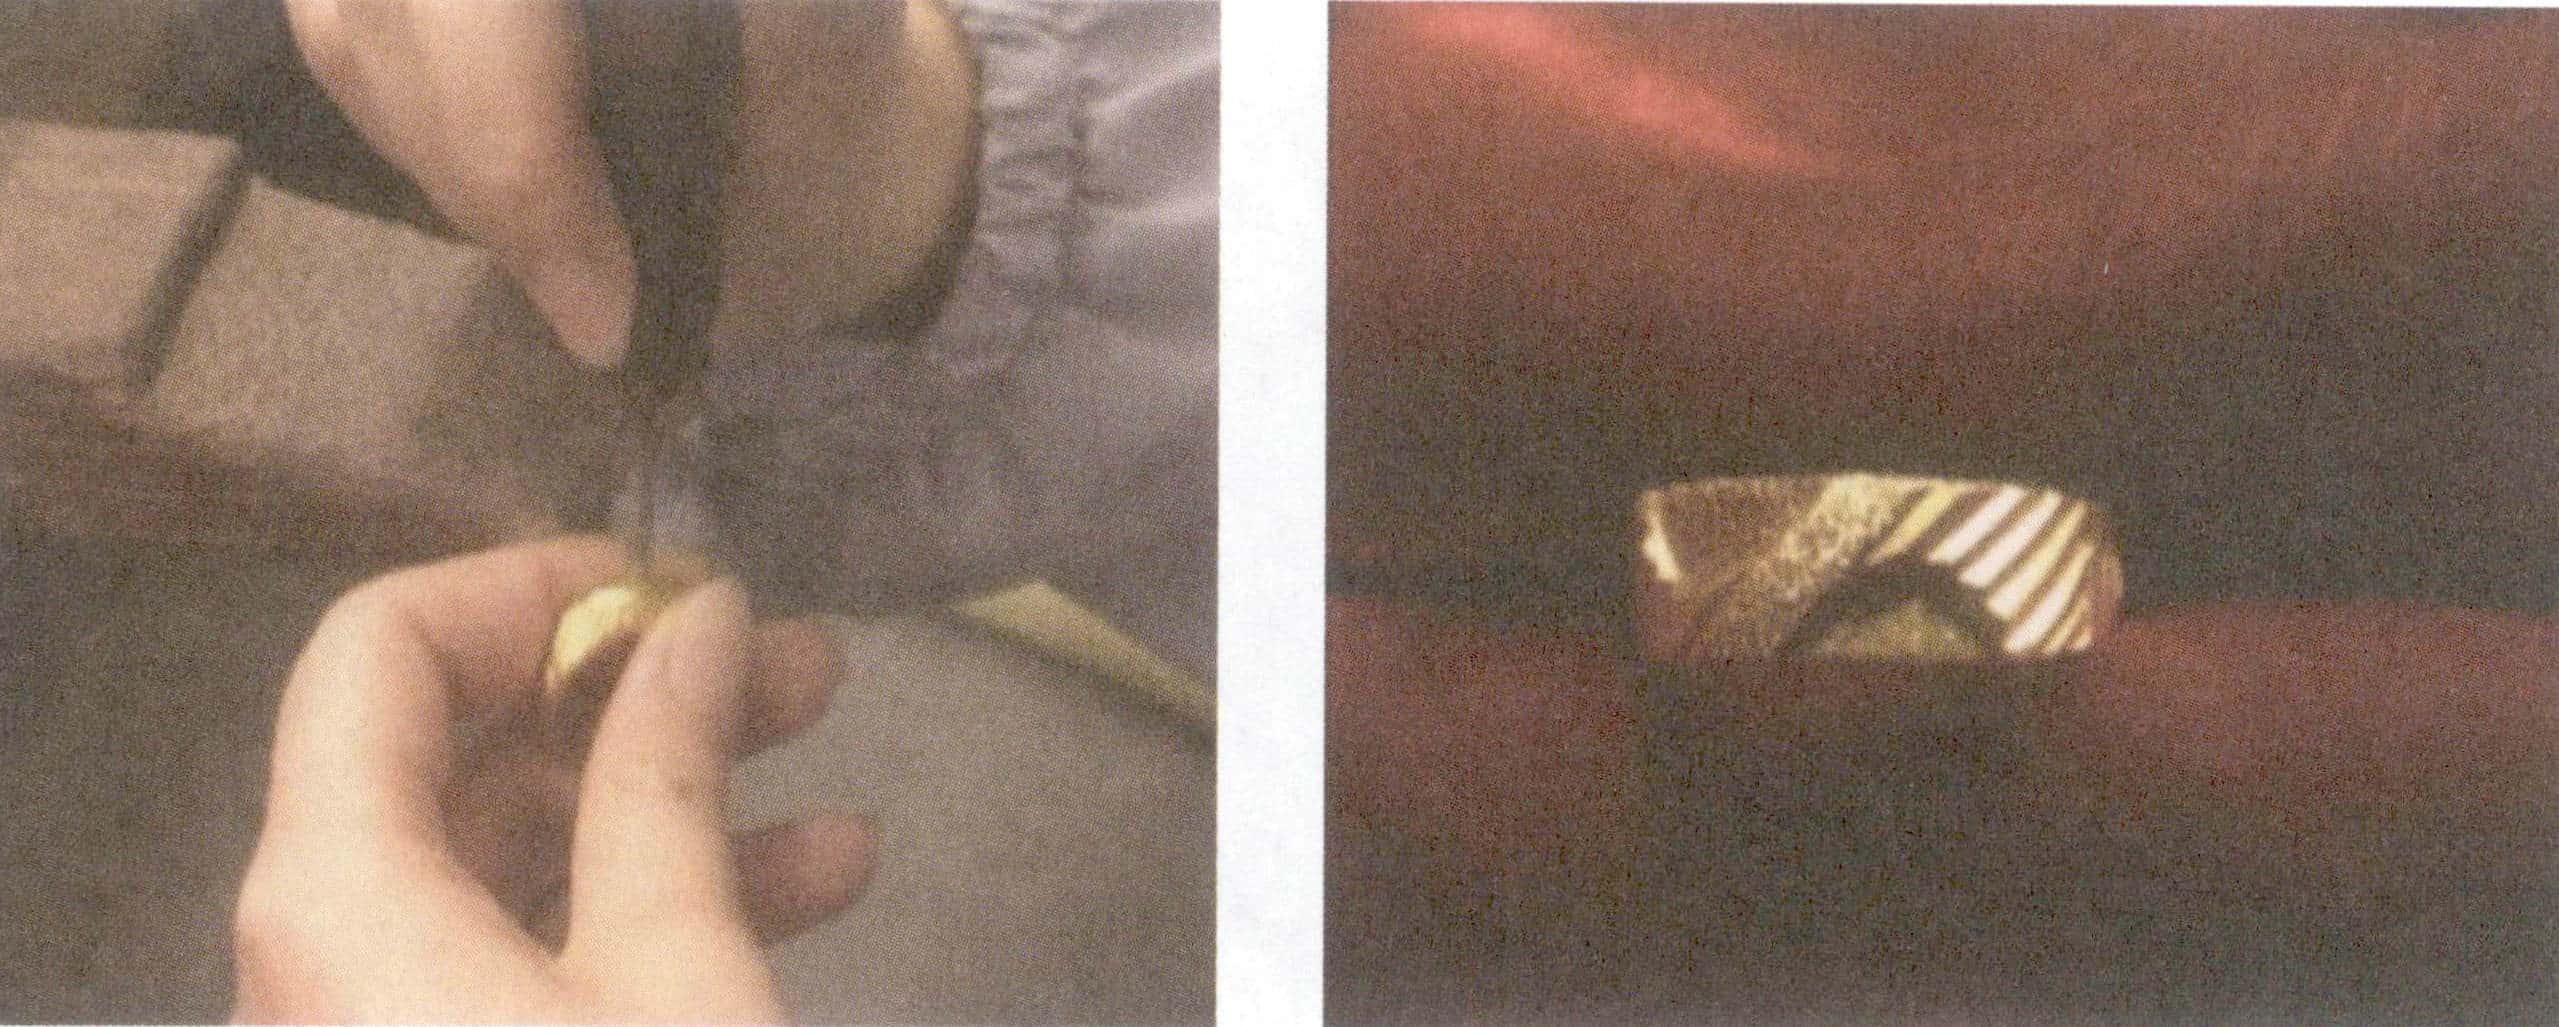
① Hold the workpiece with the left hand, grip the drill with the right hand, aim at the area to be finished, and drill while moving in an orderly dotted manner, forming a dot matrix network on the processed area (Figure 7-19).
② Check whether the grid’s unevenness is orderly and whether the depth and shallowness are appropriate, and make necessary adjustments.
(3) Notes
① Apply force evenly and moderately, with a grid arrangement that is orderly and consistent in depth.
② Do not damage the non-processed surface.
③ Do not cause significant deformation of the workpiece.
3. Savas merítés
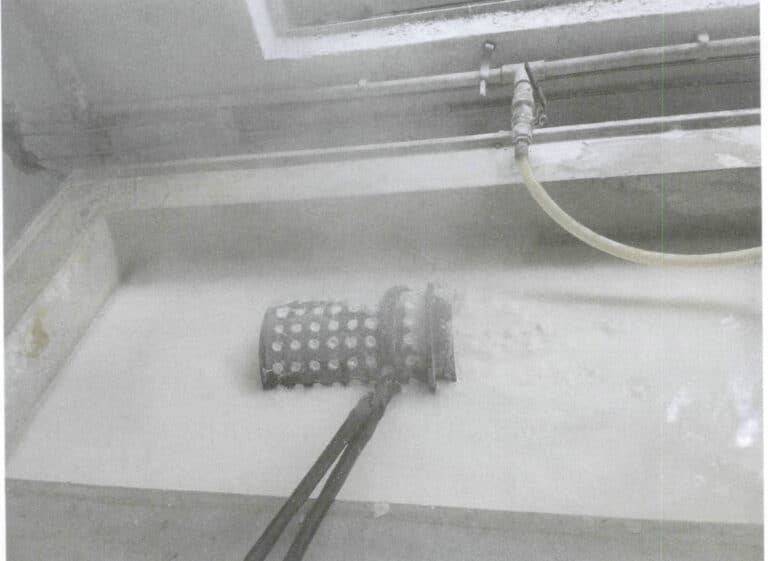
Acid dipping is meant to remove stains and spots from the surface of the workpiece, making it easier to polish through acid treatment. It is suitable for various types of jewelry that require processing.
(1) Main Tools Used
The main tools used include a blowtorch, long welding clamp, welding brick, lighter, Corning pot (an acid-resistant and corrosion-resistant container commonly used to hold sulfuric acid, hydrochloric acid, etc.), and a plastic bucket. The material is 36% 〜38% hydrochloric acid solution.
(2) Működési folyamat lépései
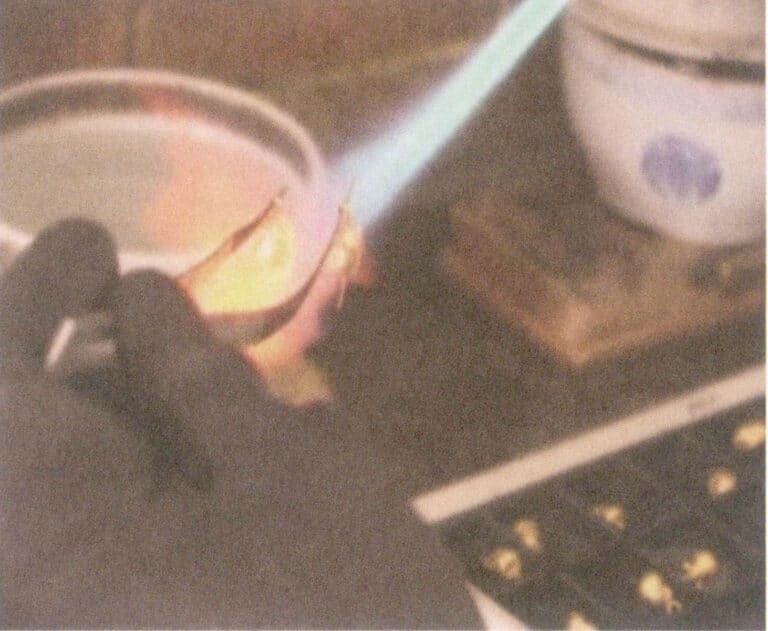
① Arrange the workpieces on the welding brick, use the lighter to light the torch, use the torch to burn the workpieces on the welding brick red, and then put them into the corning pot filled with acid to soak (Figure 7-20).
② When the workpiece is in the pot of solution, there will be a lot of foam until the pot of foam automatically disappears; you can remove the workpiece for cleaning.
③ When the work is finished, the acid solution should be packed in a special bucket and returned to the workshop warehouse for storage.
(3) Notes
If you accidentally splash hydrochloric acid on your skin while working, do not rinse with water, but use a paper towel or dry cloth to soak up the acid on your skin and then rinse with water.
Acid dipping Video
4. Sandblasting
Sandblasting is the process of creating a sand surface on the workpiece according to design requirements, resulting in a soft and rugged contrast effect on the surface of the workpiece.
(1) Main Tools Used
The main equipment used is the sandblasting machine. Sandblasting machines are divided into two types: wet sandblasting and dry sandblasting. Wet sandblasting can be further categorized into large and small sandblasting machines. When operating a large sandblasting machine and a dry sandblasting machine, you only need to hold the workpiece with both hands and align the area to be sandblasted with the fixed sandblasting nozzle on the machine. The choice between dry and wet sandblasting should be determined based on the processing order requirements. Below is the operating method for a small wet sandblasting machine. The three types of sandblasting machines have the same operating methods and procedures.
(2) Működési folyamat lépései
① Disconnect the power supply of the sandblasting machine, open the cover of the sandblasting machine, and add No. 0 sand (fine sand) or No. 2 sand (coarse sand) according to the process requirements. The amount of sand added must not exceed the scale marking line; otherwise, it will block the sand pipe. After adding sand, tighten the cover and turn on the power.
② Adjust the sandblasting machine’s air pressure; the pure gold requirement is 6 atmospheres.
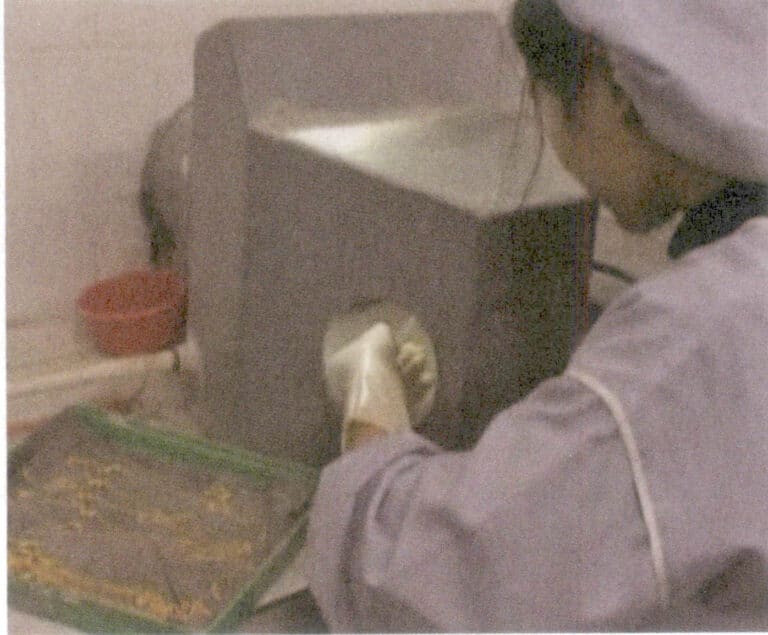
③ Hold the workpiece with the left hand, grip the sandblasting nozzle with the right hand, and step on the pedal to press the point switch, close the nozzle and aim it at the part to be processed, spraying sand evenly (Figure 7-21).
④ Rinse the sandblasted workpiece with tap water, then dry it with a hairdryer.
(3) Notes
① After adding sand, check that the water and sandblasting pipes are properly connected before turning on the power.
② The air pressure should not be too high or too low; excessive air pressure can cause sand holes in the workpiece, while insufficient pressure makes it difficult to achieve a sandblasting effect.
③ If sand holes appear after sandblasting, they should be repaired promptly.
Homokfúvás videó
5. Nylon Sand Polishing
Nylon abrasive sand polishing refers to creating thread-like lines on the surface of the workpiece.
(1) Main Tools Used
Hanging grinder, nylon sand wheel (Figure 7-22).
(2) Működési folyamat lépései
① Install a nylon grinding wheel on the conical threaded shaft of the grinder and turn on the lighting and the grinder’s current switch.
② Hold the workpiece with both hands, press the area to be processed against the high-speed rotating nylon grinding wheel, move back and forth in a straight line, and rotate or grind flexibly (Figure 7-23).
③ After polishing the workpiece to meet design requirements, ensure proper metal powder cleaning and recovery.
(3) Notes
① The workpiece must not be deformed, have grooves, or become too thin.
② The lines should be clear, uniform, and smooth.
③ When polishing, the workpiece should move in a straight line, avoiding any tilting or side-to-side rocking, which can lead to crooked lines.
④ If the workpiece is too small, care must be taken to prevent it from slipping during grinding.
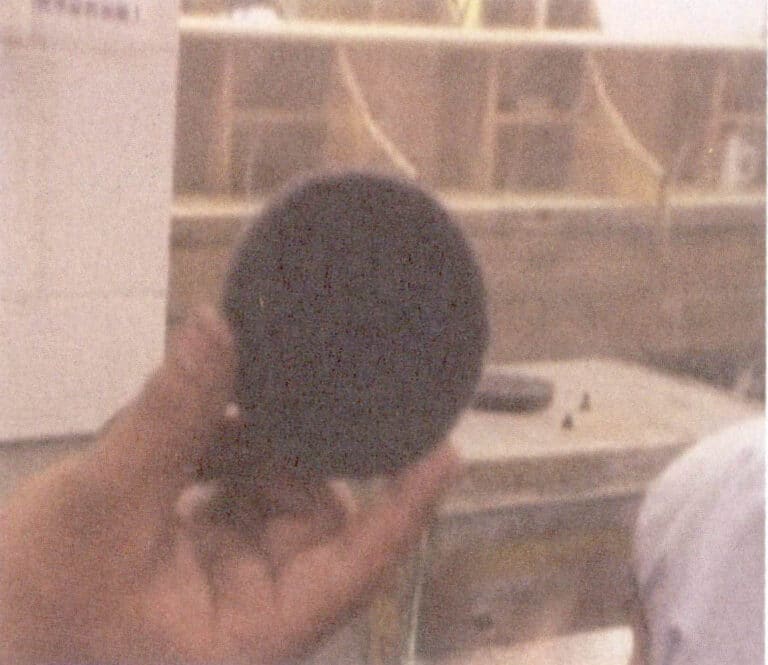
Figure 7-22 Nylon polishing wheel

Figure 7 - 23 Nylon Sand Polishing
Section V The Polishing Process of Pure Gold Jewelry
The polishing (also known as brightening) process of pure gold jewelry involves polishing the workpiece’s lines, edges, or other design requirements to make its surface shinier. It is suitable for various workpieces with processing requirements.
(1) Main Tools Used
Agate burnishing knife, steel presser.
(2) Működési folyamat lépései
① Use a steel presser (a type of conical steel rod) to roll back and forth on the area of the workpiece that needs processing until it is smooth and shiny (Figure 7-24).
② When using steel pressing, use a toothbrush dipped in the extract of wood eyes (the fruit of the soap tree, which has a pit resembling a wood eye; hence, in Guangzhou, it is called the wood eye tree. Soaking it in water can produce foam similar to soap, which can be used for washing hands and clothes) to wipe the pressed workpiece. This can help remove oil stains or other impurities that adhere to the workpiece during processing. Its effect is similar to detergent’s, but the wood eye extract will not damage the workers’ skin even with long-term use.
③ Use an agate burnishing knife to repeat the areas pressed with steel, making the workpiece more polished and shiny, exuding a spiritual aura (Figure 7-25).
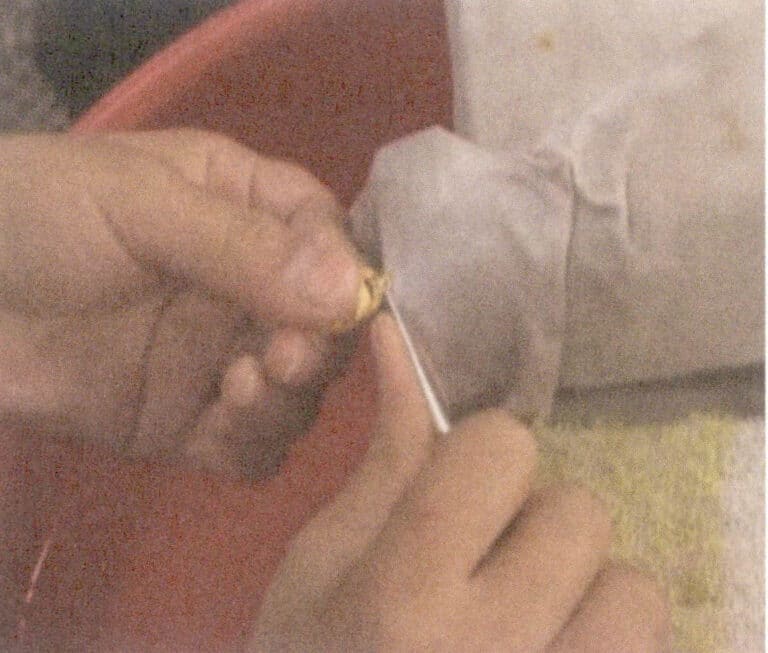
Figure 7-24 Steel Presser Brightening
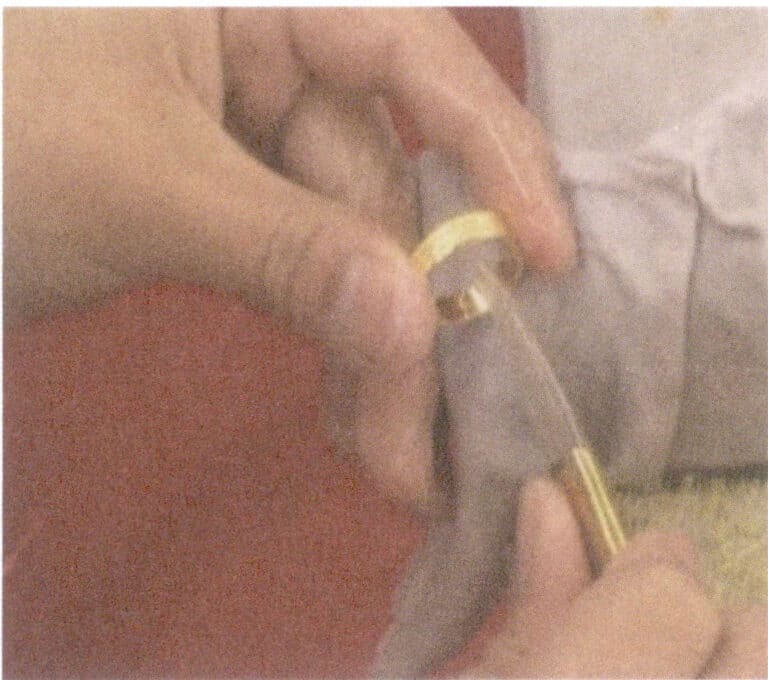
Figure 7-25 Agate Burnishing Knife Brightening
Pure Gold Polishing Video


