


"Night Guardian" uses traditional hand-carved wax modeling techniques and is cast into a metal piece using the lost-wax casting method.

Rubber mold of the owl part

After the metal piece is finished, a rubber mold is made. The owl on the left side of the image is hand-carved from wax, while the one on the right is made using a rubber mold for wax injection modeling.

Aluminum alloy mold frame

Jewelry Rubber Mold Vulcanizer

Cutting rubber and placing it into the frame

Cutting the rubber film

Manual wax injection operation

Semi-automatic digital display wax injection machine

Fully automatic wax injection machine
Xie Bai、Xie Zhouqiang, Touch my body- house, silicone、synthesized material, 30cmx30cm, 2011

Xie Bai、Xie Zhouqiang, Touch my body- organics, silicone、synthesized material, 30cmx30cm, 2011

Translucent silicone (with strong flexibility)

Milky white silicone

1. Prepare the model blocks for injecting silicone, oil clay, silicone, and other materials and tools, and surround the blocks to form a suitably sized pouring channel.

2. According to the requirements in the silicone brand's instruction manual, weigh an appropriate amount of silicone and silicone curing agent in proportion.

3. Pour the curing agent into the silicone and stir clockwise to ensure the curing agent and silicone are evenly mixed; uneven mixing may cause some silicone not to cure.

4. Take an appropriate amount of oil clay and stick it to one end of the model.

5. Pour the evenly mixed silicone into the wooden mold; at this time, only pour in half the amount of silicone, and then stick the prepared model to one side of the mold; part of the model needs to touch the silicone and be careful not to touch the bottom and sides of the mold; the model must be at least 6 mm away from the bottom to avoid perforation of the silicone mold after it solidifies.

6. After securing the model, pour the remaining silicone into the mold to cover the entire model.

7. Wait for the silicone to solidify; the solidification time varies for different brands of silicone. If not in a hurry, taking it out after 12 hours is recommended to ensure that the silicone inside is wholly solidified and has good flexibility.

8. Use a scalpel to cut the silicone, noting that the cutting line should be in an S shape or Z shape, which can improve the fit of the mold. For simple, small items, there is no need to cut the entire silicone mold; just cutting the opening is enough to remove the model

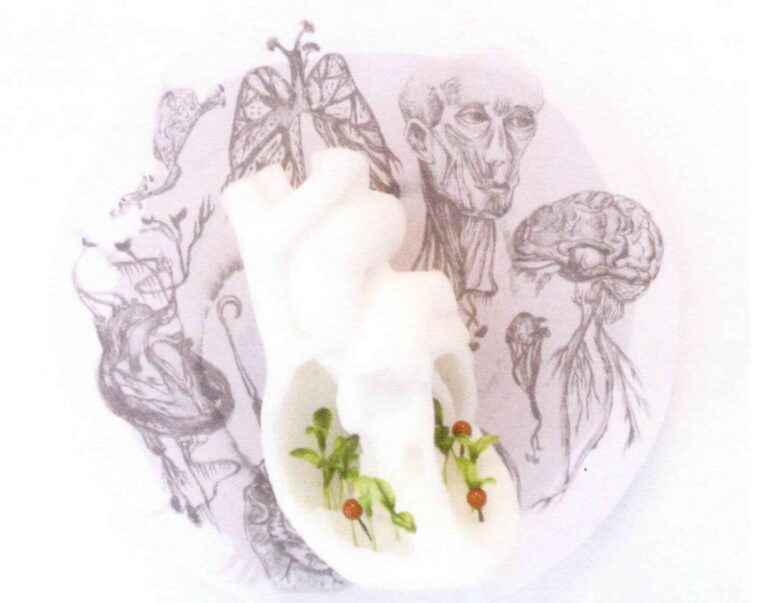
9. After removing the model, the silicone mold is completed, and the position where the oil clay is applied naturally forms the casting sprue; then, after melting the casting wax and injecting it into the silicone mold, a small wax hand can be obtained, which can then be cast into metal using the lost-wax method; the silicone mold can also be directly injected with resin, cement, gypsum, and other molding materials to obtain models with different textures.


1. Prepare silicone, curing agent, electronic scale, paper box, disposable cups, chopsticks, surgical knife, and other materials and tools.
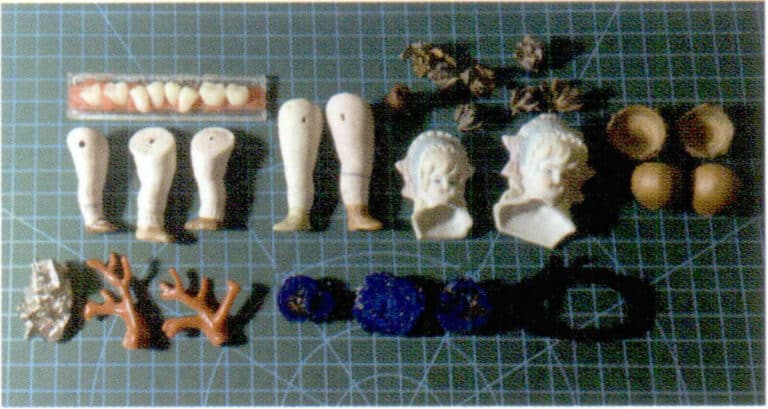
2. Select interesting small items for mold making, and be careful that the structure and shape of the objects are not too complex

3. Cut disposable chopsticks into appropriately sized short sticks to serve as the sprue inlet channel, and use oil clay to stick them to the object.

4. Make a casting box of suitable size from stiff cardboard. If the cardboard box is too small, first stick the prepared object's sprue down to the bottom, ensuring it is securely fixed, as liquid silicone has a certain buoyancy. If not securely attached, the item may float up during the pouring process, leading to a failed mold.

5. After securing the item, stick the entire cardboard box into shape. If the inside of the box is not covered with plastic film and is not very smooth, you can line the inside with transparent tape. This way, after the silicone solidifies, it can be easily demolded. At the same time, all gaps on the outside of the box must be covered with transparent tape to prevent silicone from leaking out during pouring.

6. Wait for the silicone to solidify

7. Take out the solidified silicone mold and use a scalpel to open the mold, noting that the cutting line should be in an S shape or Z shape.

8. After removing the item, the silicone mold is complete

9. After heating the casting wax with an alcohol lamp, inject it into the silicone mold, and you can obtain a wax model after cooling. It is important to note that if the structure of the item is relatively elongated or has small details, manual wax injection may result in an incomplete wax model due to pressure issues. In this case, we must use a vacuum-pressure wax injection machine to pour the wax mold.


One Response
Straordinario , vorrei avere guida completa , cosa costa ..e dove seguire su you tube