Inlaying with Gemstones
Figure 2-1 Inlaying with Gemstones
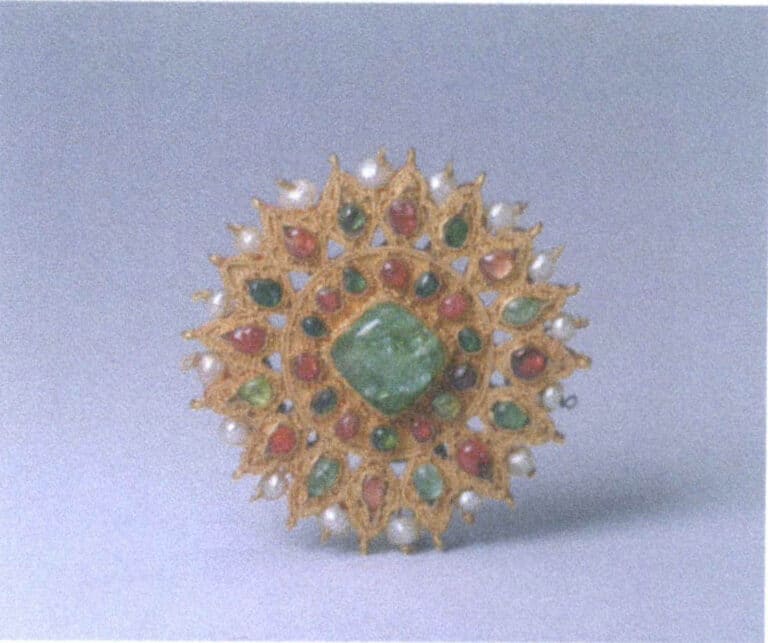
Figure 2-2 Filigree setting
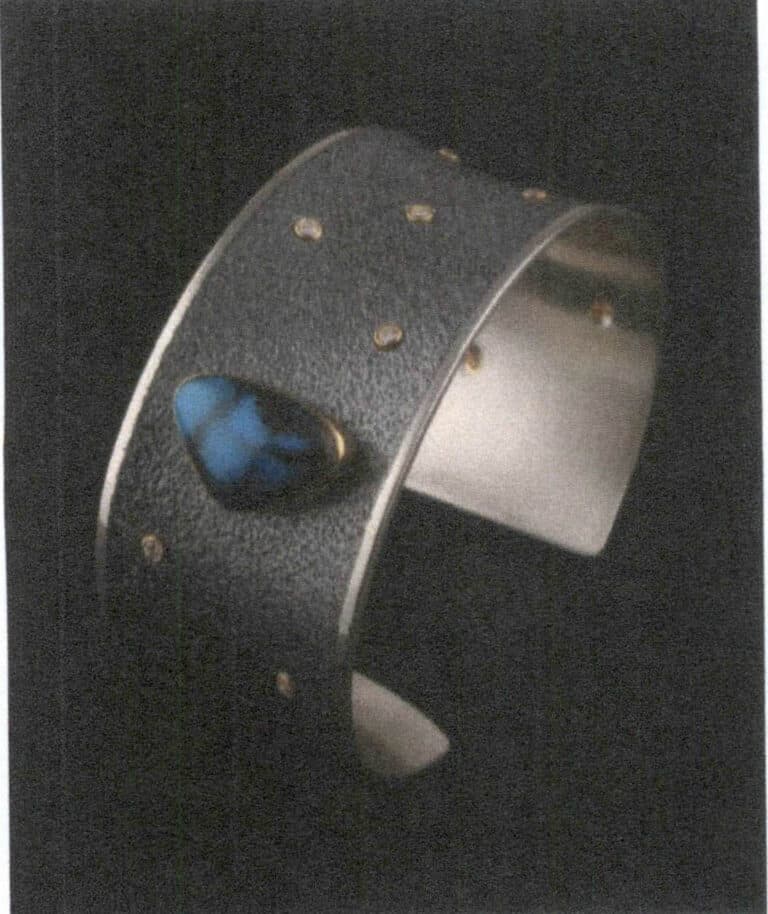
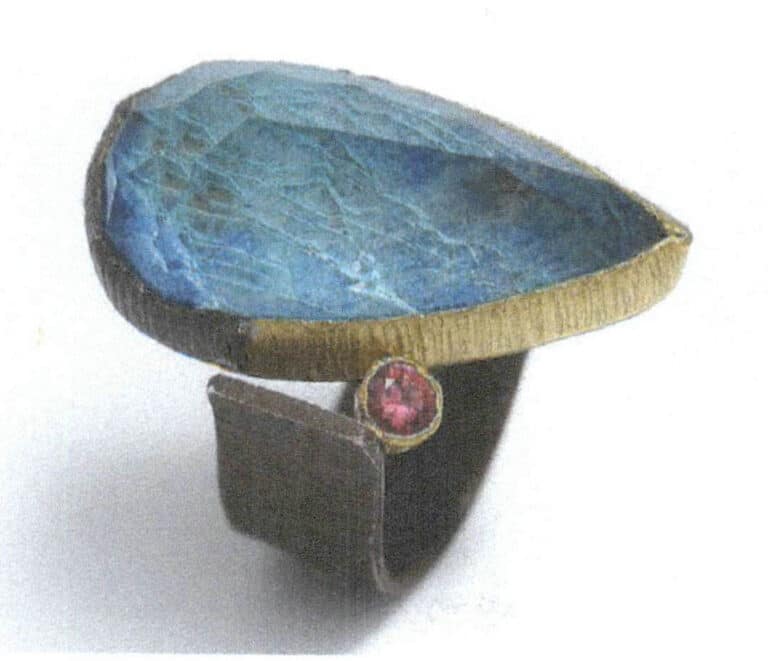
Figure 2-3 Irregular cabochon gemstone bezel setting bracelet
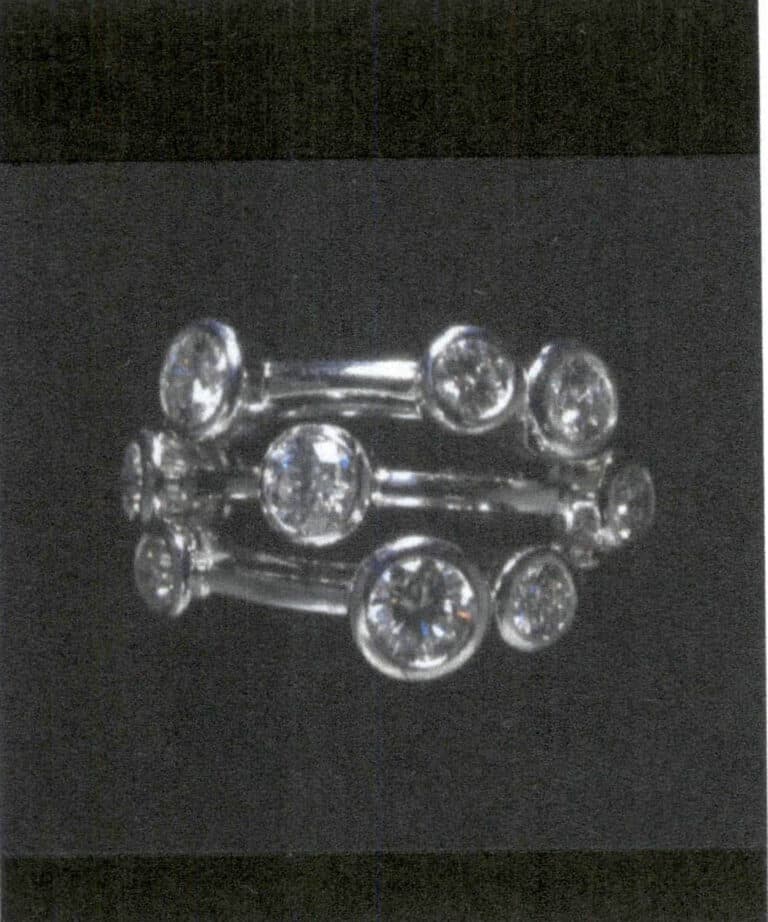
Figure 2-4 Multi-gemstone setting ring (V&A Museum Collection)
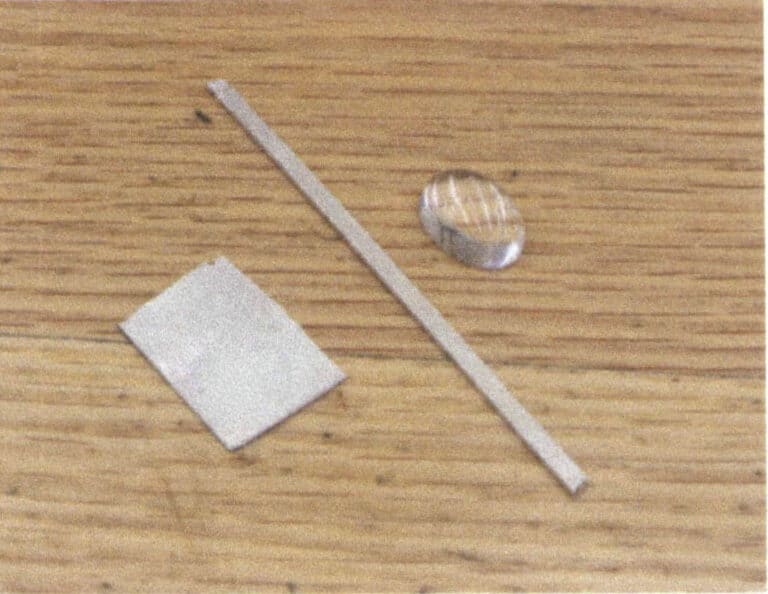
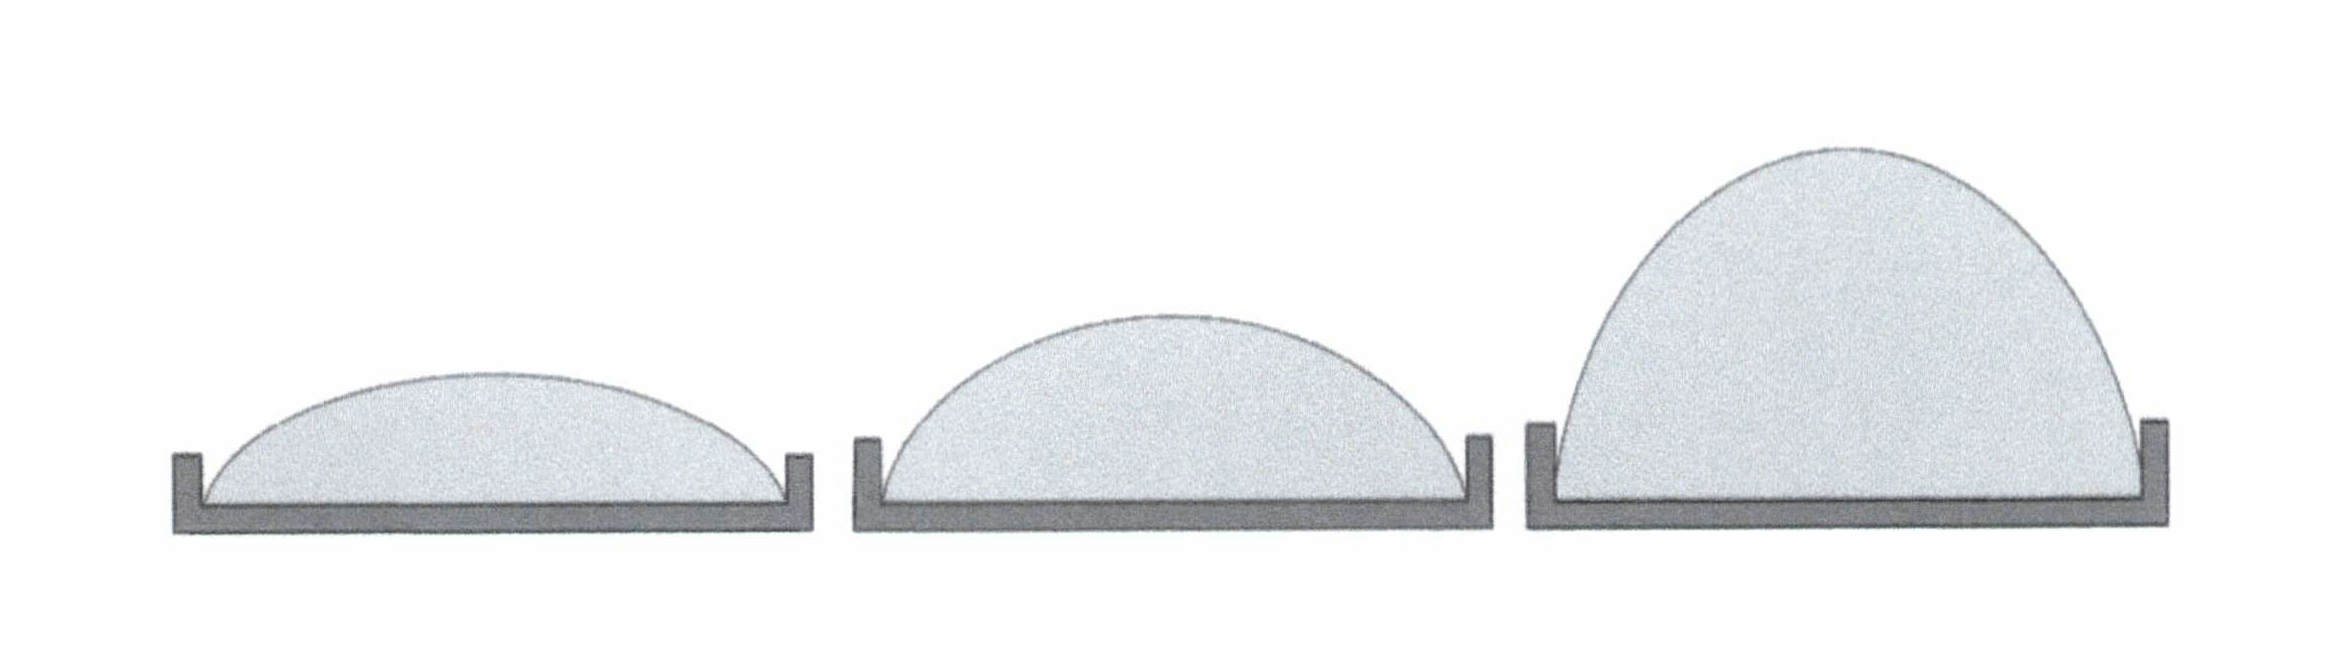
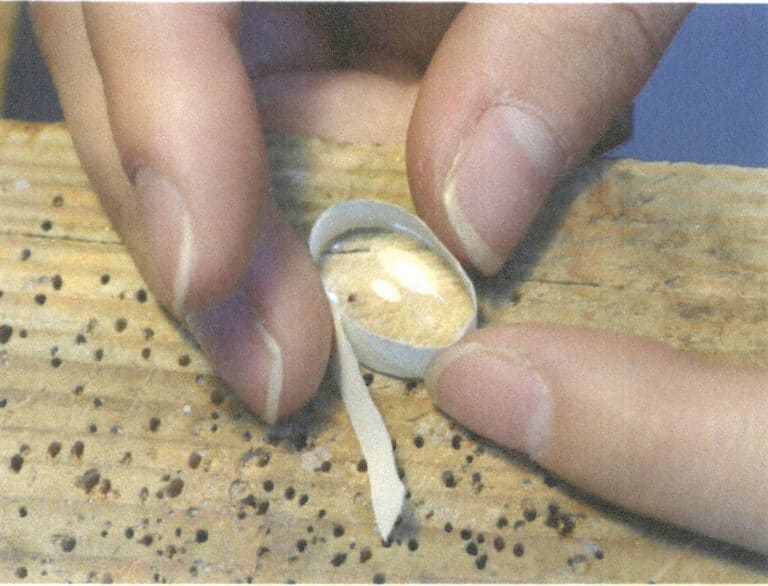
Figure 2-7 Measuring the circumference of the gem with a strip of paper
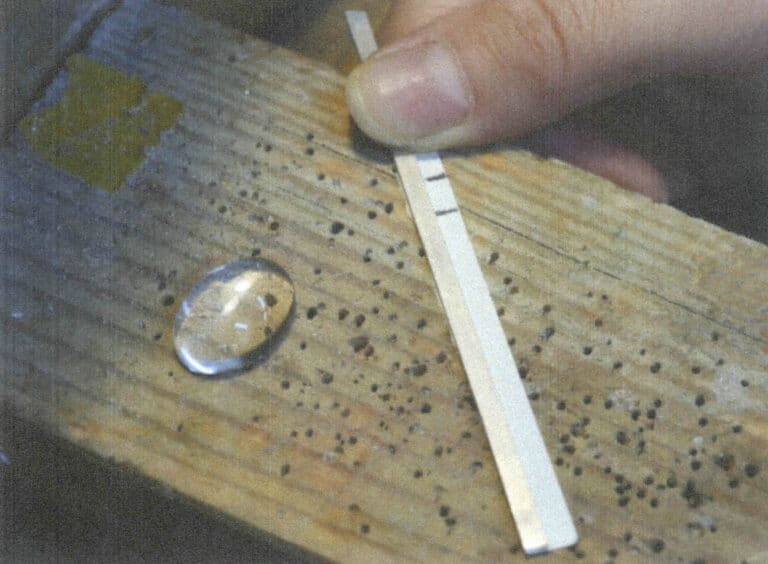
Figure 2-8 Determining the length of the metal edge
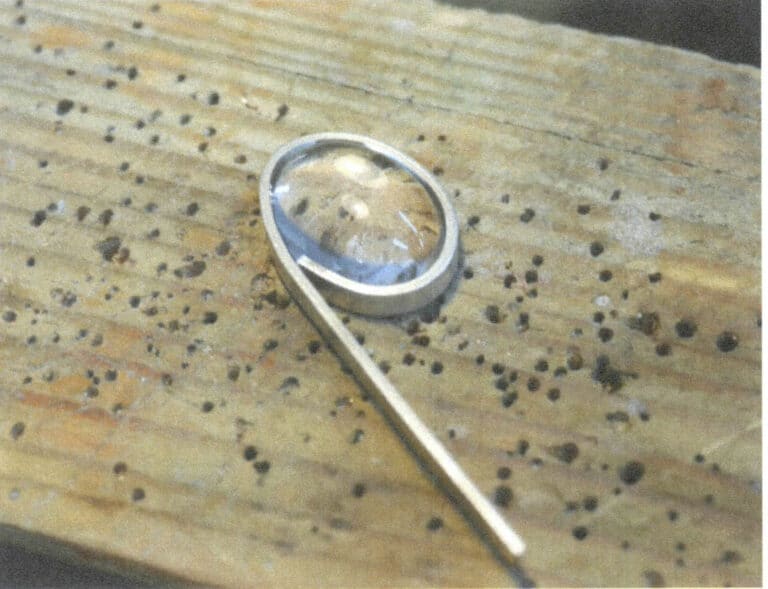
Figure 2-9 Bending the metal edge
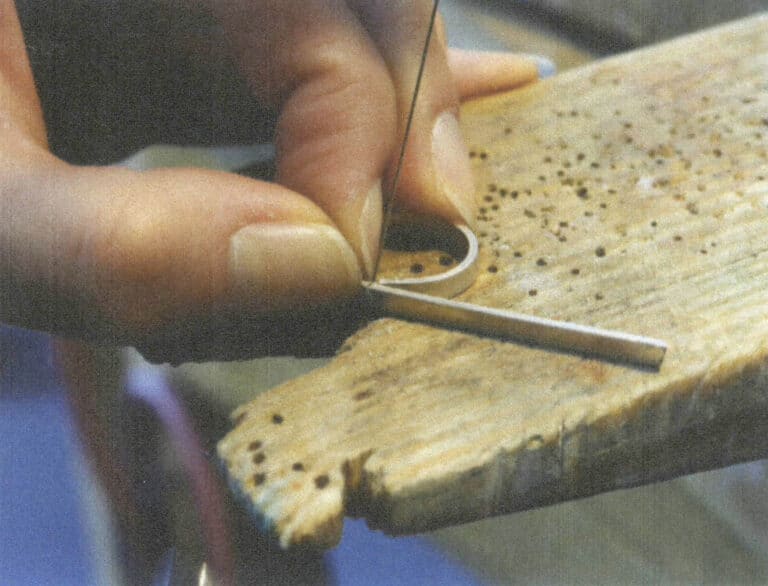
Figure 2-10 Cutting the metal edge
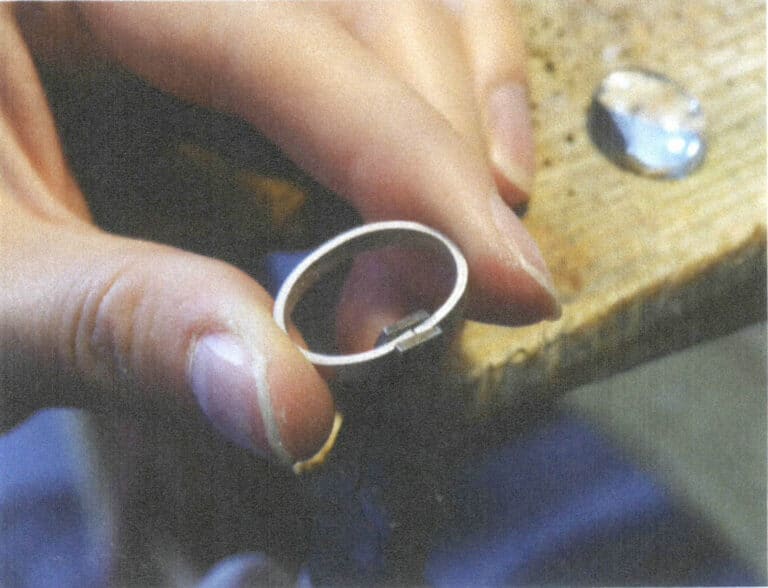
Figure 2-11 Tightening the joint
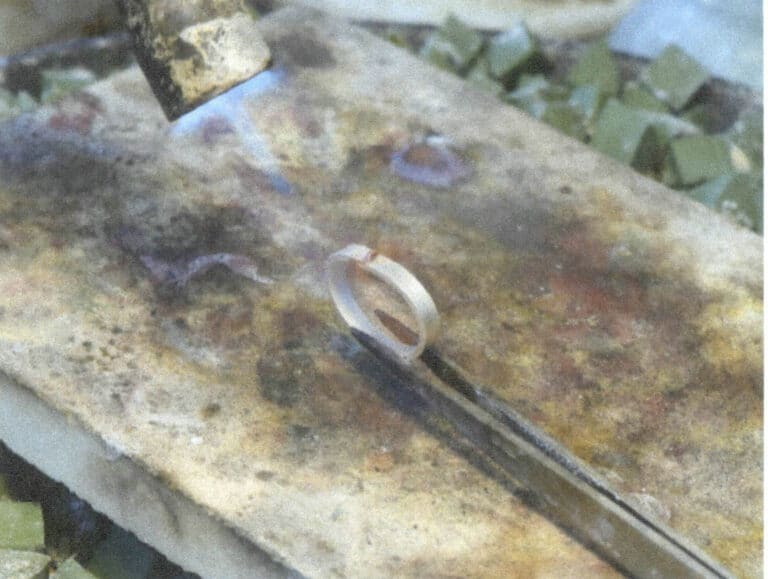
Figure 2-12 Welding the joint
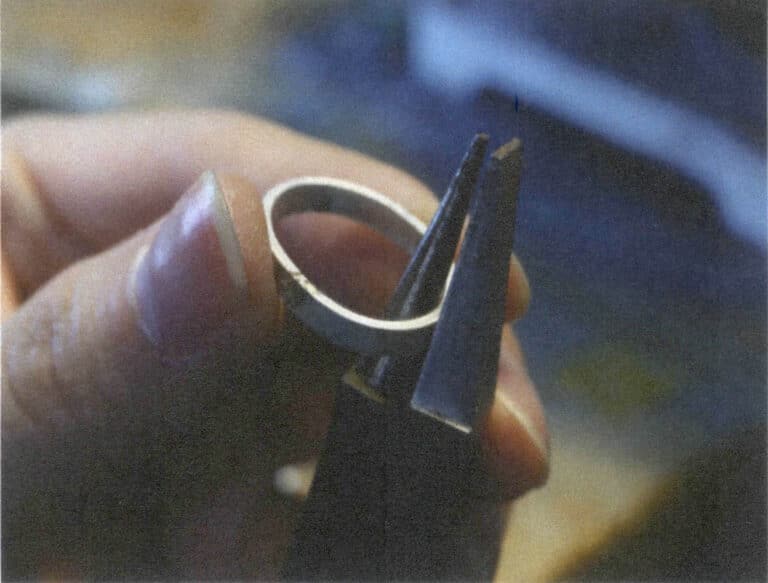
Figure 2-13 Adjusting the shape of the metal edge
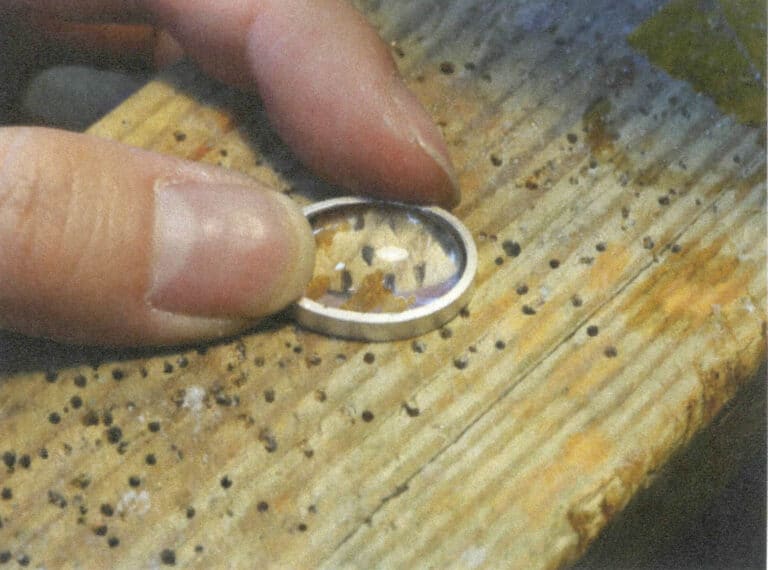
Figure 2-14 Testing the Setting Mount
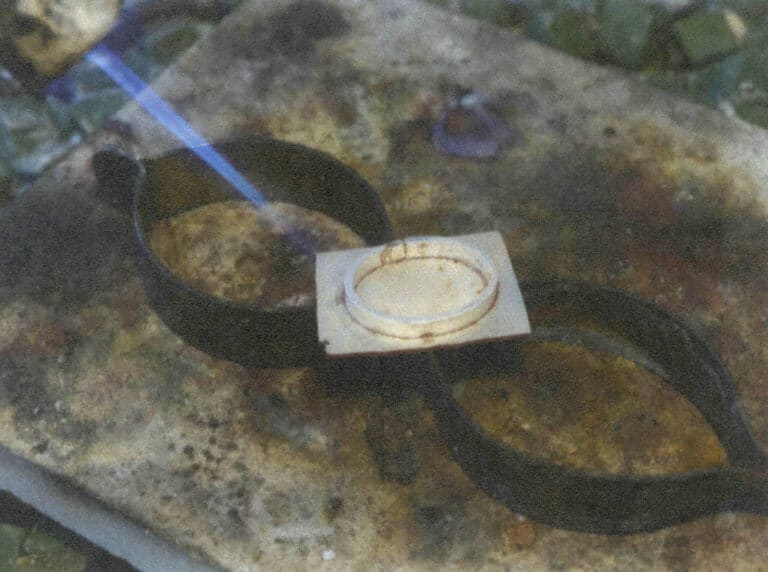
Figure 2-15 Welding Base
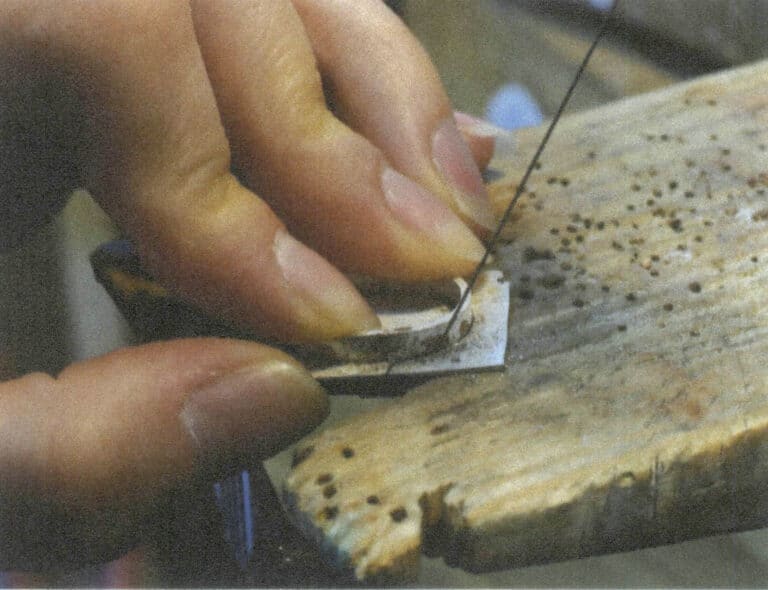
Figure 2-16 Sawing off the excess metal base surface on the outside

Figure 2-17 Grinding the edges
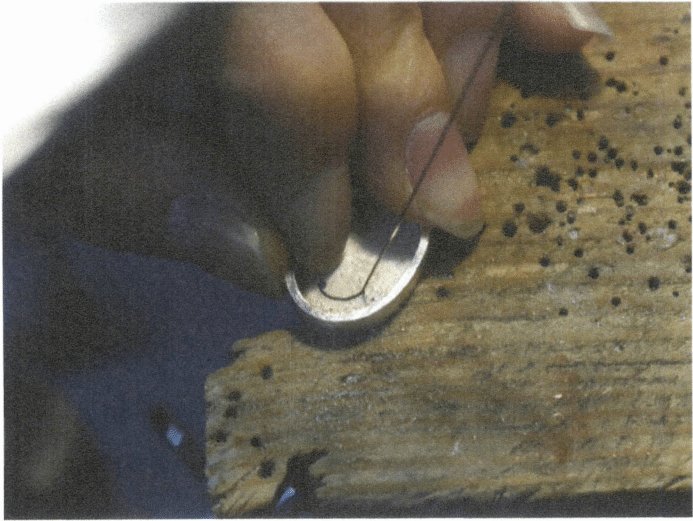
Figure 2-18 Hollow Base
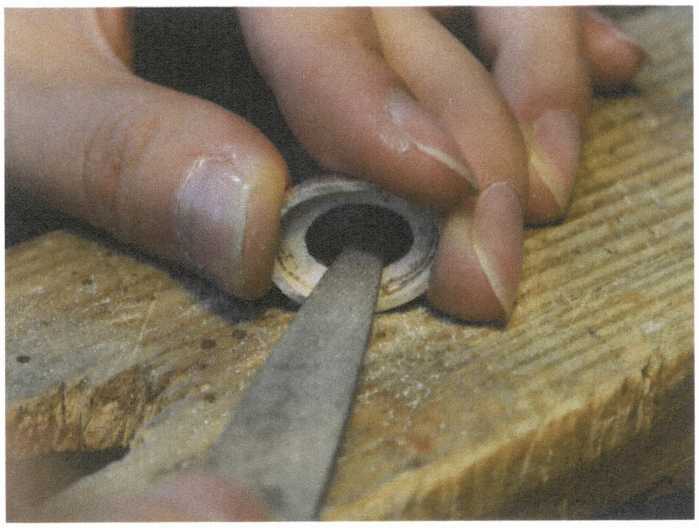
Figure 2-19 Trimming Hollow Edges
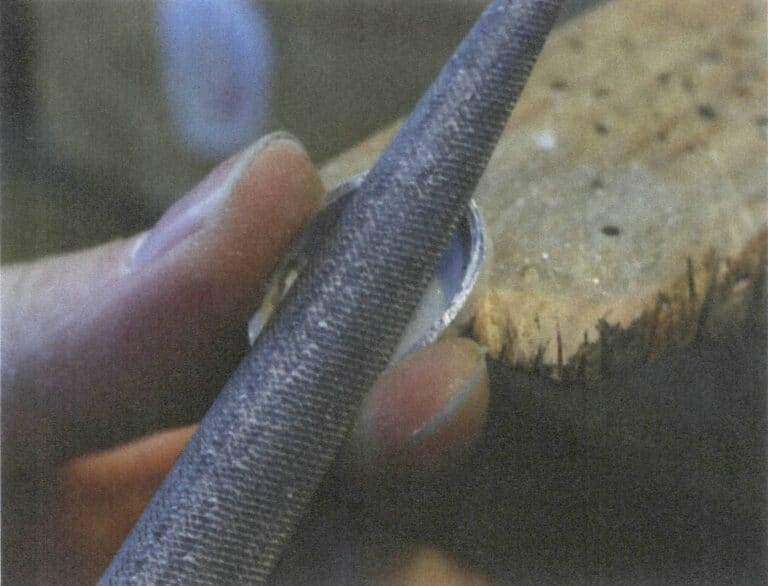
Figure 2-20 Processing the height of the metal edge
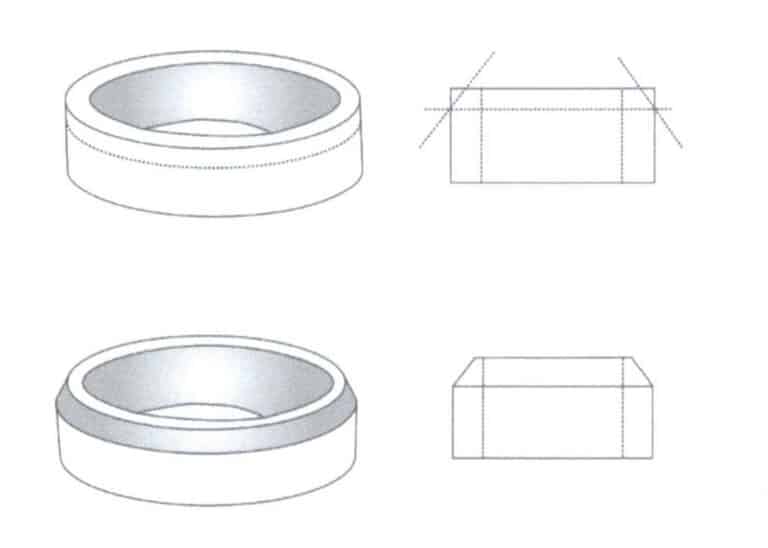
Figure 2-21 Method for handling thicker bezels
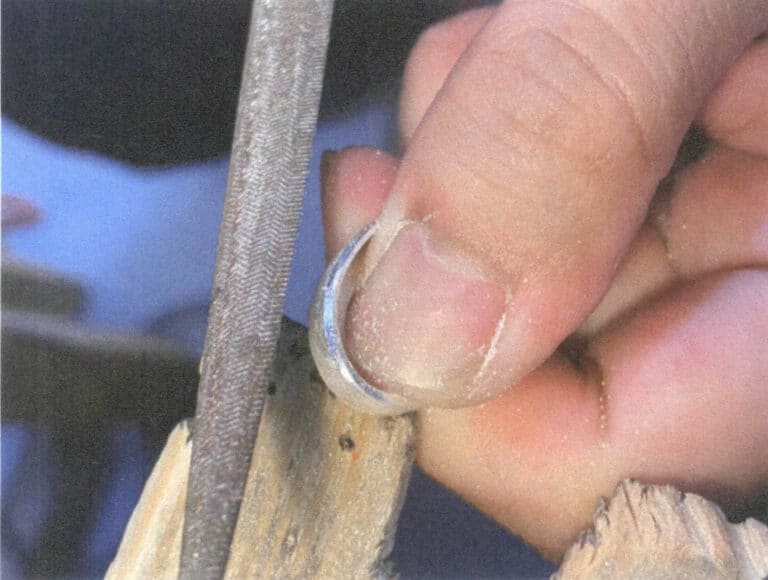
Figure 2-22 Grinding the slanted surface of the metal edge

Figure 2-23 Welding metal fittings
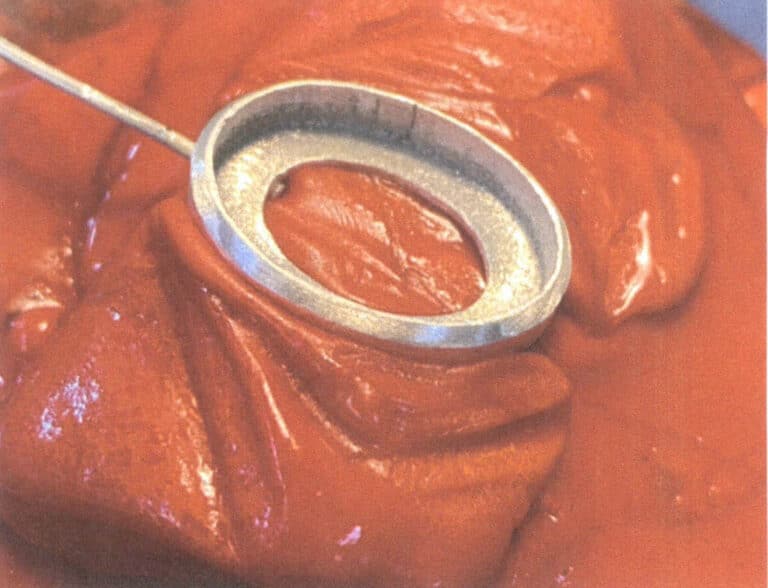
Figure 2-24 Fixing the Metal

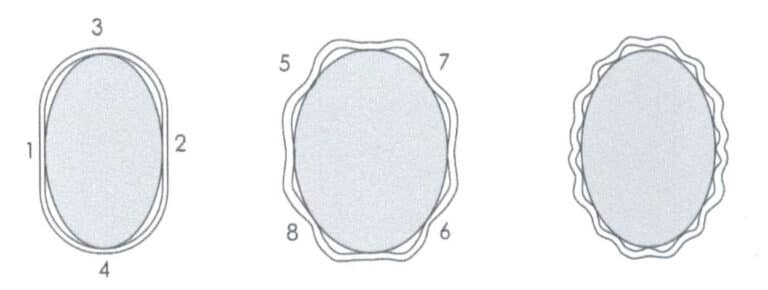
Figure 2-26 Order of Point Fixation
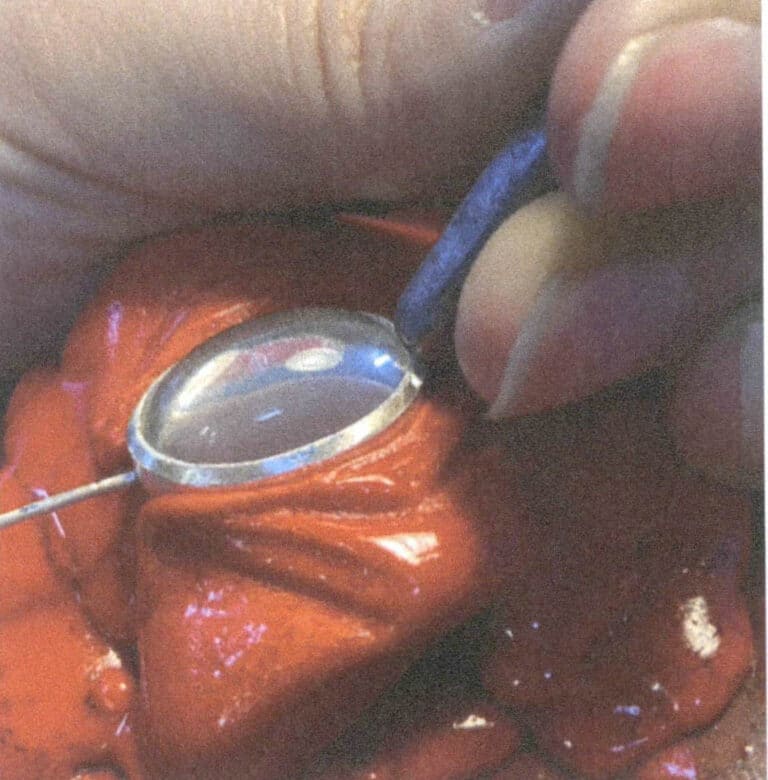
Figura 2-27 Poziția de utilizare a unei dălți cu cap plat
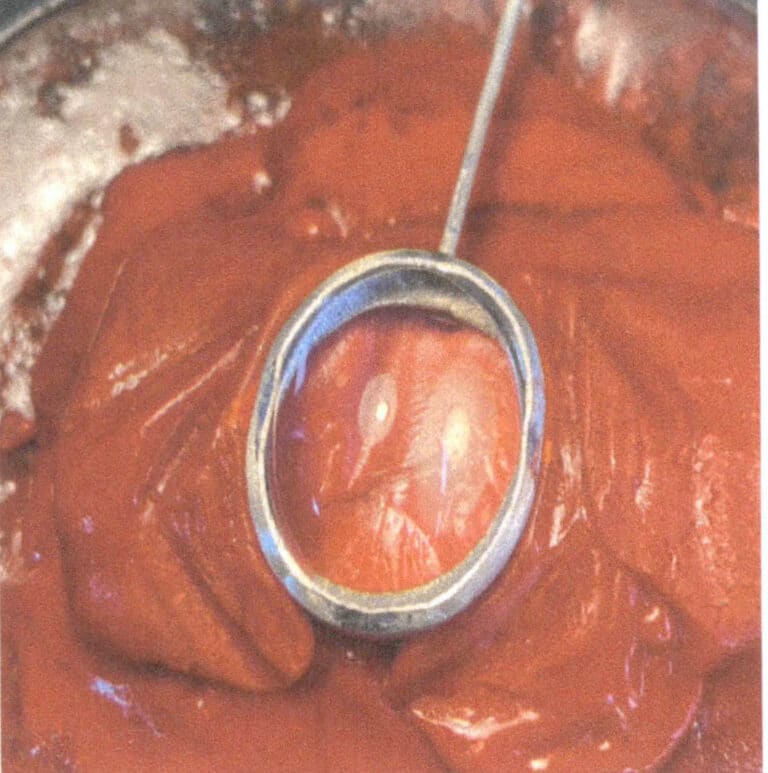
Figure 2-28 Symmetrical point fixation (four points)

Figure 2-29 Symmetrical point fixation (eight points)
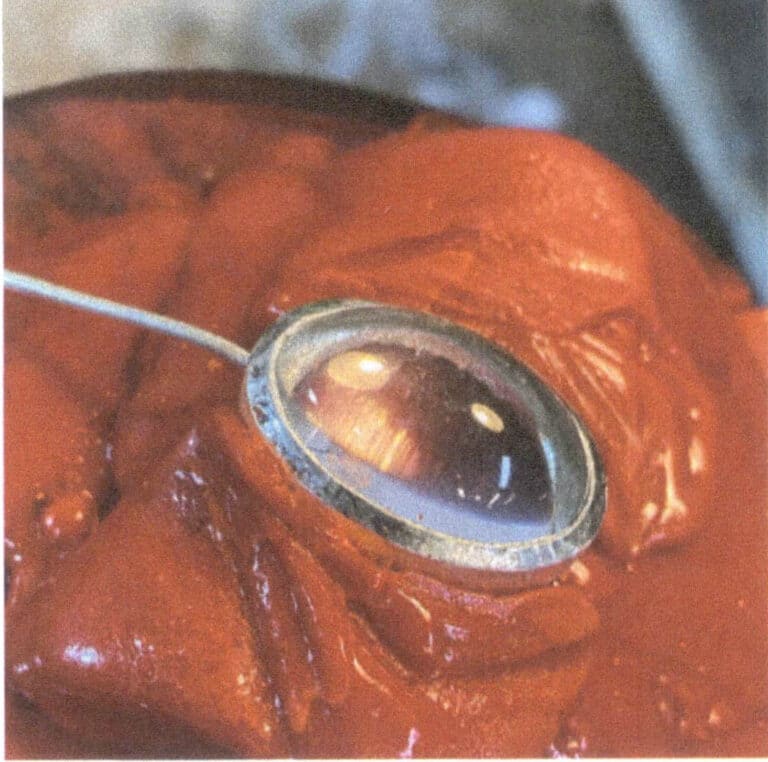
Figure 2-30 Cyclic Edge Pressing

Figure 2-31 Trimming
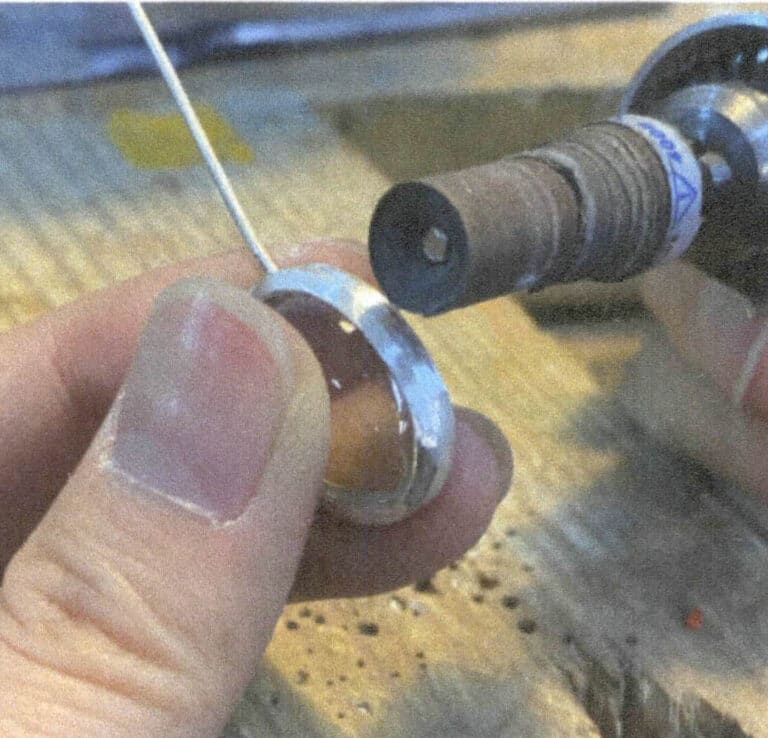
Figure 2-32 Using sandpaper rolls for polishing.
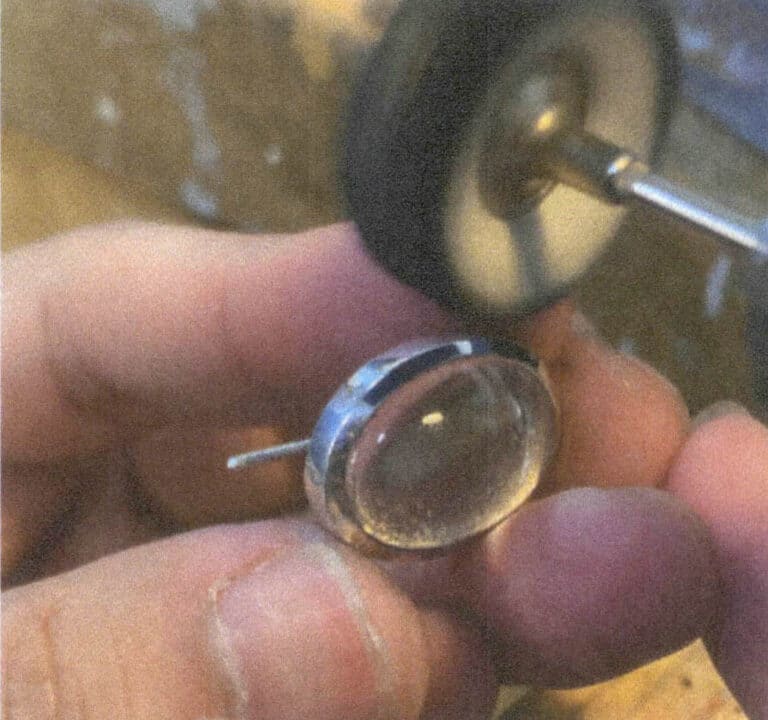
Figure 2-33 Polishing with a Polishing Wheel
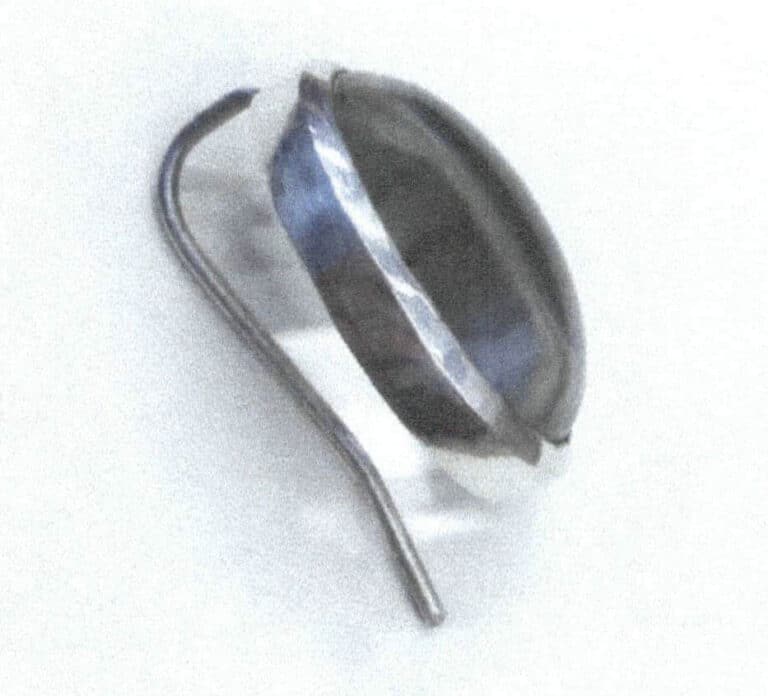

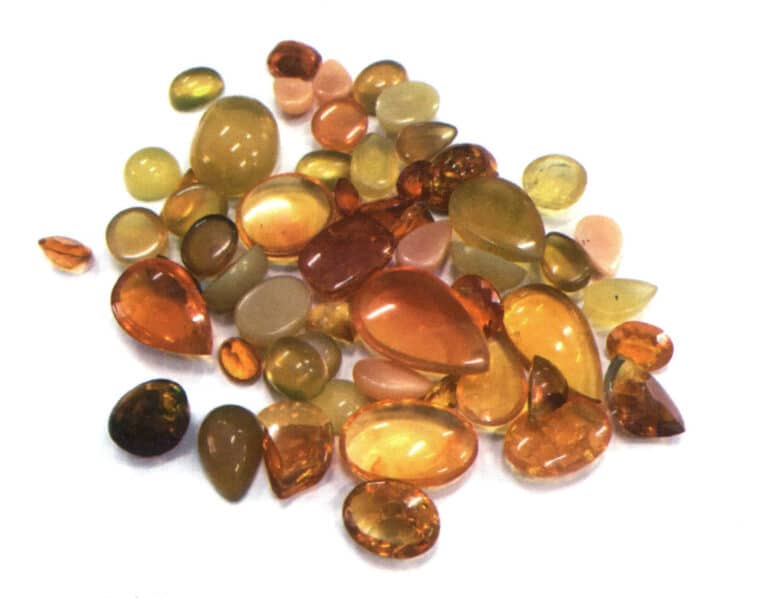
Figure 2-35 Material preparation
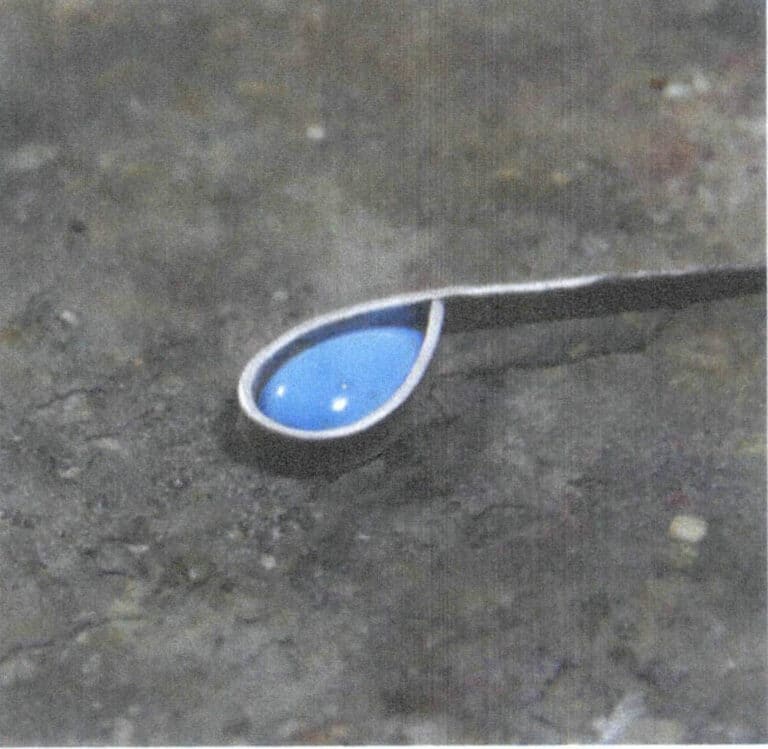
Figure 2-36 Bending metal edges
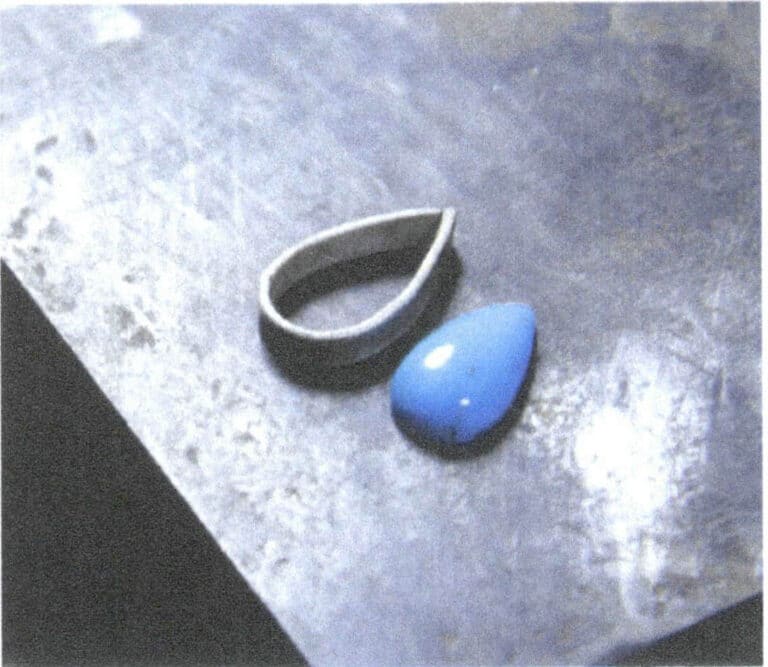
Figure 2-37 Cutting Metal Edges
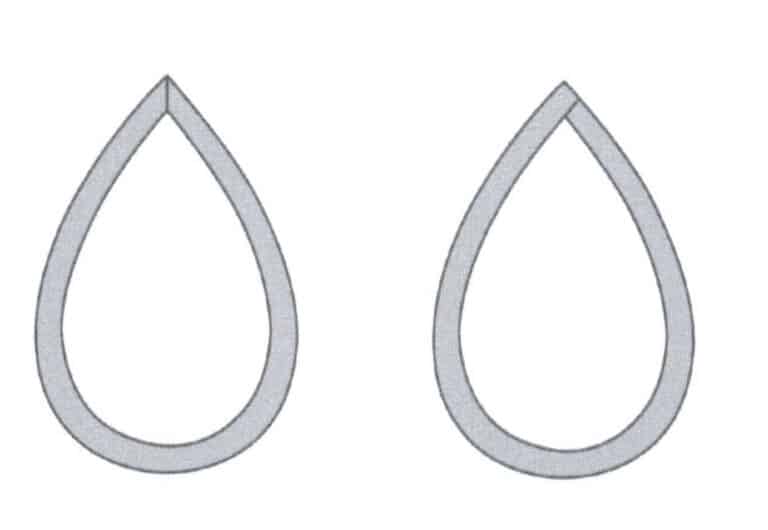
Figure 2-38 Two Methods for Processing the Joint of Drop-Shaped Metal Edges
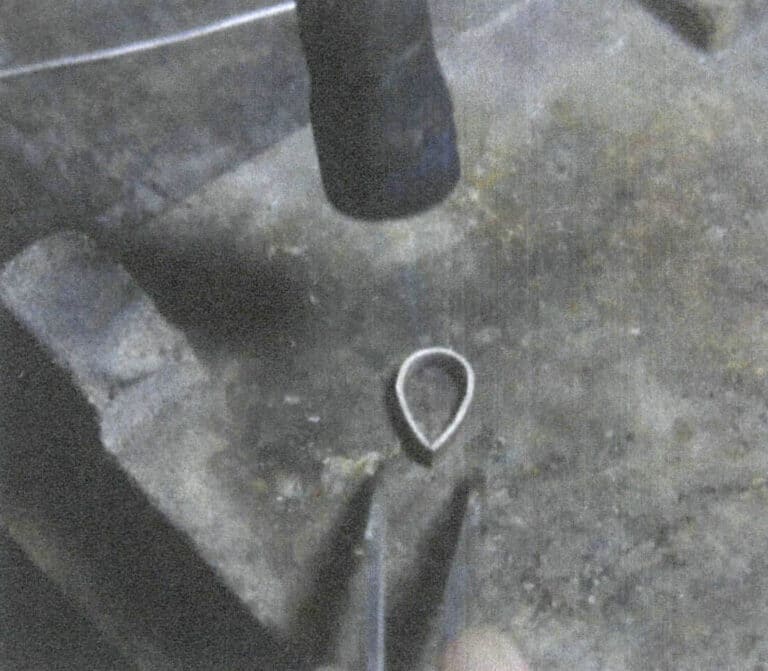
Figure 2-39 Welding Metal Edges
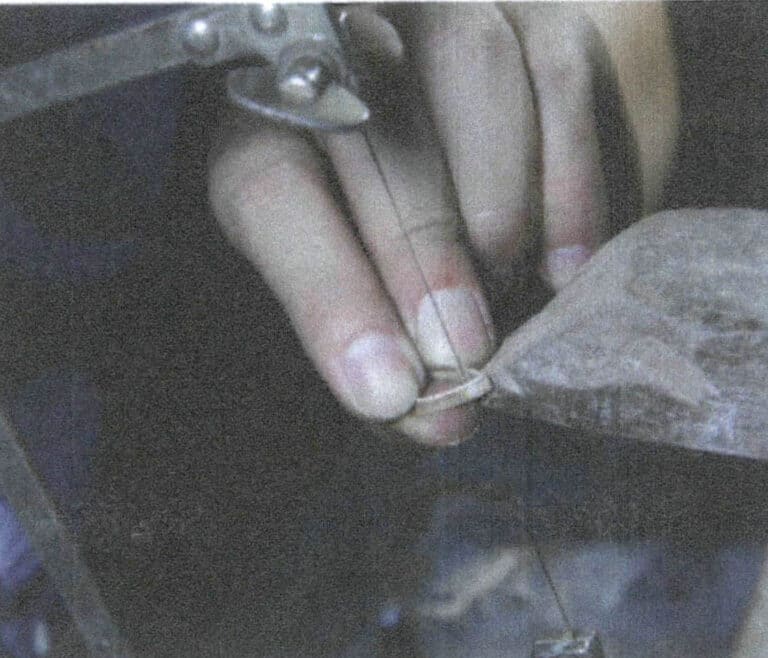
Figure 2-40 Cleaning Corner Solder
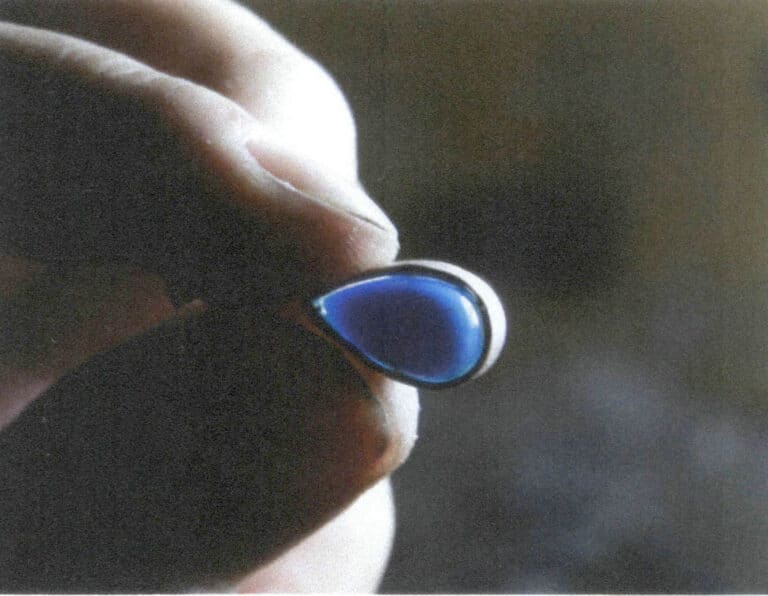
Figure 2-41 Testing the Setting Mount

Figure 2-42 Welding the Metal Base
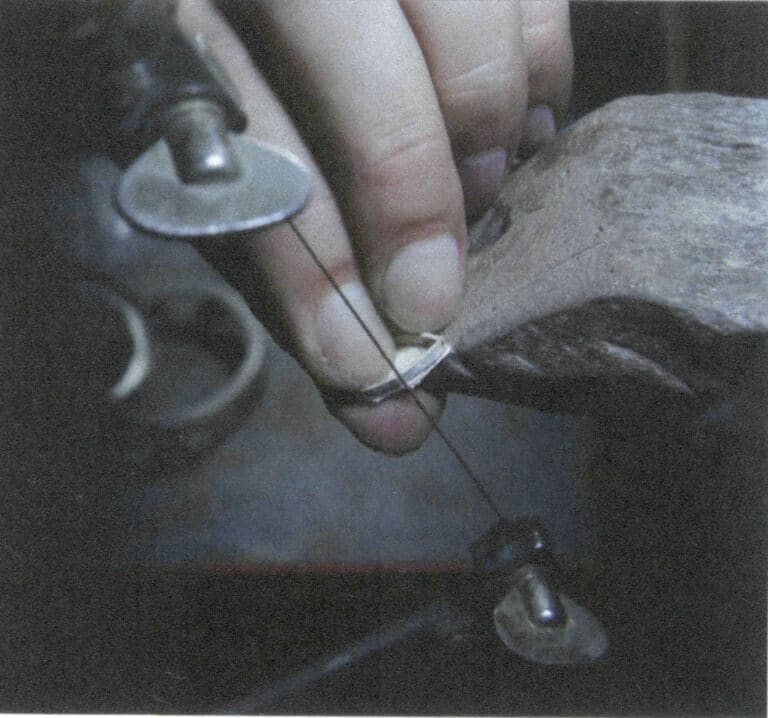
Figure 2-43 Sawing off the excess metal base on the outside
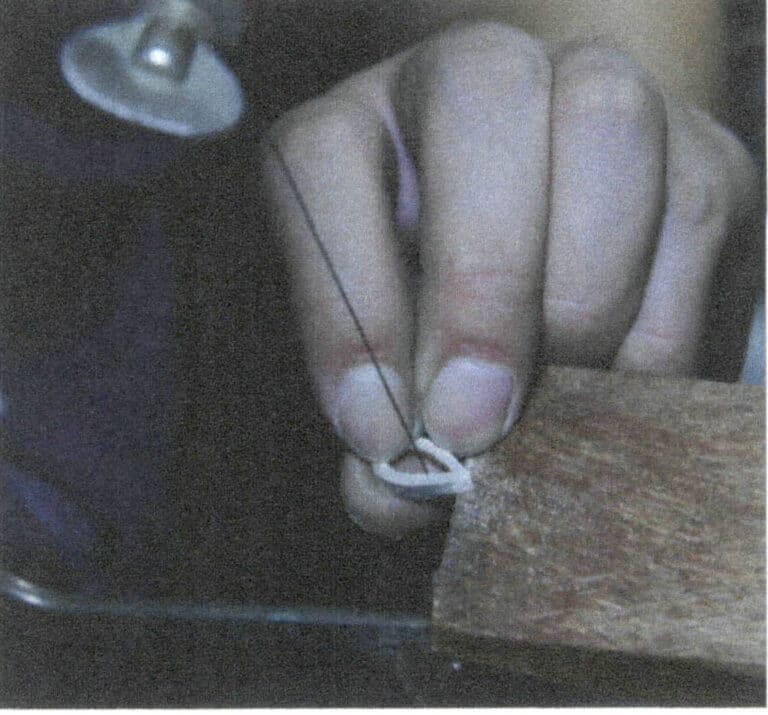
Figure 2-44 Hollow the metal base
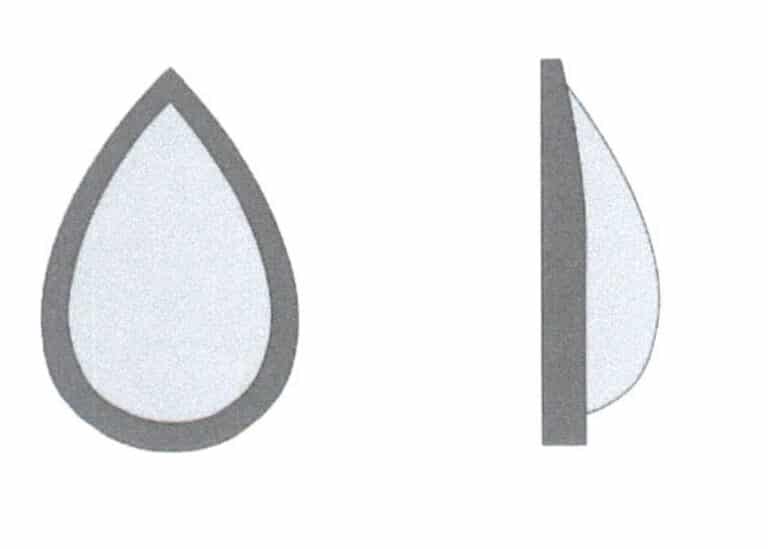
Figure 2-45 Treatment of drop-shaped cabochon gemstone metal edge
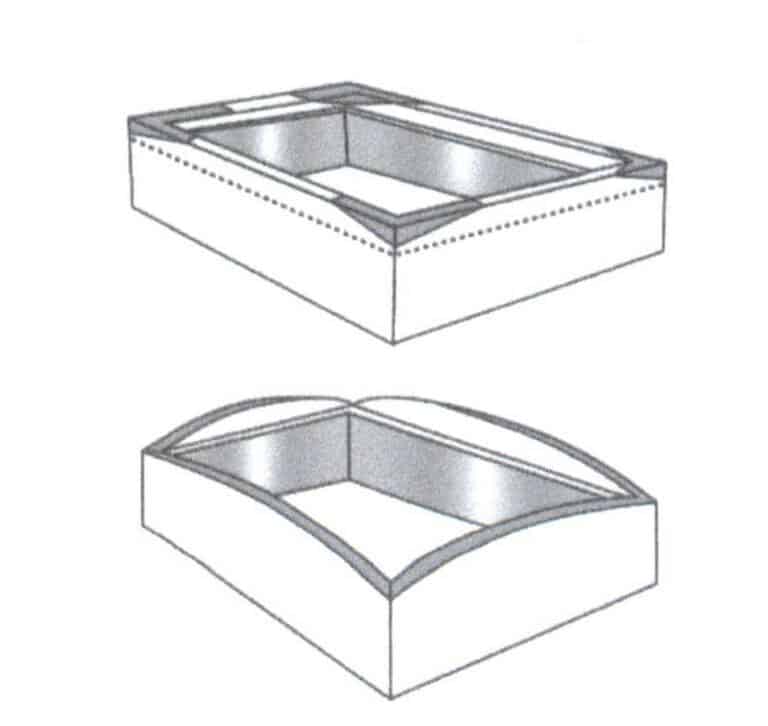
Figure 2-46 Treatment of rectangular-shaped arc cabochon gemstone metal edge
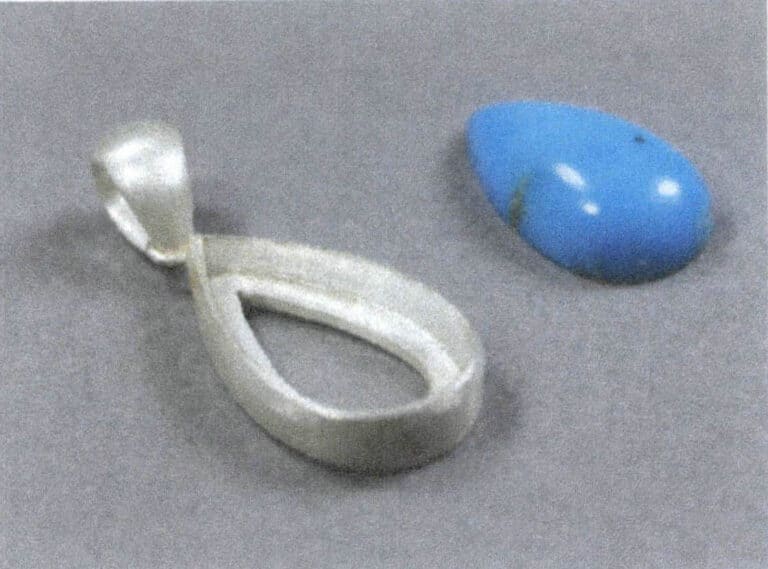
Figure 2-47 Welding Metal Fittings
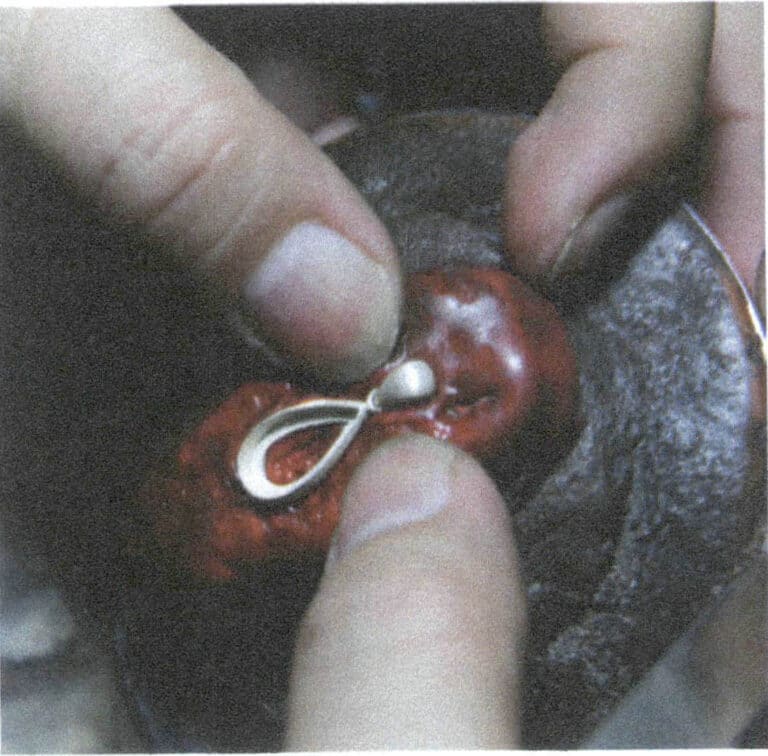
Figure 2-48 Fixing the Metal
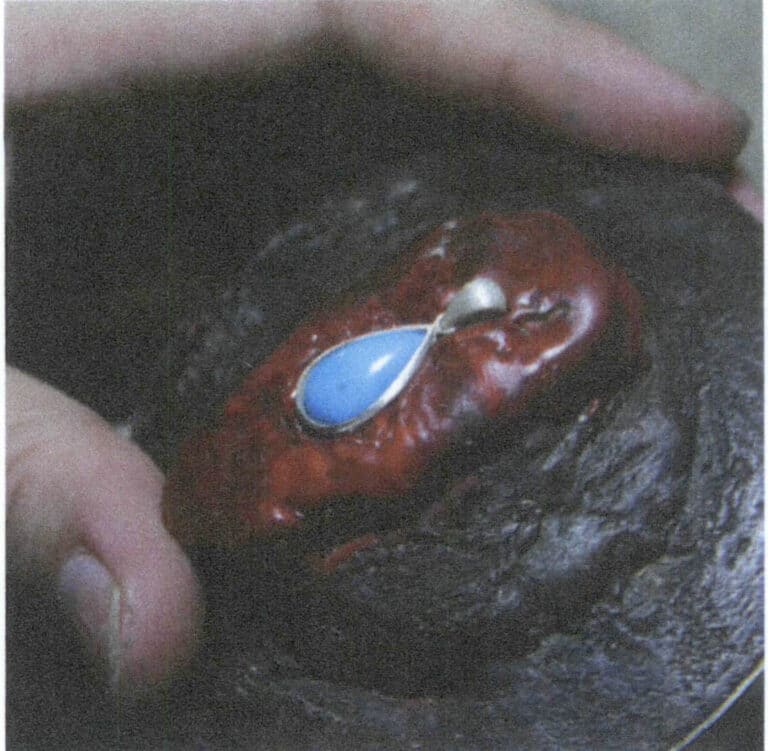
Figure 2-49 Placing the Stone
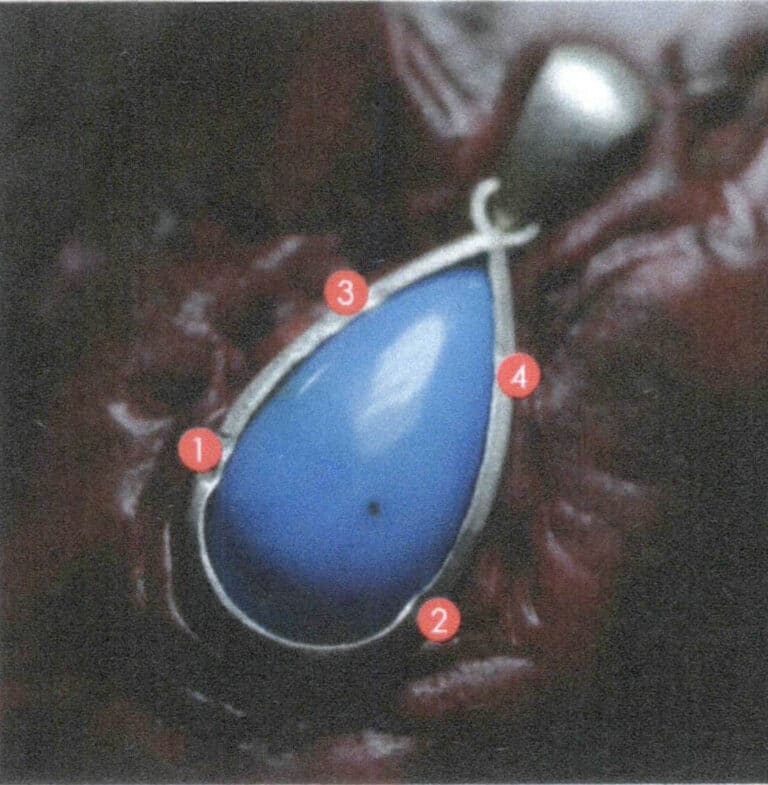
Figure 2-50 Point Fixation Sequence
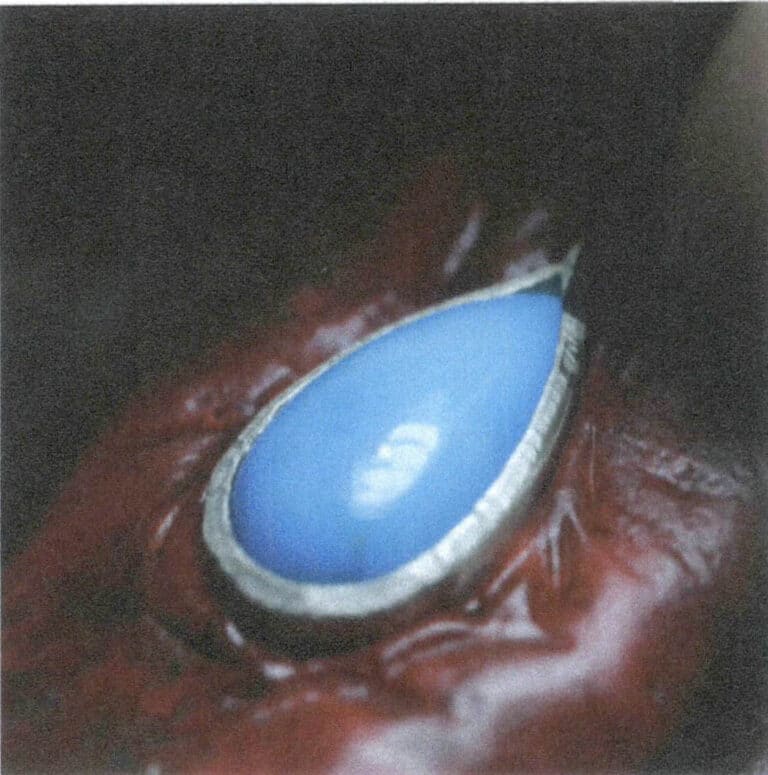
Figure 2-51 Cyclic Edge Pressing
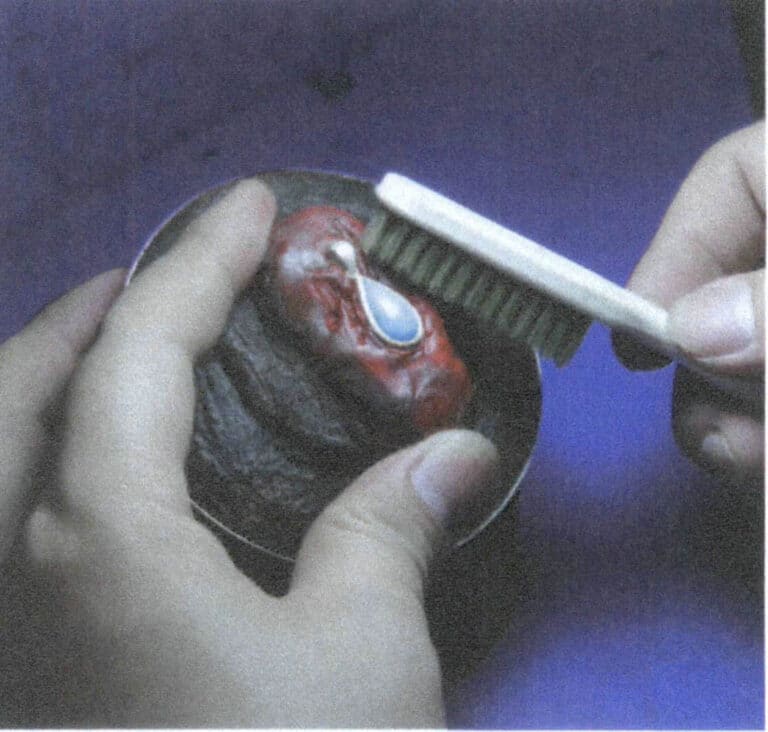
Figure 2-52 Cleaning Impurities and Checking the Tightness of the Bezel Setting
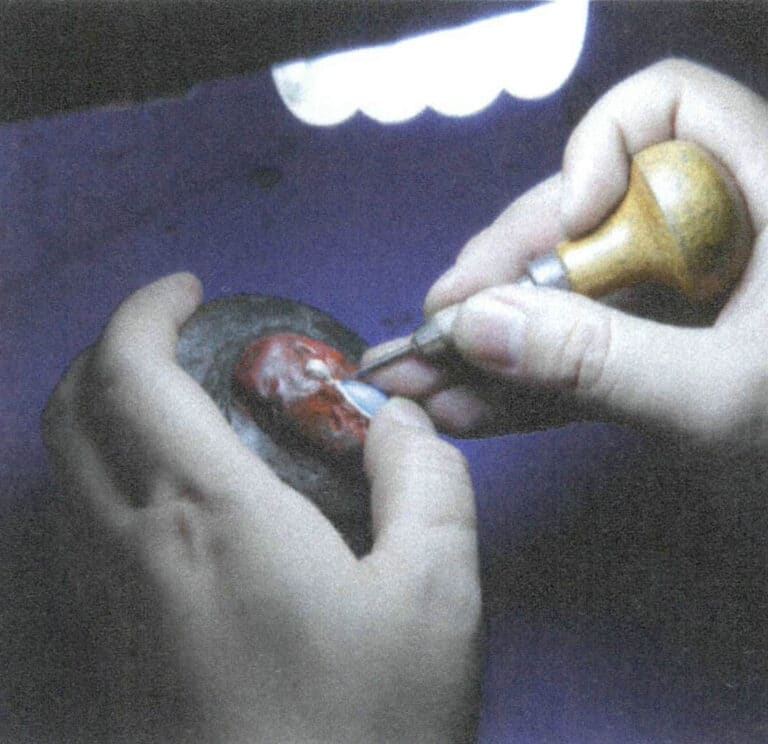
Figure 2-53 Trimming the inner metal edge of the metal
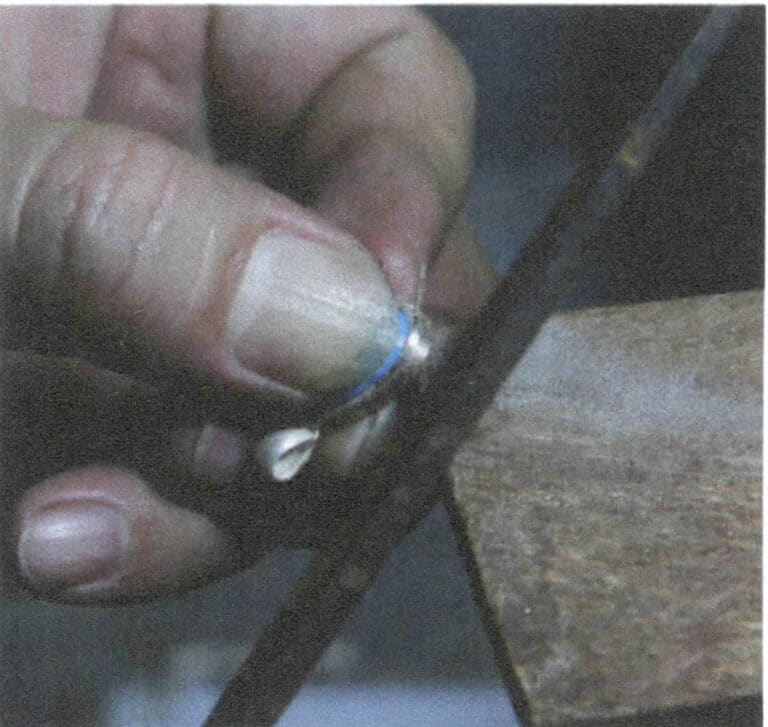
Figure 2-54 Trimming the outer metal edge of the metal
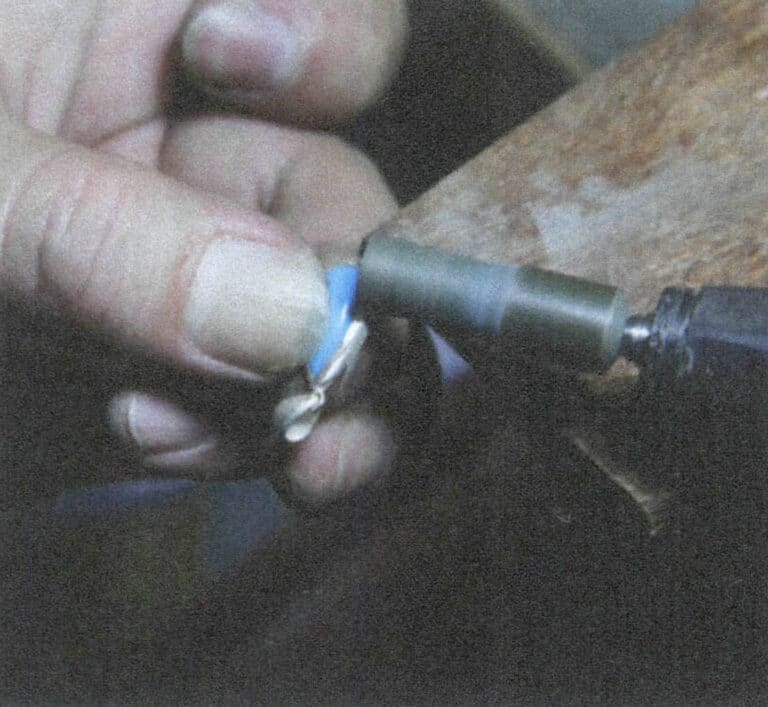
Figure 2-55 Polishing with sandpaper rolls
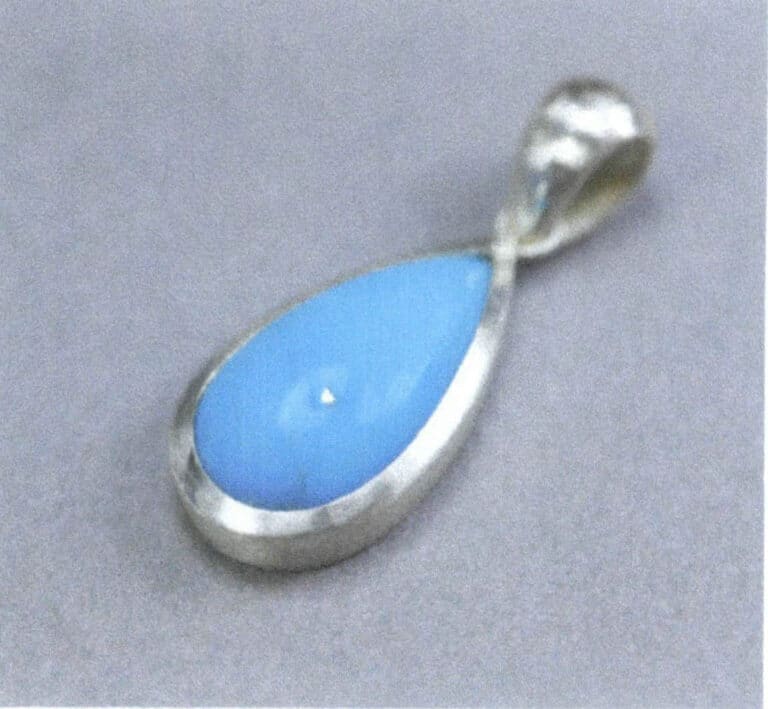
Figure 2-56 Completing the drop-shaped cabochon gemstone bezel setting

Figure 2-57 Round brilliance cut gemstone bezel setting
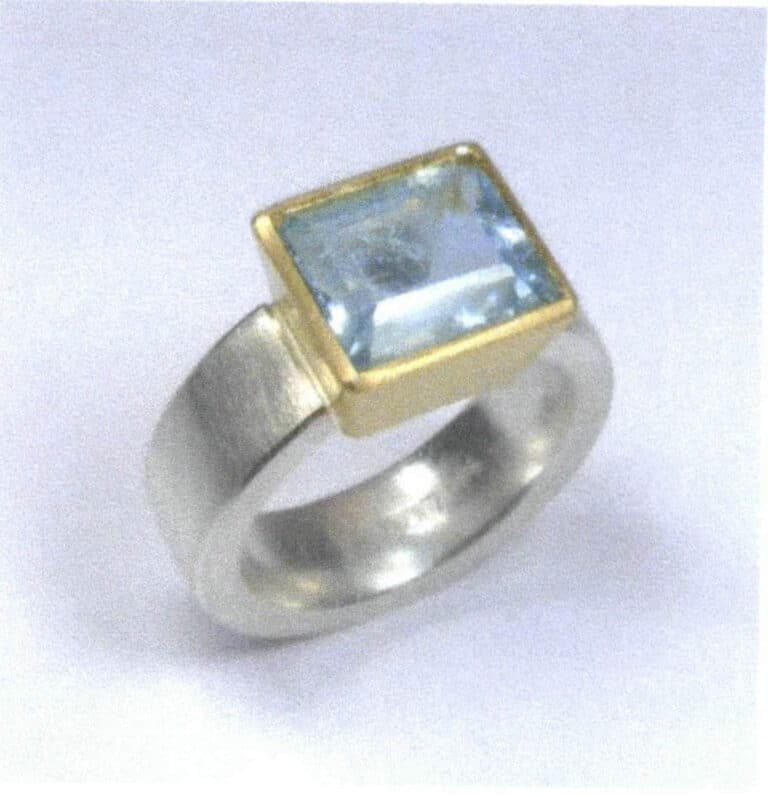
Figure 2-58 Rectangular brilliance cut gemstone bezel Setting
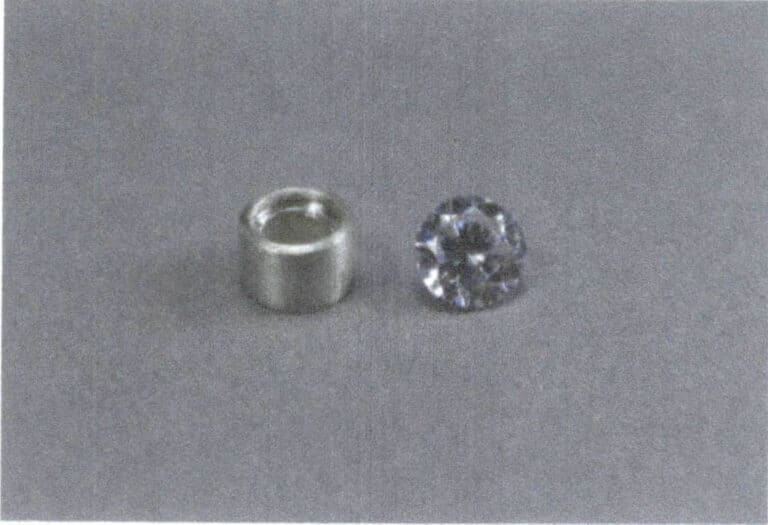
Figure 2-59 Round Brilliance Cut Gemstones and Bezel
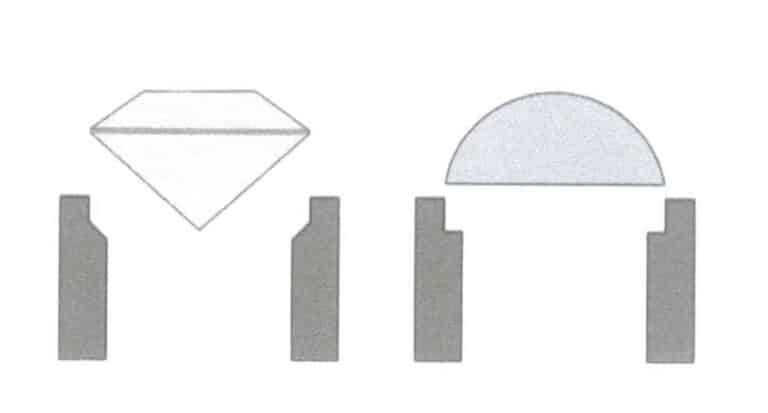
Figure 2-60 Cross-section of stone setting position of Faceted Gemstones and cabochon Gemstones in Settings
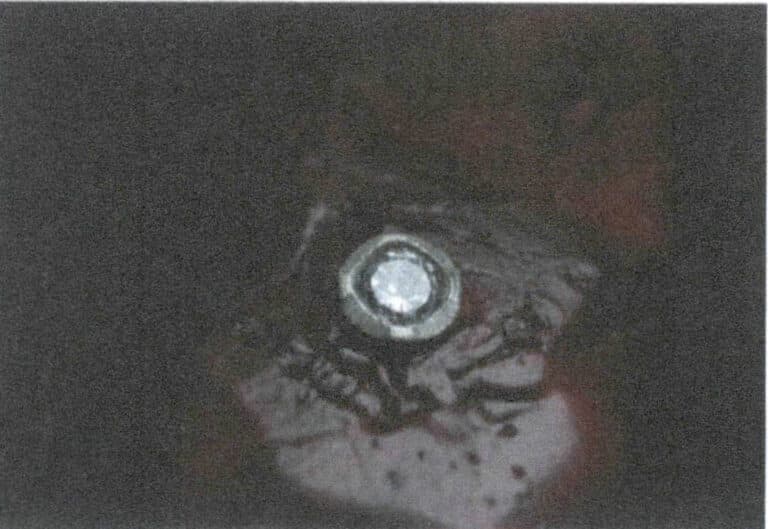
Figure 2-61 Spot Fixing
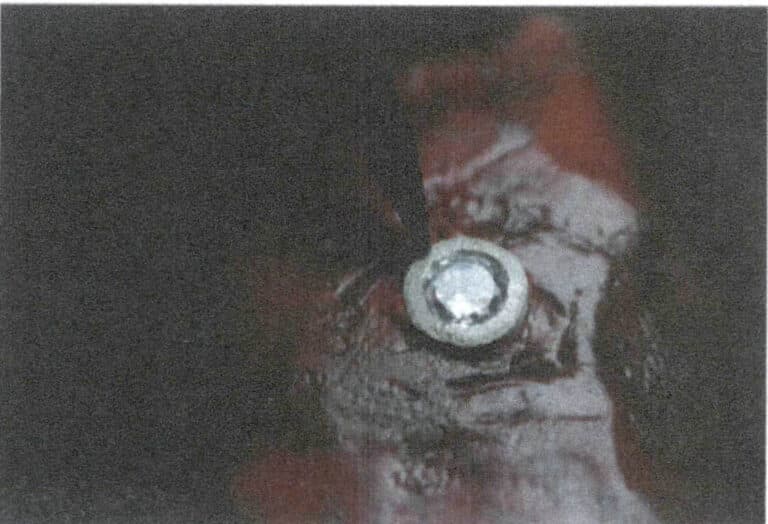
Figure 2-62 Cyclic Edge Pressing
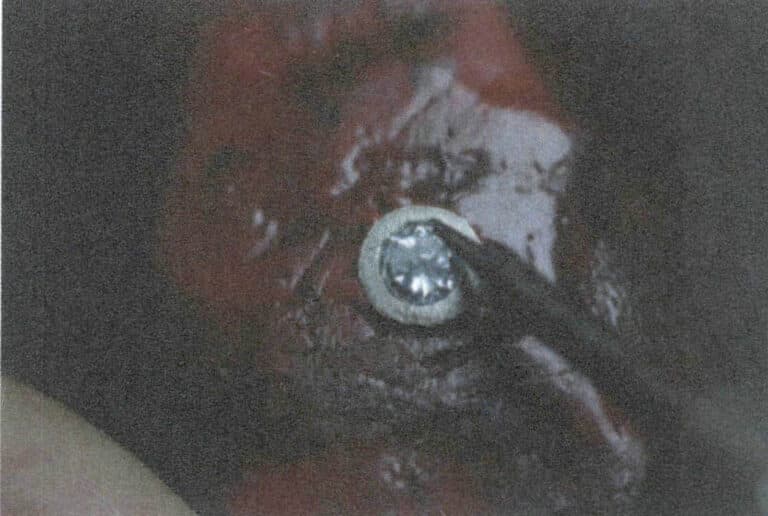
Figure 2-63 Repairing the Inner Side of the Metal Edge with a Pusher
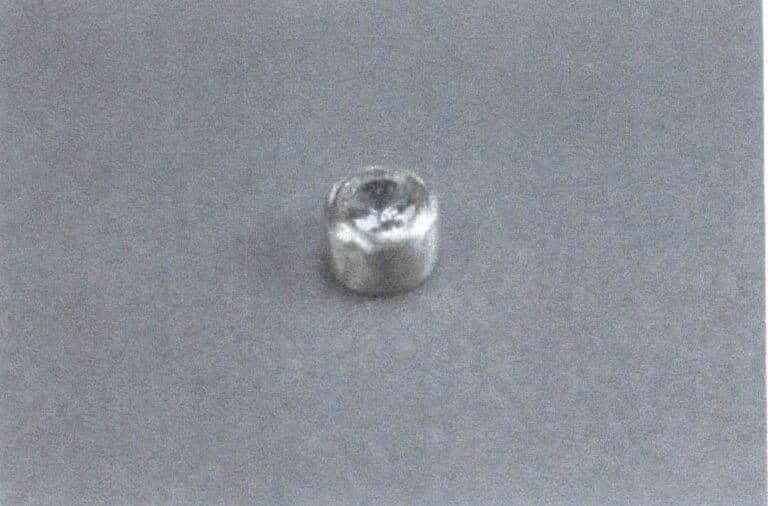
Figure 2-64 Completed round brilliance cut gemstone bezel setting
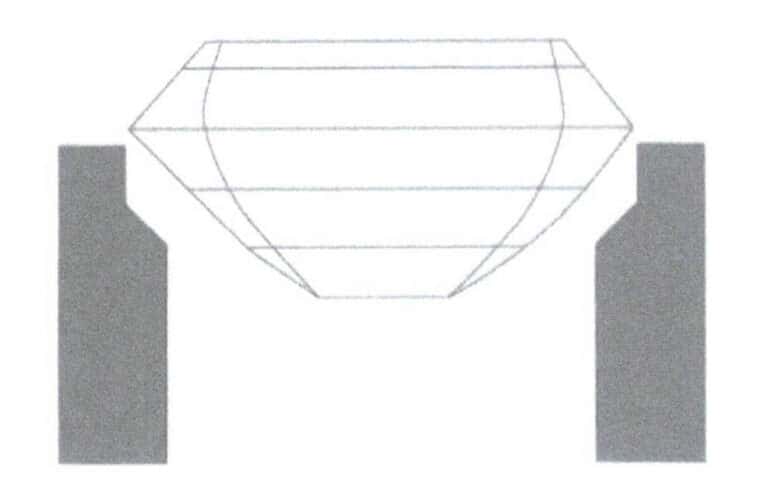
Figure 2-65 Cross-section of a rectangular brilliance cut gemstone bezel setting
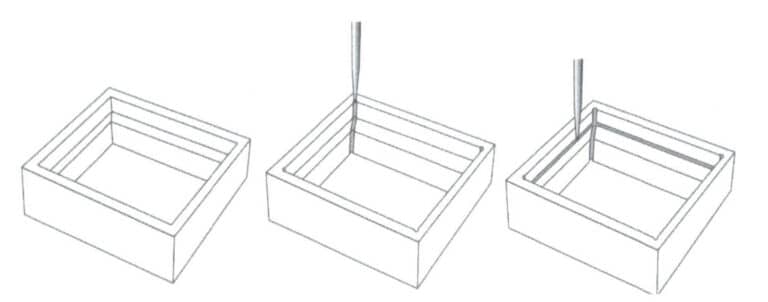
Figure 2-66 Position of the inner groove of the metal edge of the rectangular brilliance cut gemstone bezel setting
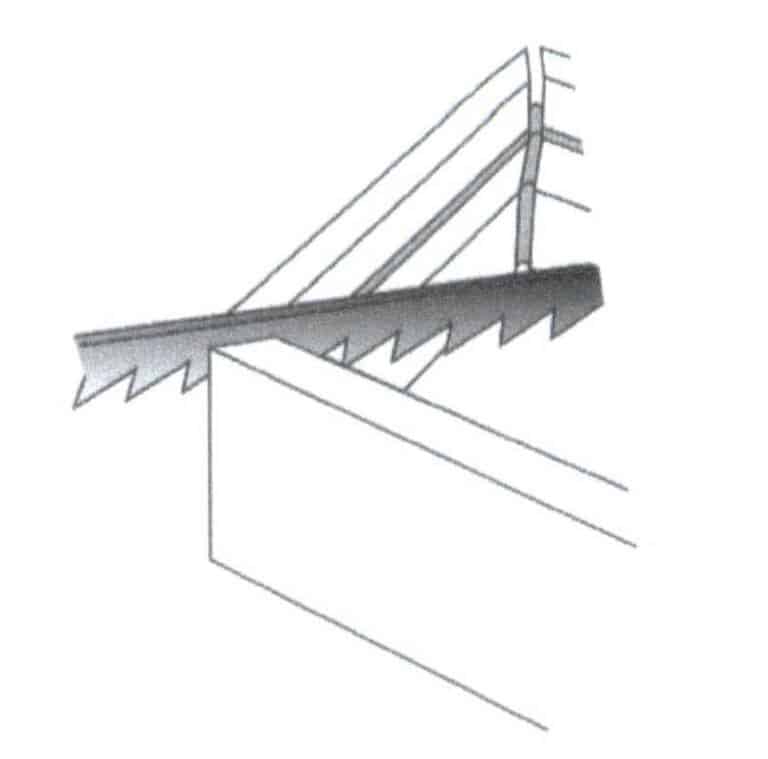
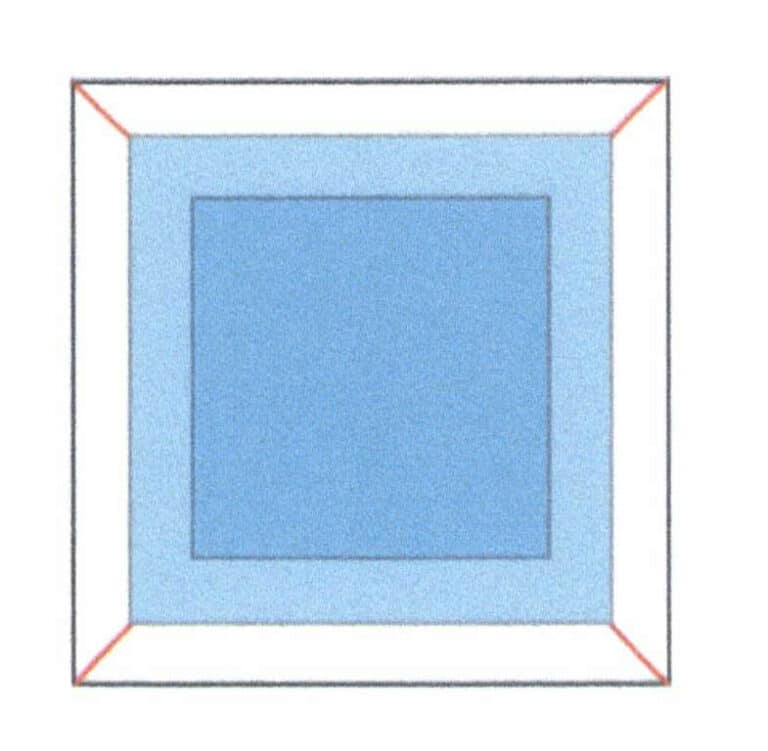
Figure 2-68 The red line indicates the saw cut
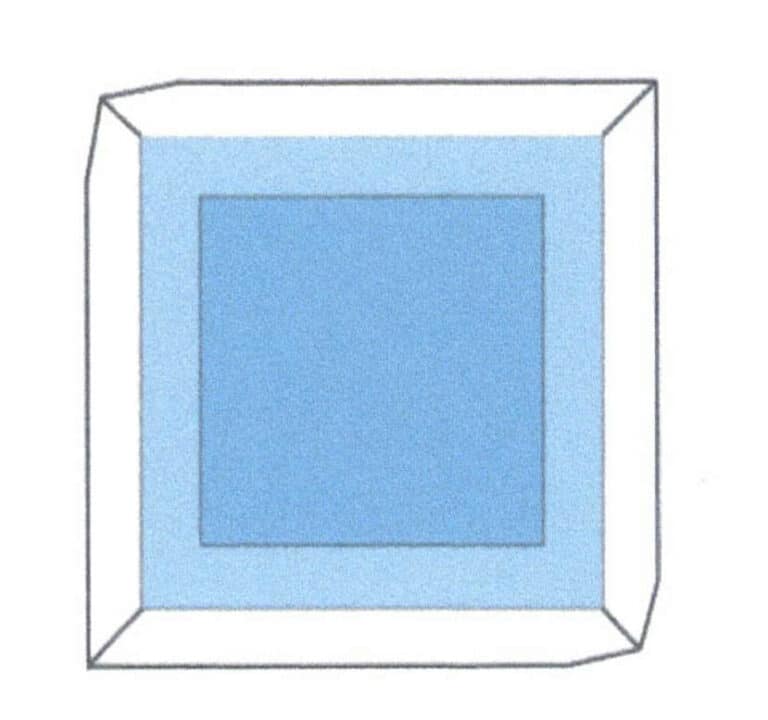
Figure 2-69 Squeeze the metal edge at the right angle in a diagonal order
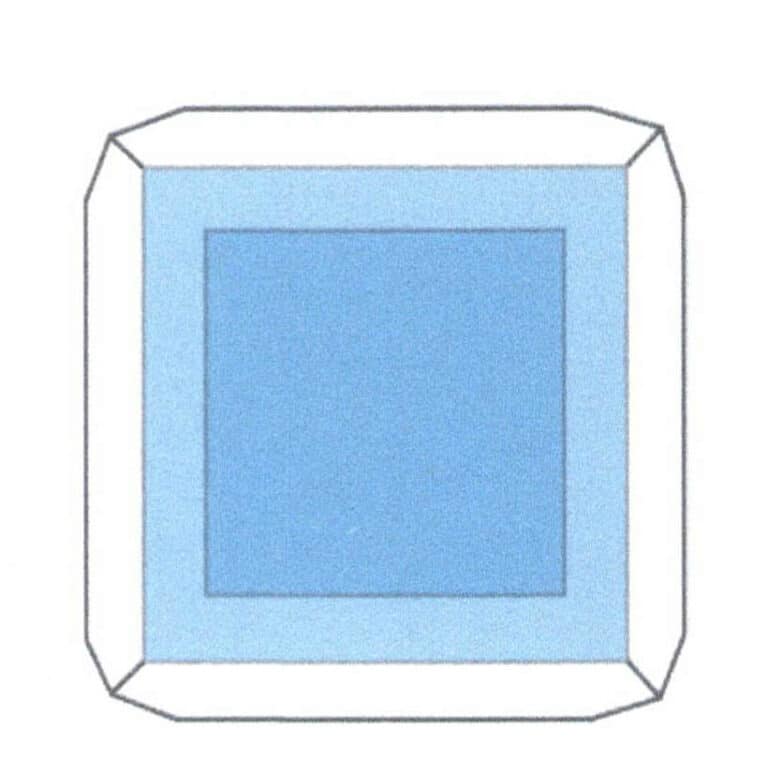
Figure 2-70 Evenly complete the squeezing at all four corners
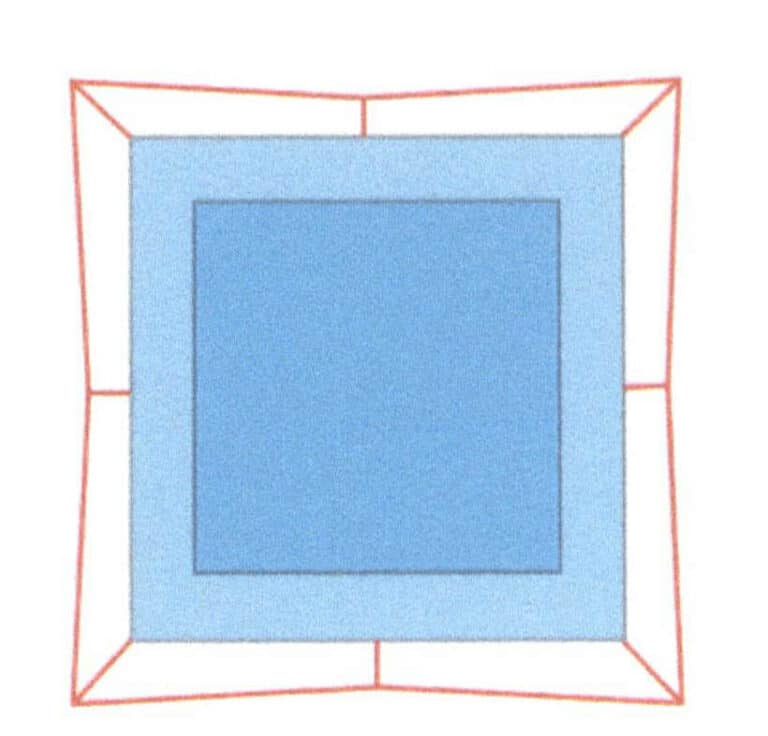
Figure 2-71 Demonstration of incorrect stone setting
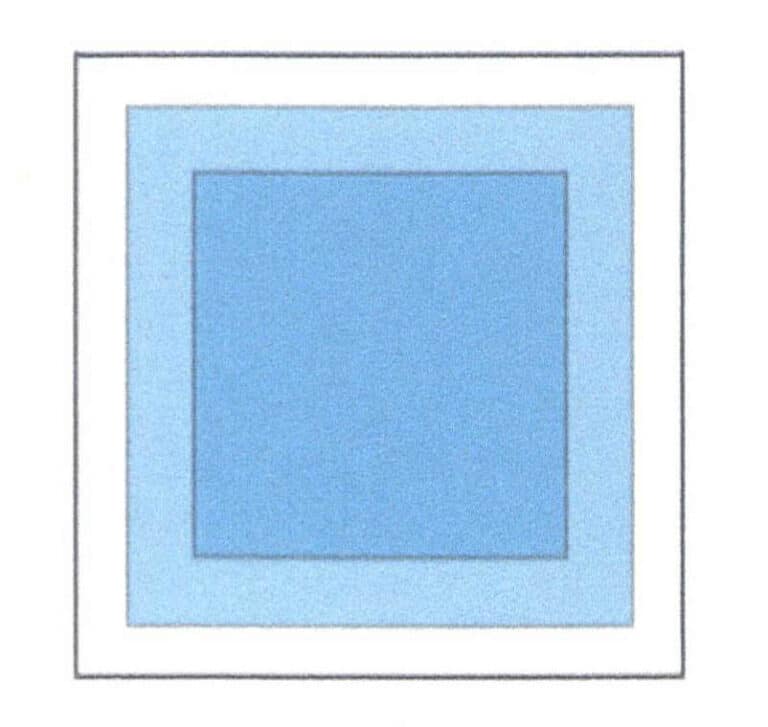
Figure 2-72 Top View of Compressed Metal Edge
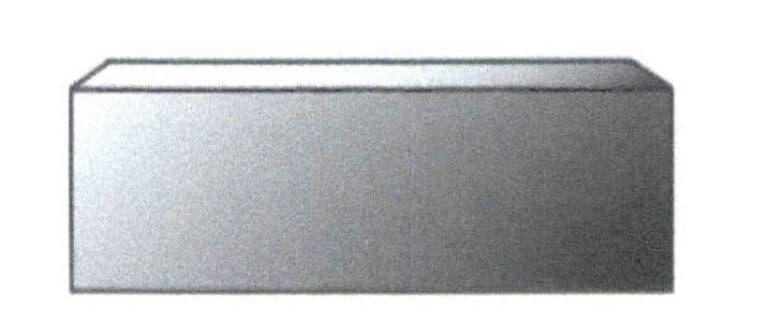
Figure 2-73 Side View of Metal Edge
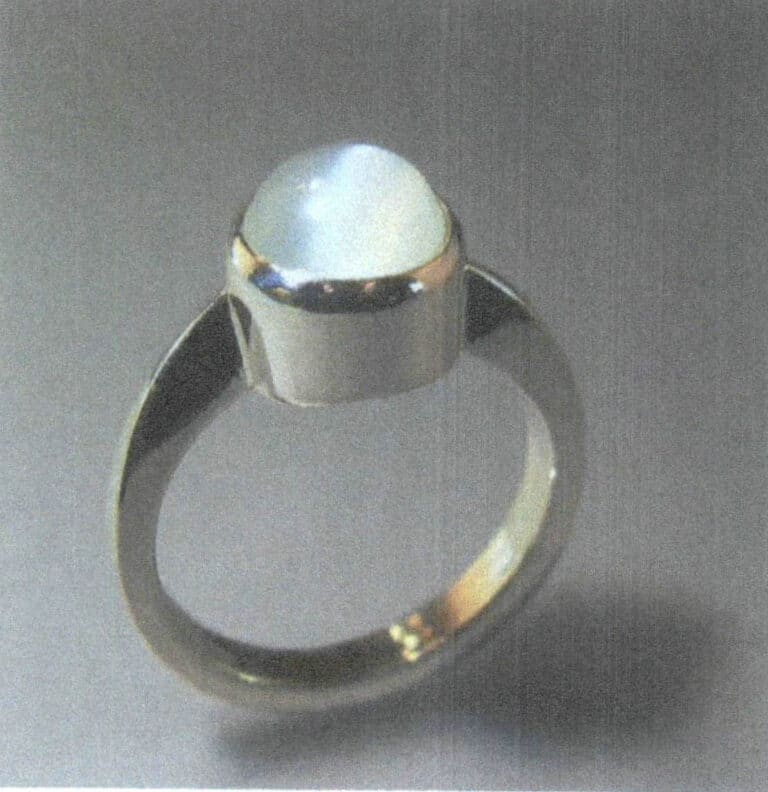
Figure 2-74 Bezel Setting Ring (1)
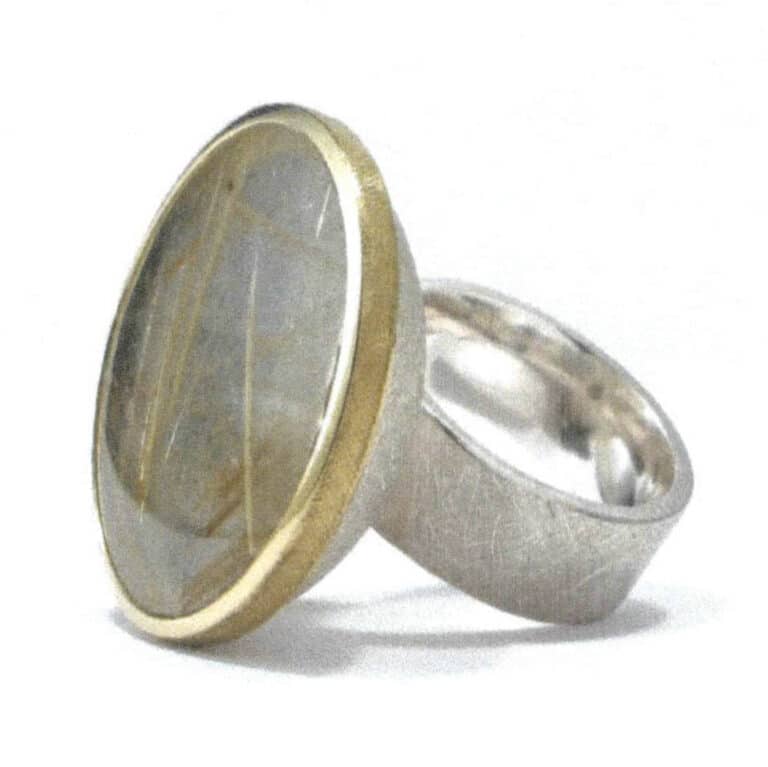
Figure 2-75 Bezel Setting Ring (2)
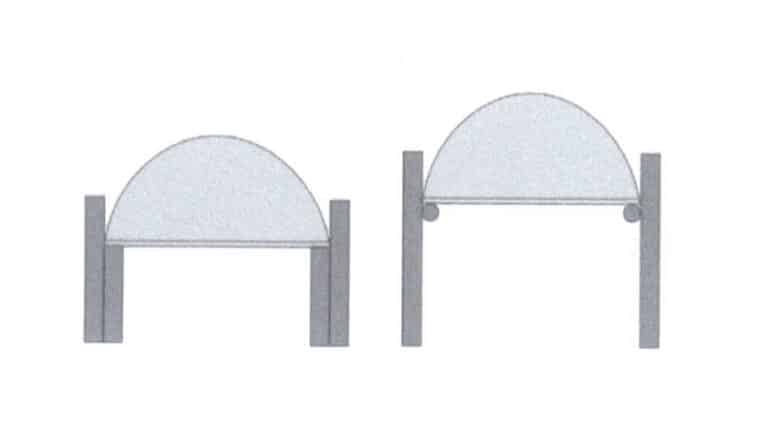
Figure 2-76 Cross-section of inner shoulder bezel setting
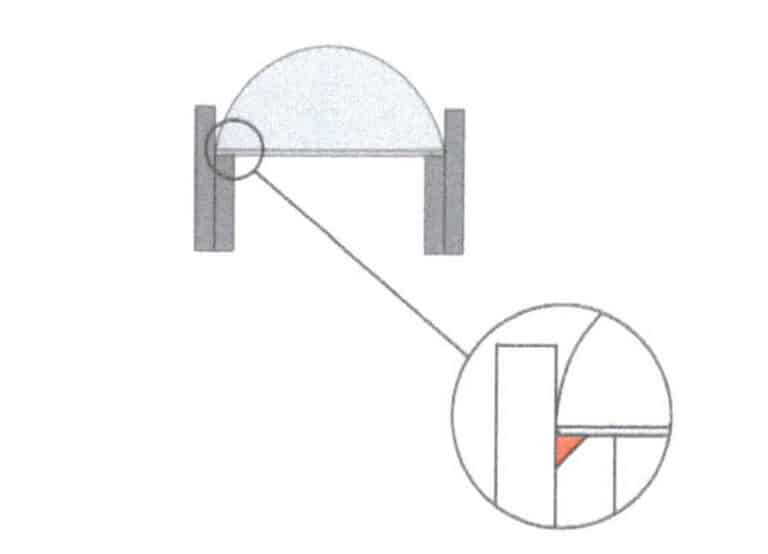
Figure 2-77 Angled treatment of the welding position between the metal edge and the inner metal piece
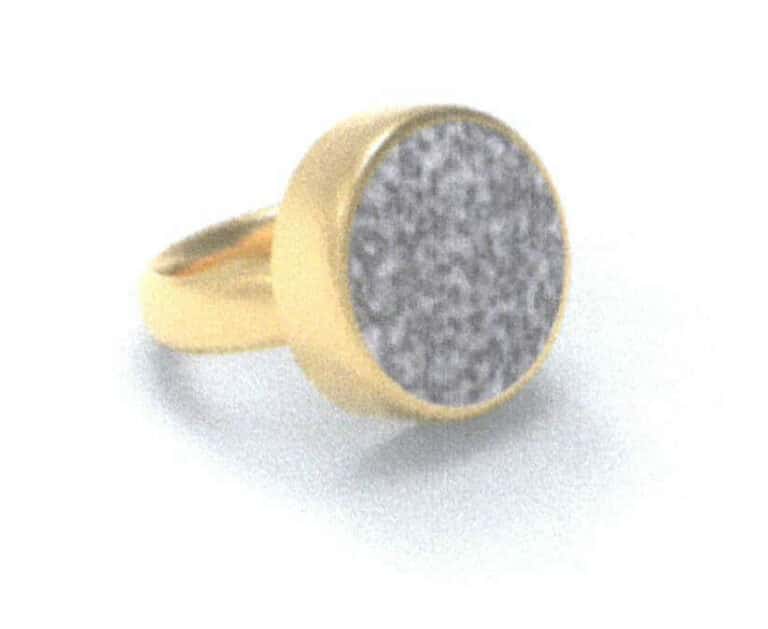
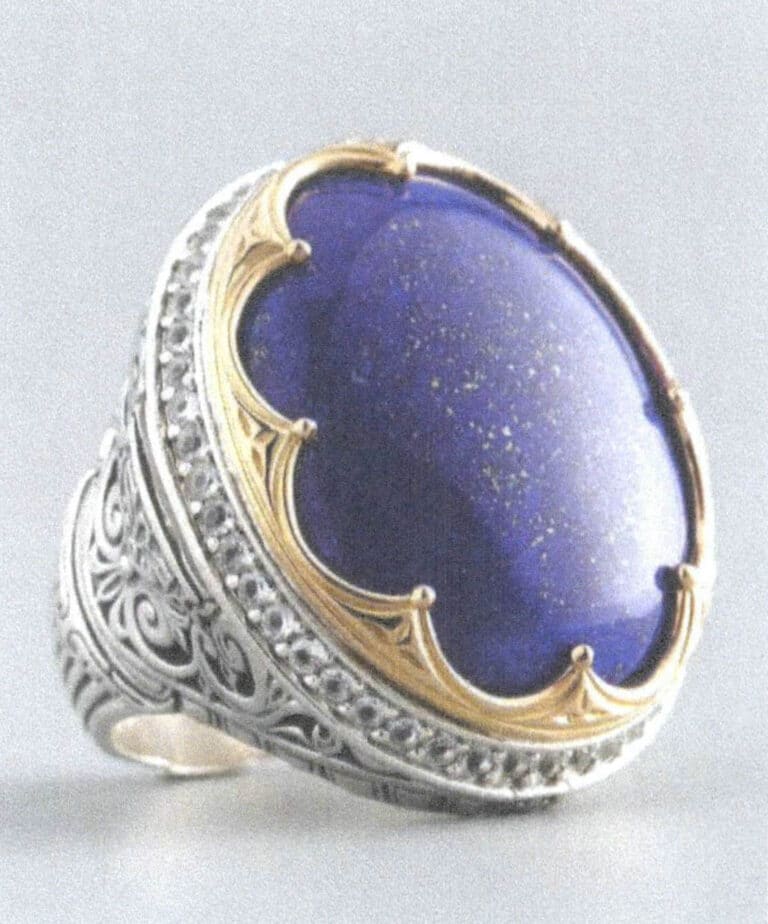
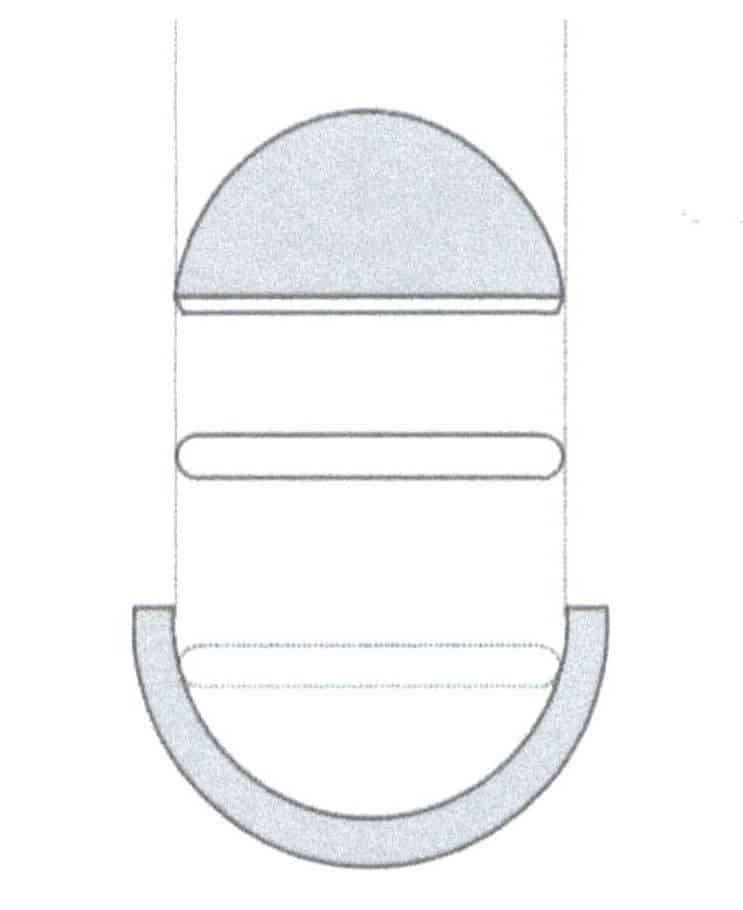
Figure 2-80 Structure diagram of bowl-shaped bezel setting
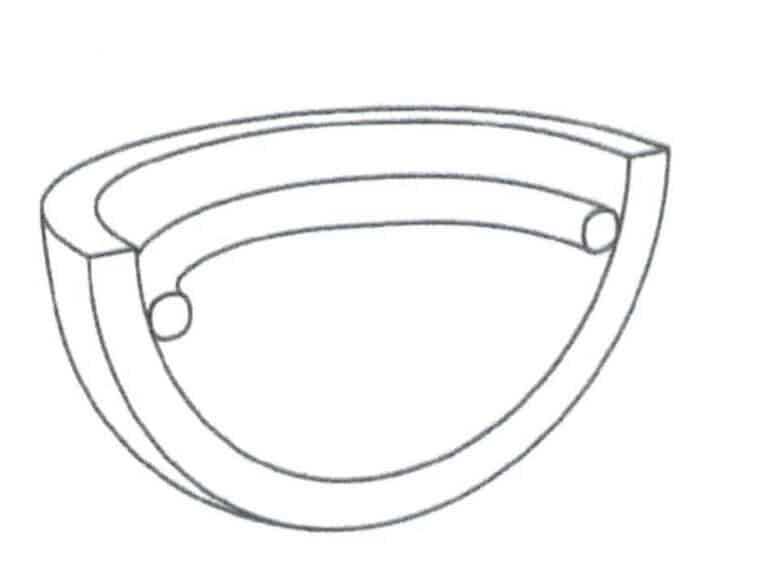
Figure 2-81 Cross-section of a bowl-shaped setting with a metal structure
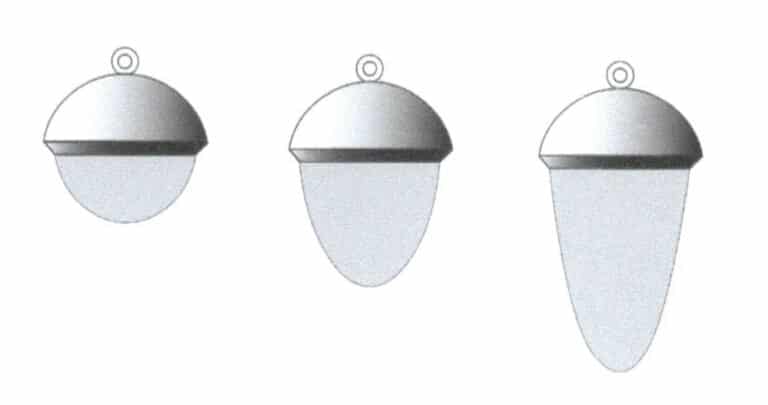
Figure 2-82 Bowl-shaped setting applied to cabochon and tapered gemstones

Figure 2-83 Bowl-shaped bezel setting
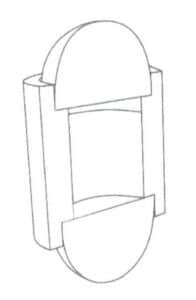
Figure 2-84 Double-headed bezel setting cross-section
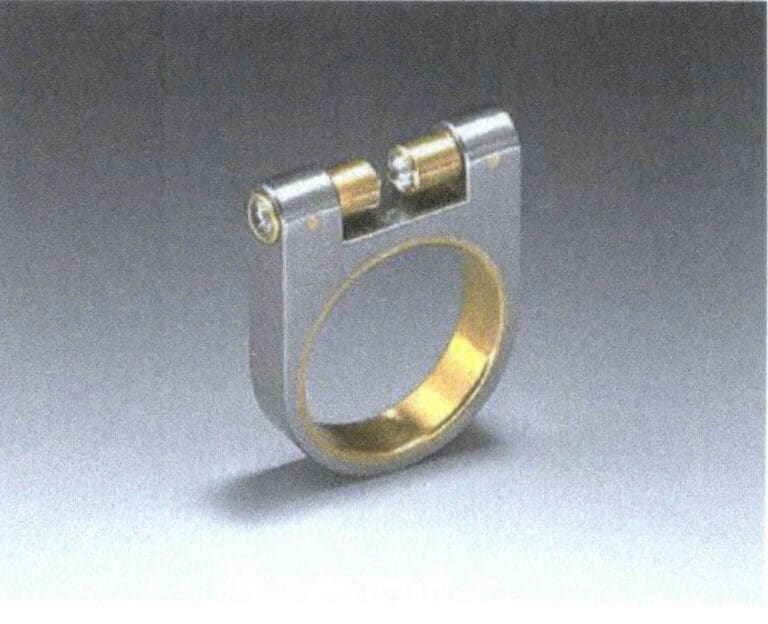
Figure 2-85 Double-headed bezel setting

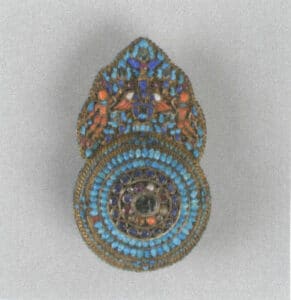
Figure 2-87 17th-19th Century Gold Inlaid with Pearls and Gemstones Round Filigree
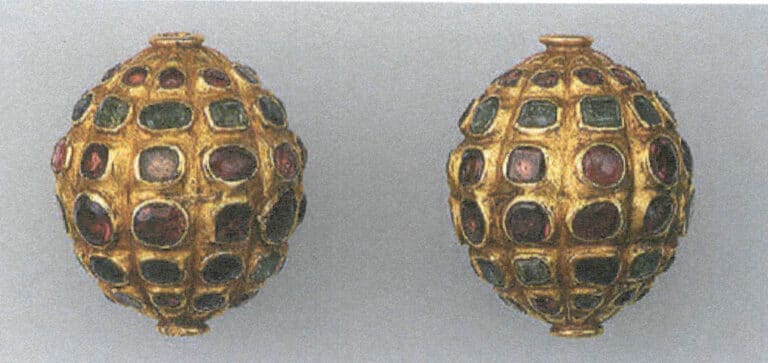
Figure 2-88 18th-century Moroccan bead ornaments
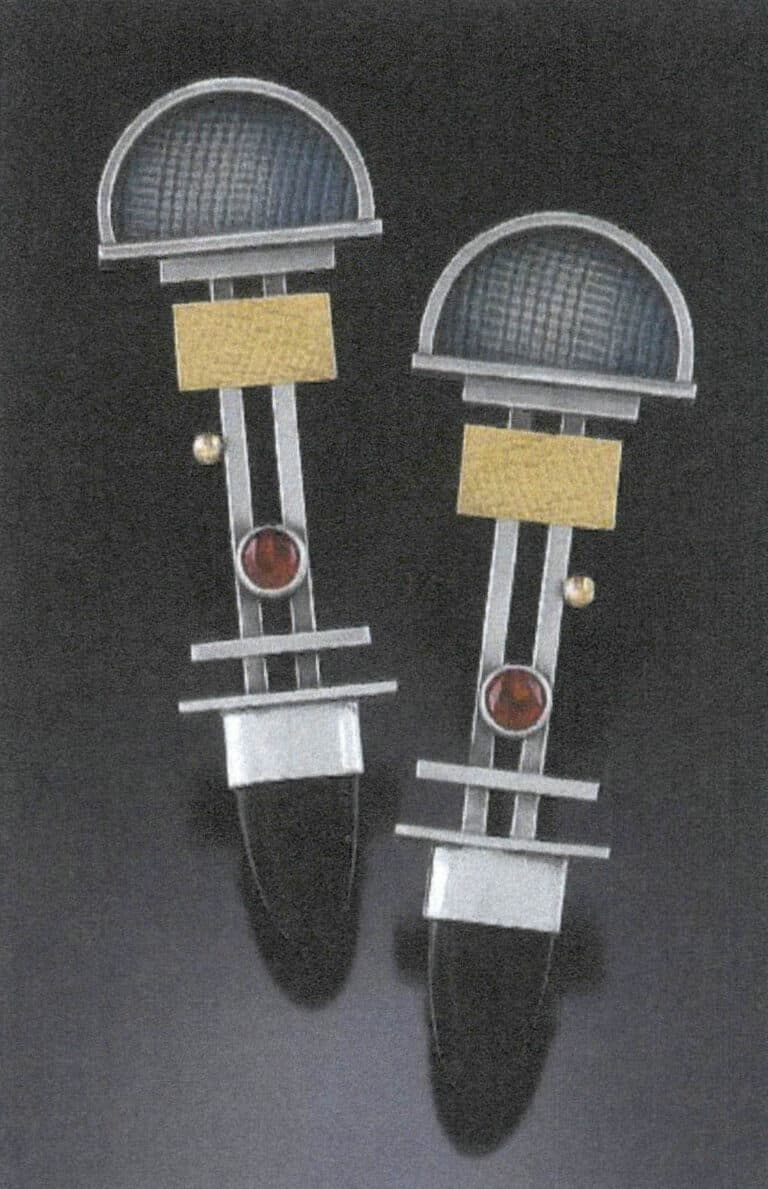
Figure 2-89 Bezel Setting Jewelry (1)
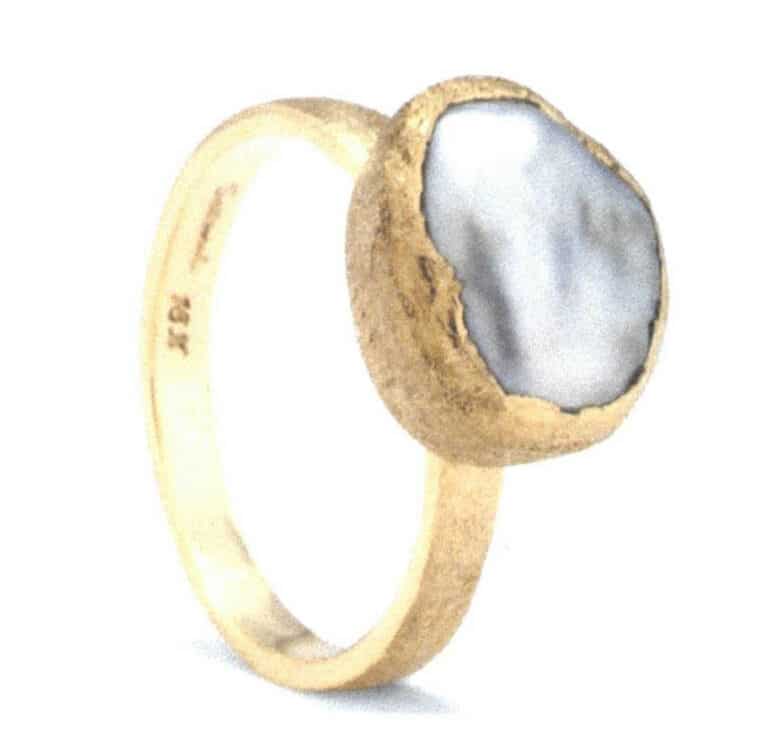
Figure 2-90 Bezel Setting Jewelry (2)
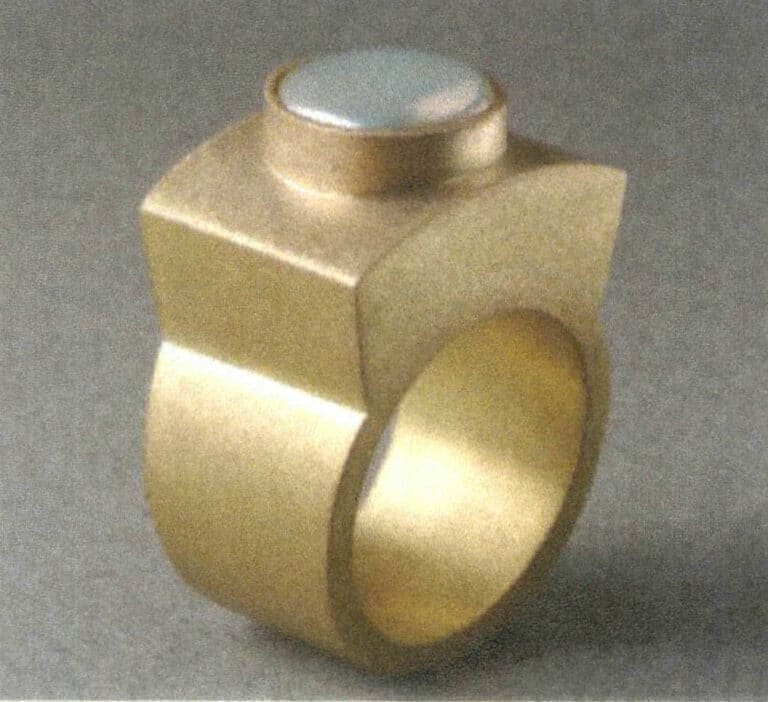
Figure 2-91 Bezel Setting Jewelry (3)
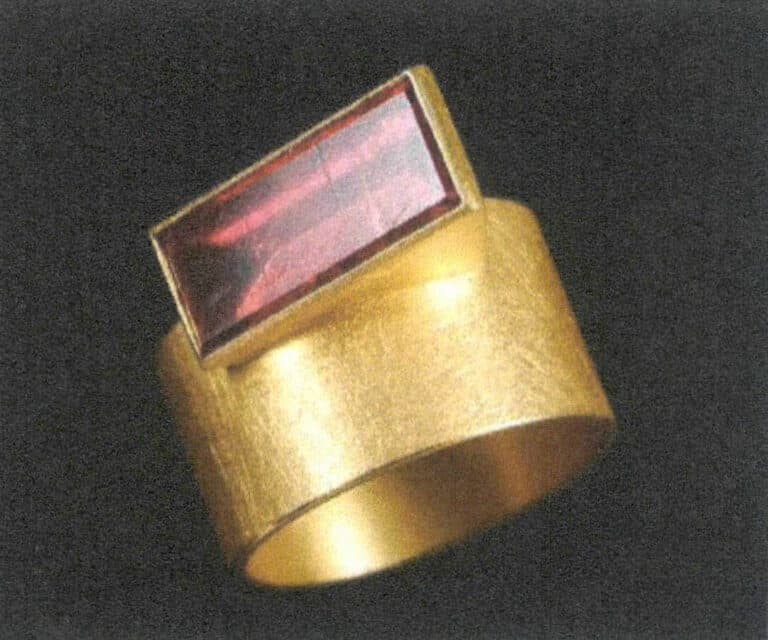
Figure 2-92 Bezel Setting Jewelry (4)