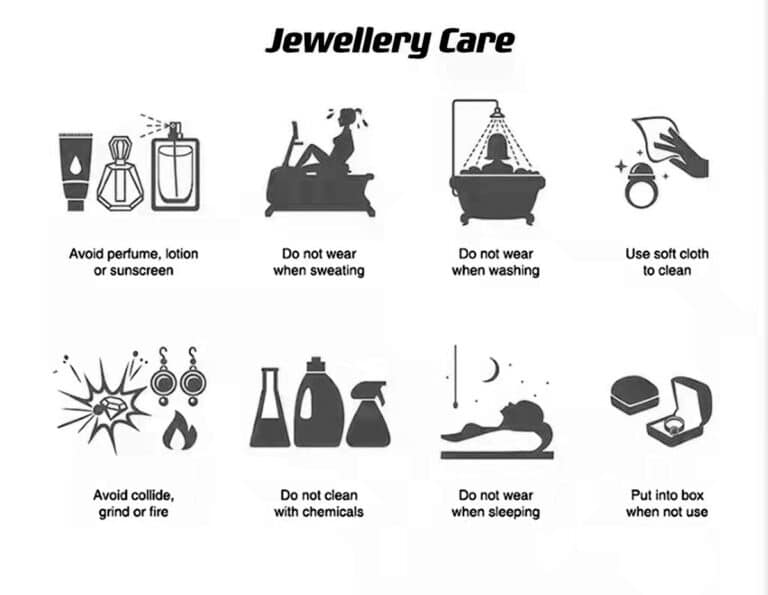
Effect after embossing

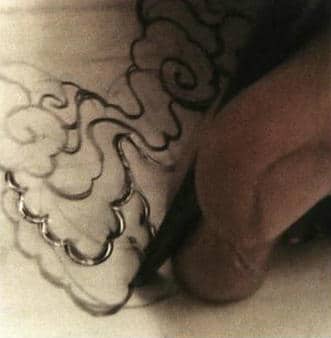
Figure 5-2 Chasing the outer contour of the cloud pattern
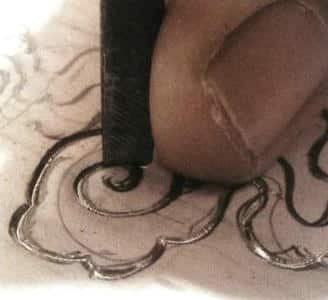
Figure 5-3 Chasing the curled head of the cloud pattern
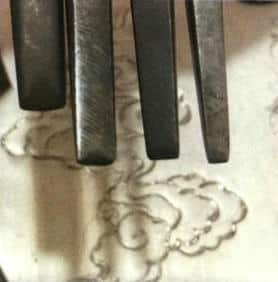
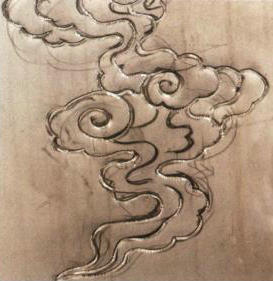
Figure 5-5 Cloud pattern after line chasing (front)
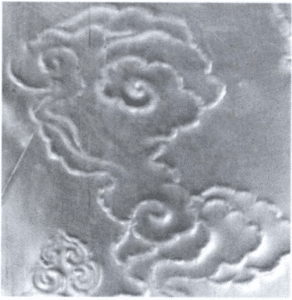
Figure 5-6 Cloud pattern after line chasing (back)
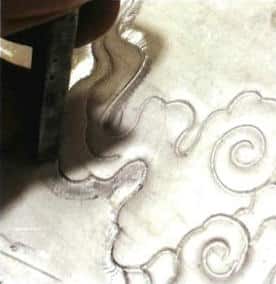
Figure 5-7 Flattening along the outlines with a embossing chisel
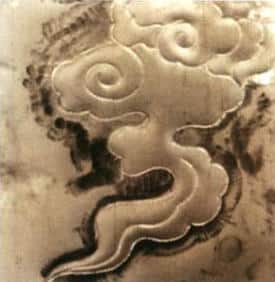
Figure 5-8 Main form is clear
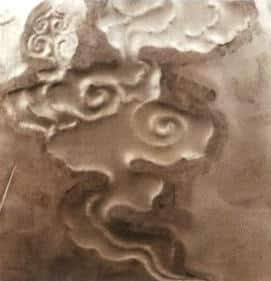
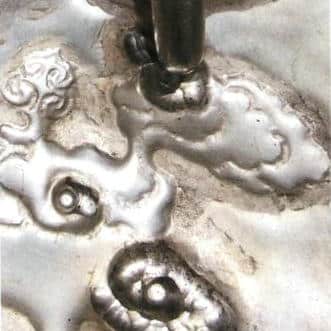
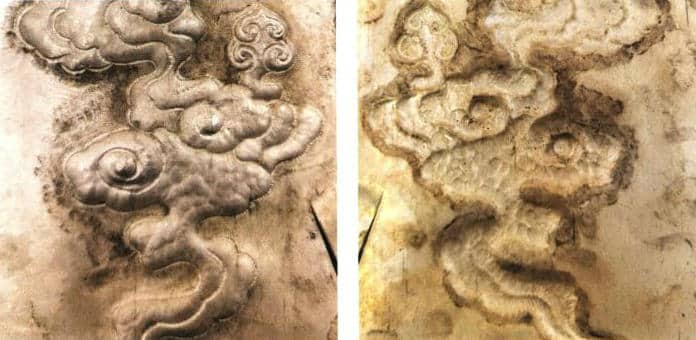
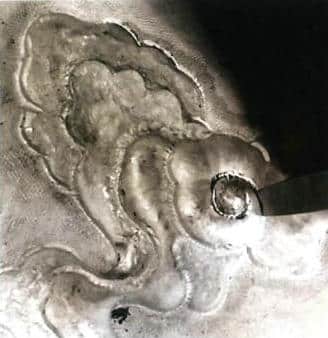
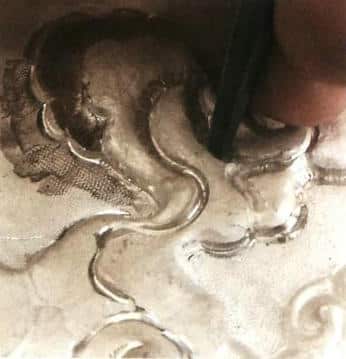
Figure 5-13 Small embossing chisel shaping
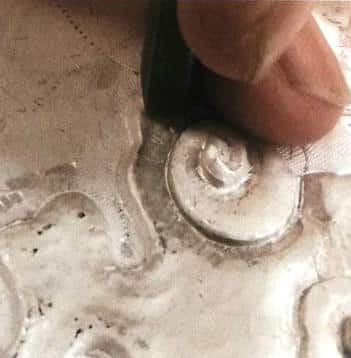
Figure 5-14 Large embossing chisel shaping
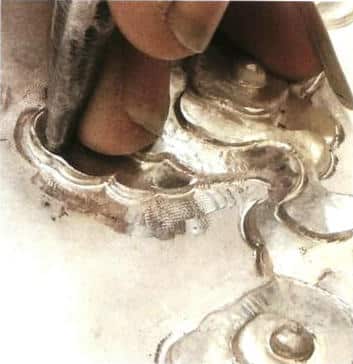
Figure 5-15 Small embossing chisel leveling
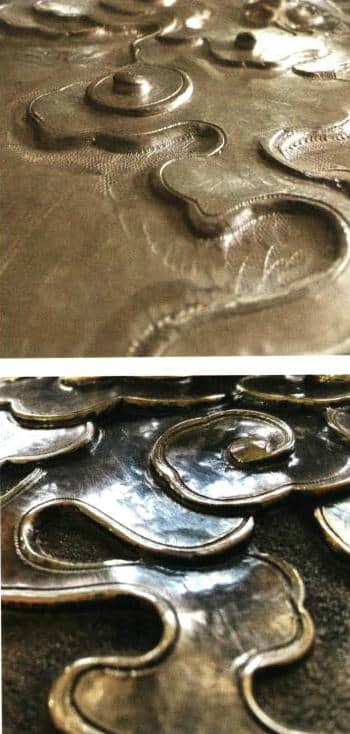
Figure 5-16 Partial cloud pattern
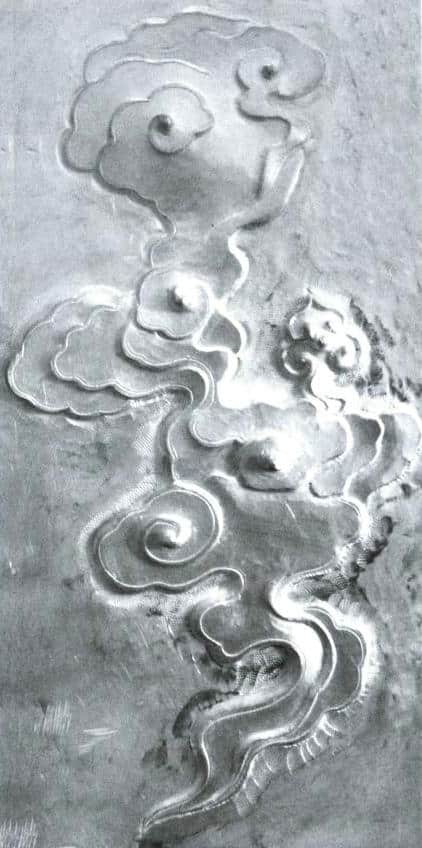
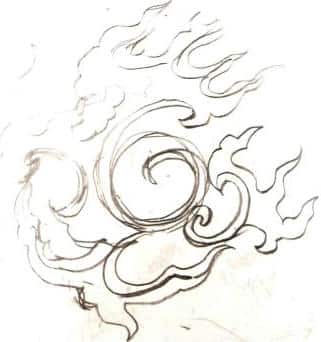
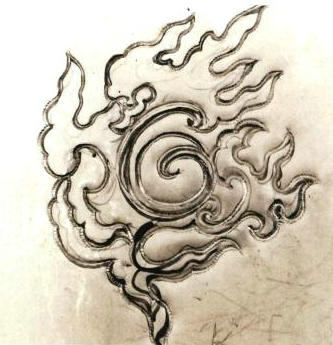
Figure 5-19 Patterning after line chasing
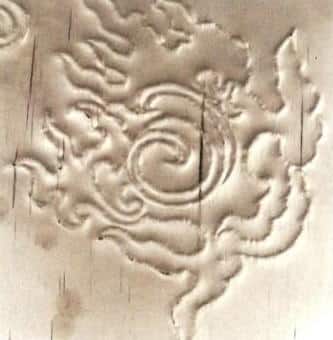
Figure 5-20 Silver piece after line chasing (back)
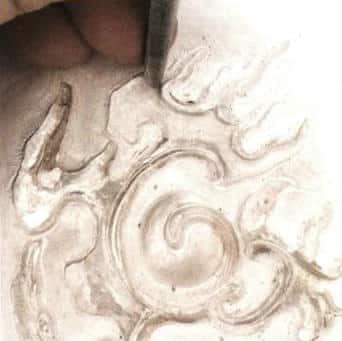
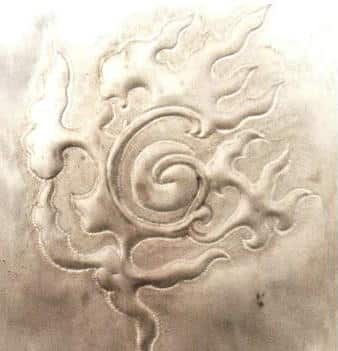
Figure 5-22 Flattening along the outlines (front)
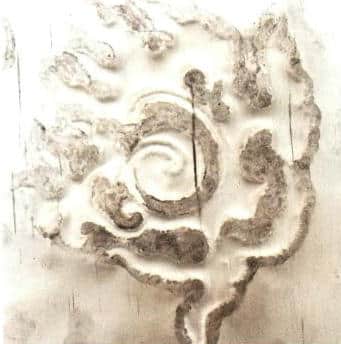
Figure 5-23 Flattening along the outlines (back)
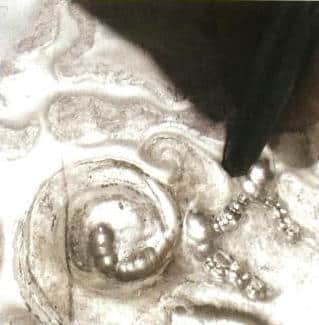
Figure 5-24 Small embossing chisel back punching
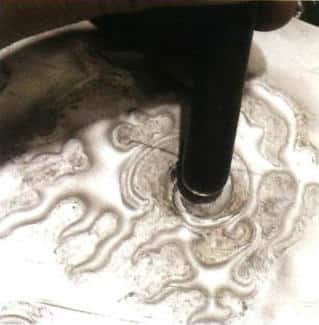
Figure 5-25 Large embossing chisel back punching
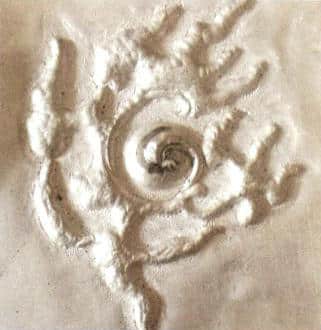
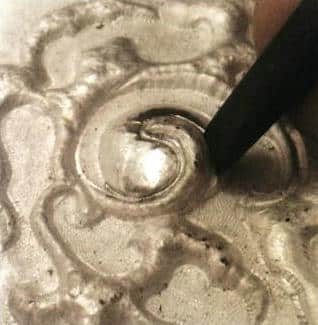
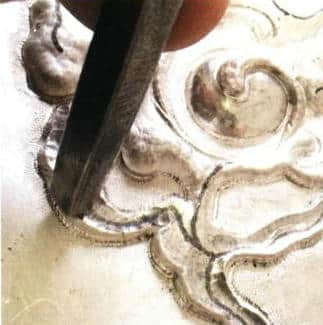
Figure 5-28 Large embossing chisel shaping
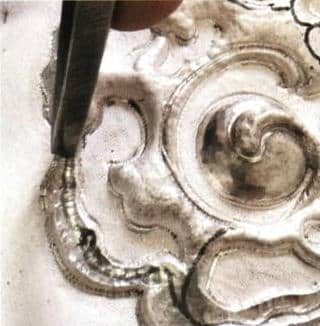
Figure 5-29 Small embossing chisel shaping
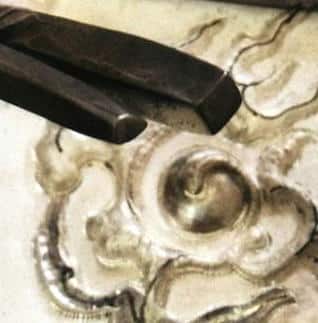
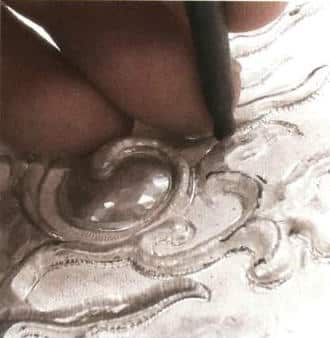
Figure 5-31 Small embossing chisel for embossing
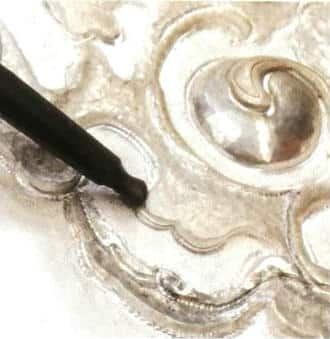
Figure 5-32 Small embossing chisel for trimming
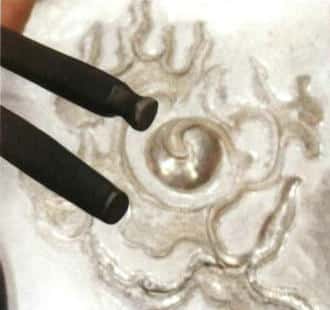
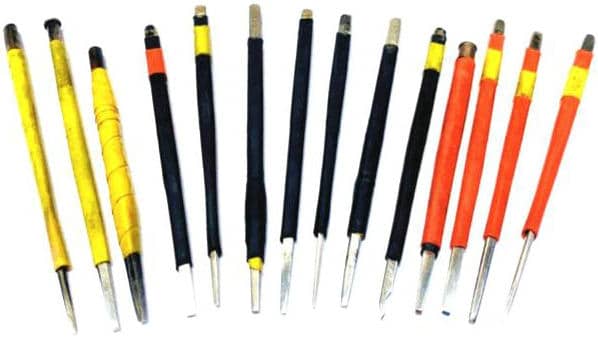
Figure 5-33 Chisels used for embossing and trimming
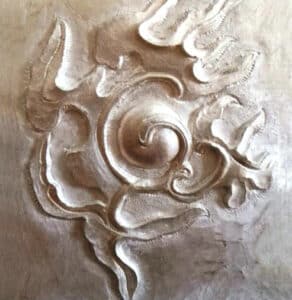
Figure 5-34 Completed flame pattern
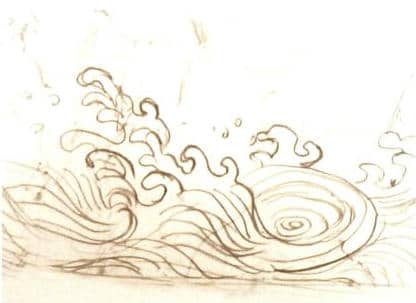
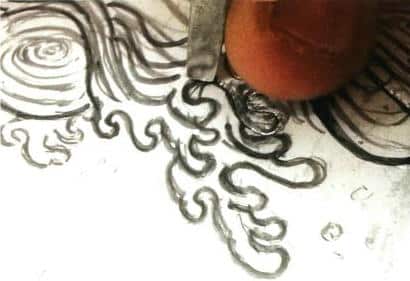
Figure 5-36 Line chasing
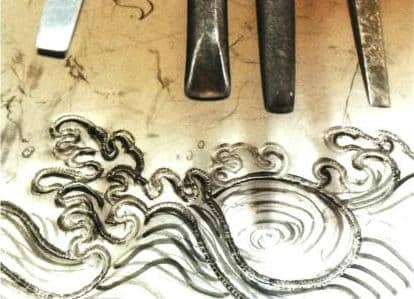
Figure 5-37 Slow chasing
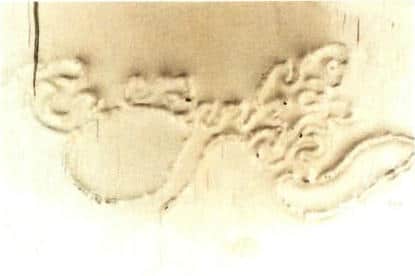
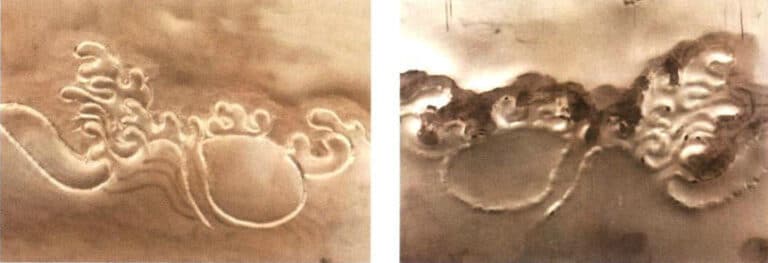
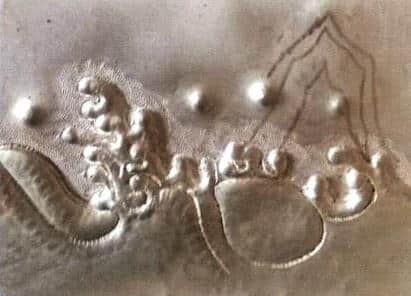
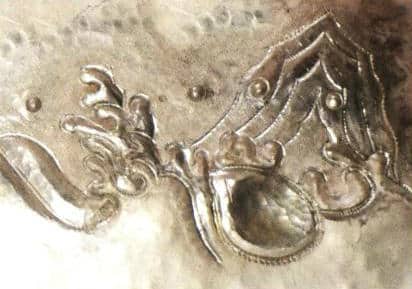
Figure 5-41 Front large line chasing
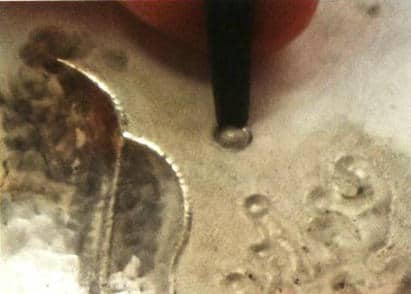
Figure 5-42 Water droplet line chasing
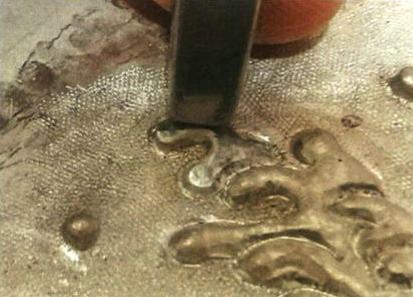
Figure 5-43 Small embossing chisel chasing water splashes
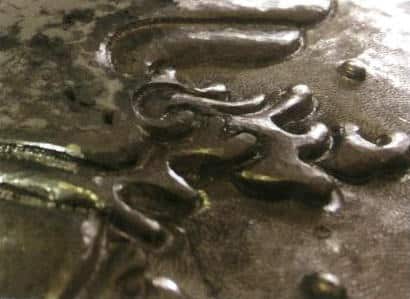
Figure 5-44 Effect after embossing sea wave water splashes
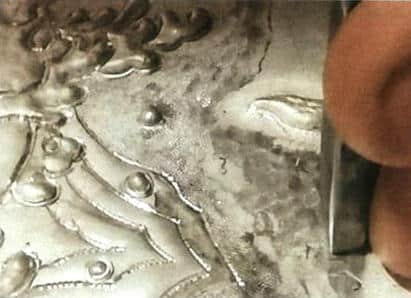
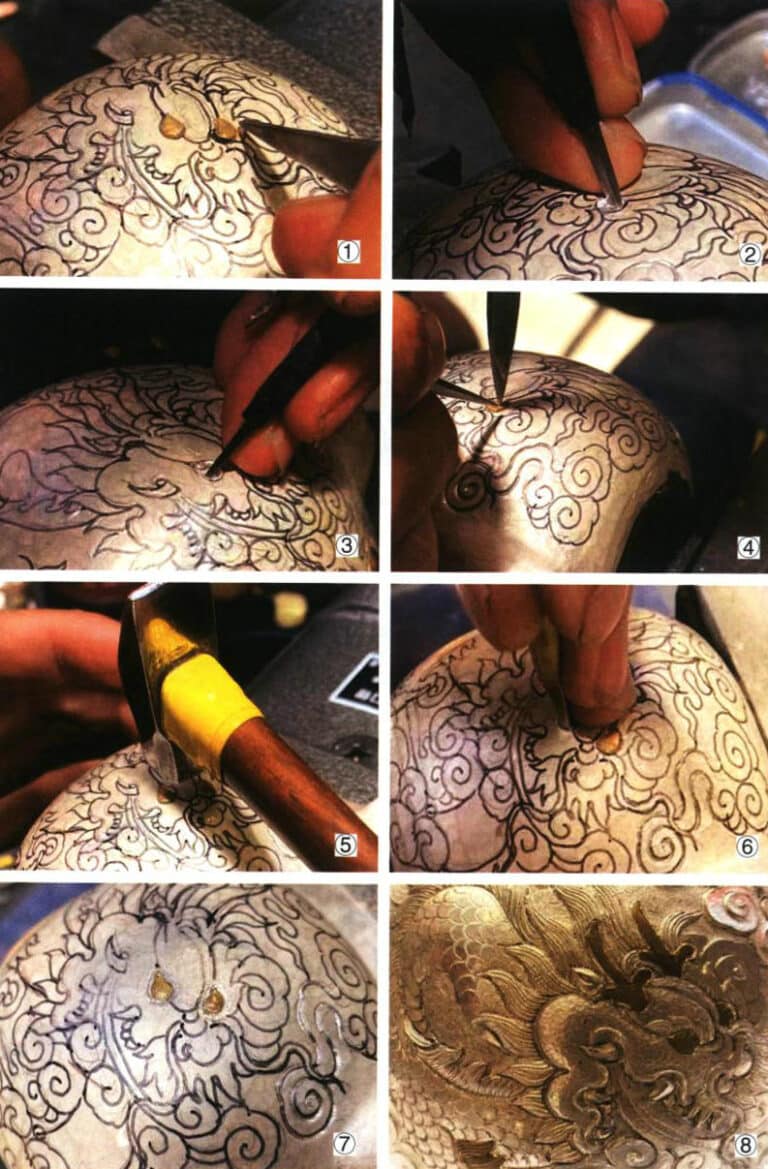
Figure 5-45 Using a square embossing chisel to chase the shape starting from the base layer
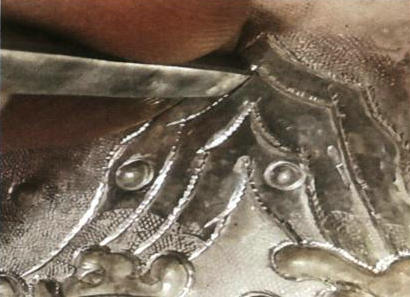
Figure 5-46 Using a square embossing chisel to stamp the mountain shape upward
Figure 5-47 Embossing chisel shaping water whirl patterns
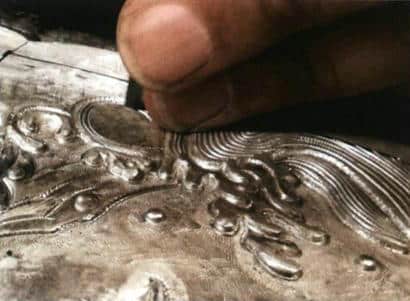
Figure 5-48 Quick chisel embossing water patterns
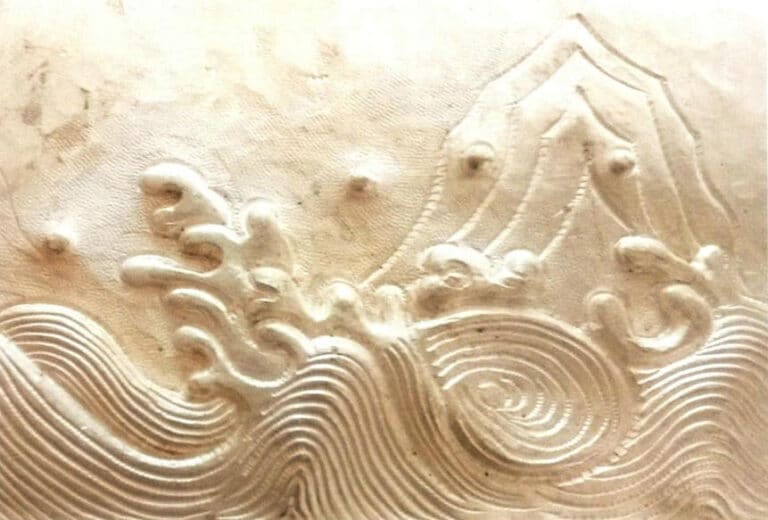
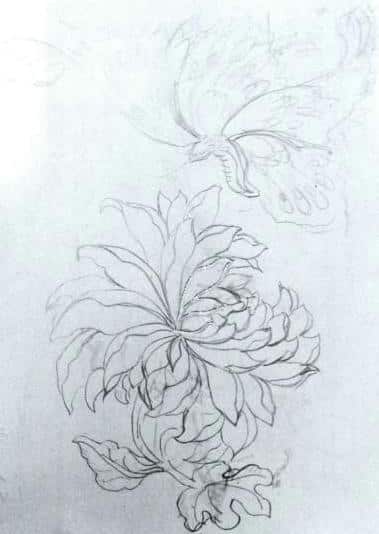
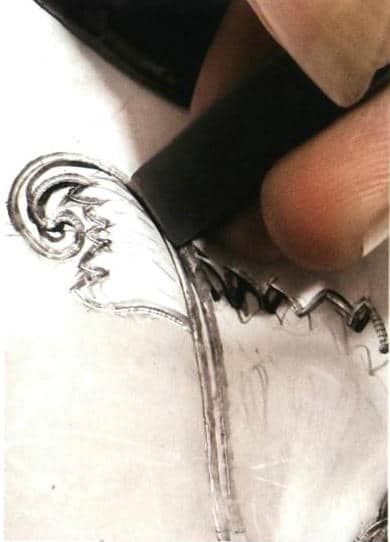
Figure 5–51 Partial view of the line chasing
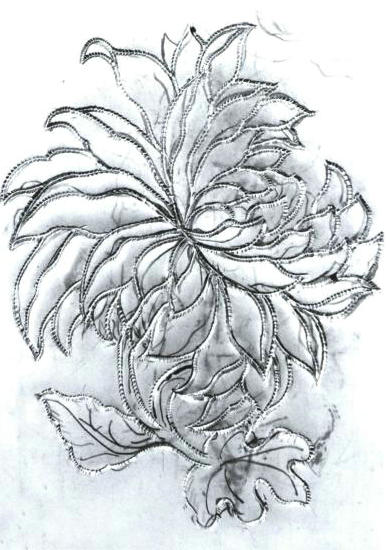
Figure 5–52 Completed flower line chasing
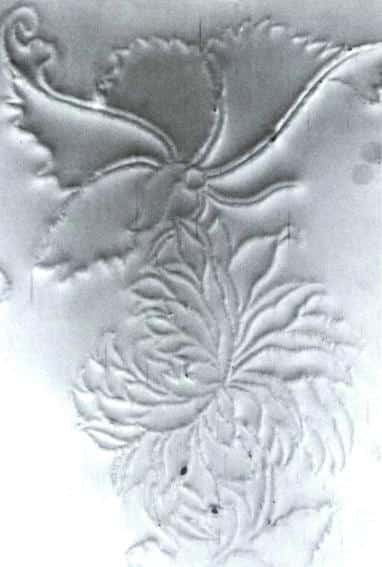
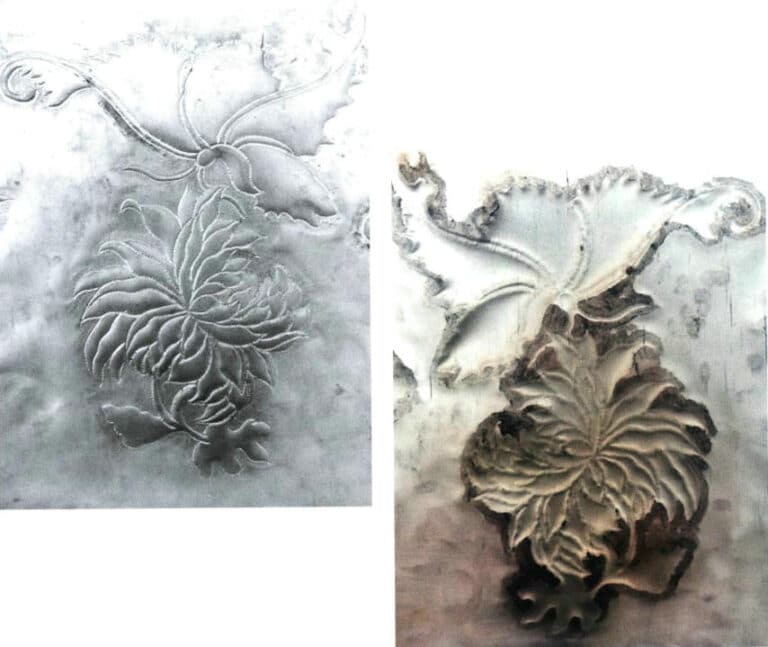
Figure 5-55 Punching from the reverse
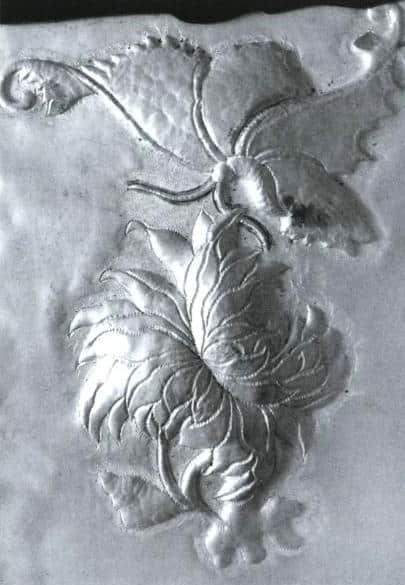
Figure 5-56 Major outlining on the front
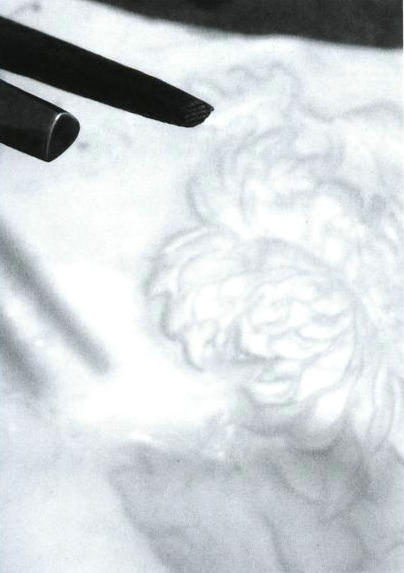
Figure 5-57 Chisel used for flattening surfaces
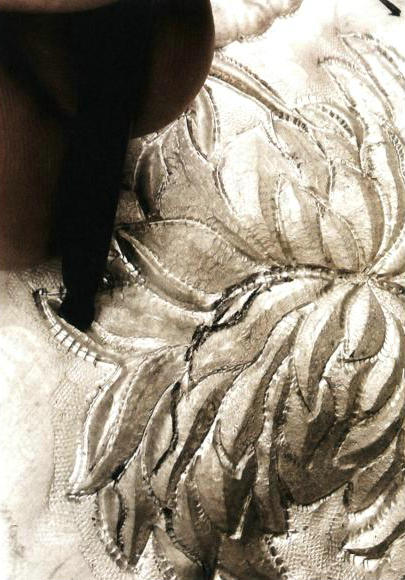
Figure 5-58 Detail relief chasing
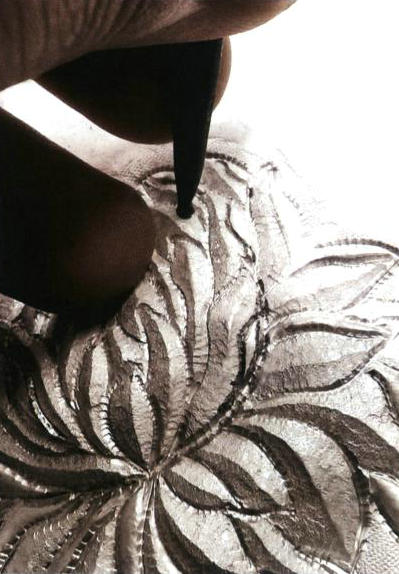
Figure 5-59 Small embossing chisel for embossing
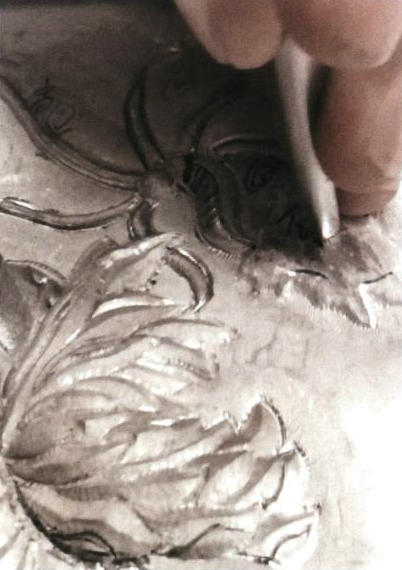
Figure 5–60 Large embossing chisel for shaping
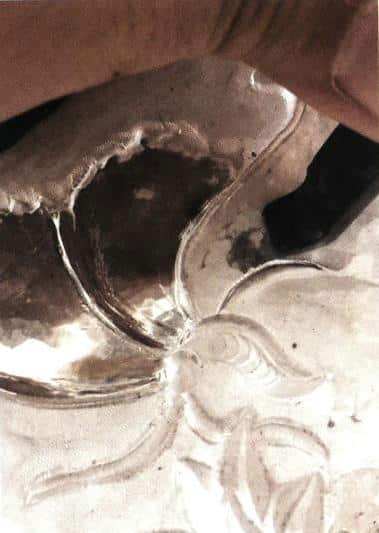
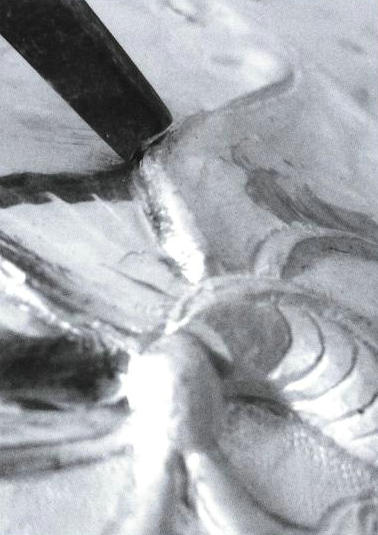
Figure 5-62 Irregular-shaped chisel embossing
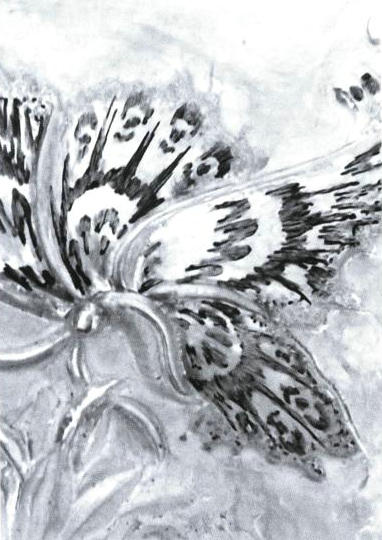
Figure 5-63 Line chisel embossing
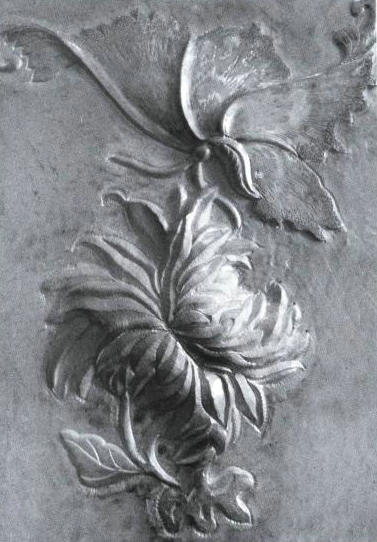
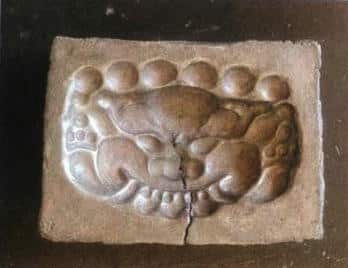
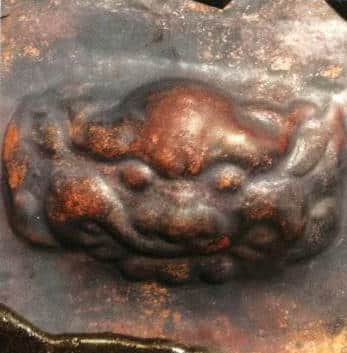
Figure 5-66 Stamping Die
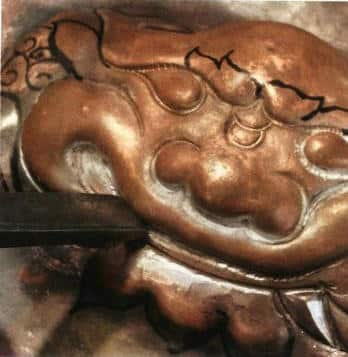
Figure 5-67 Large line chisel outlining
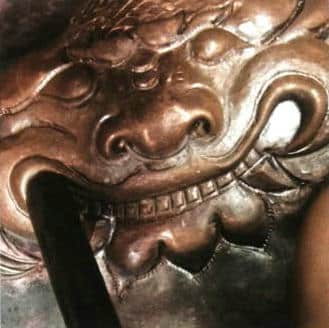
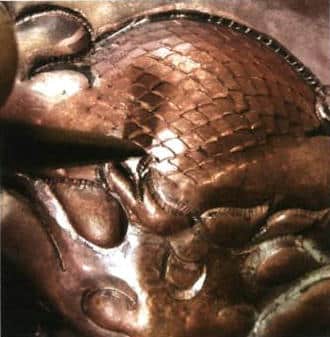
Figure 5-69 Scale-pattern chisel embossing
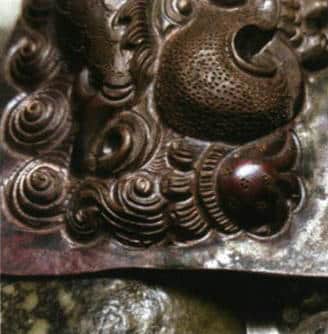
Figure 5-70 Lion facial details
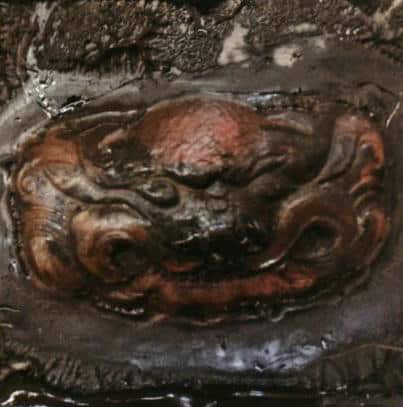
Figure 5-71 Copper sheet waiting for adhesive removal
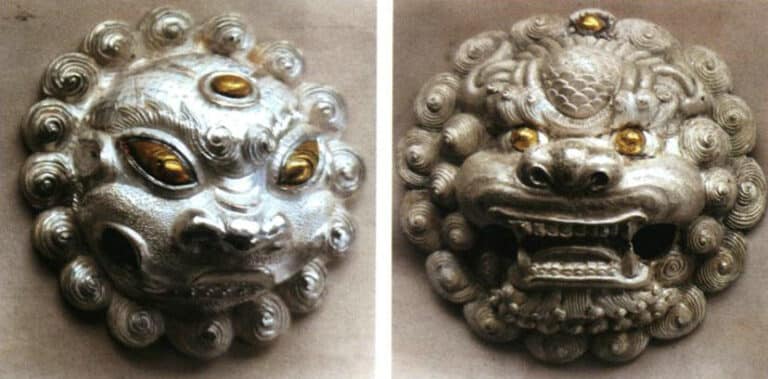
Figure 5-72 Other lion patterns

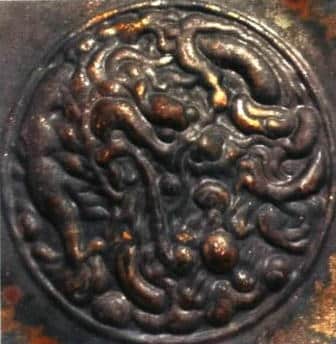
Figure 5-74 Stamping plate
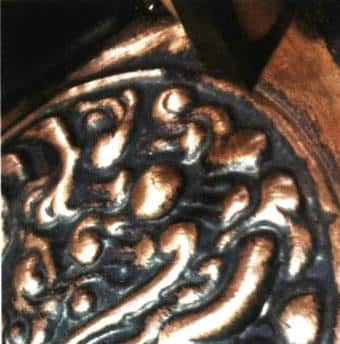
Figure 5-75 Large-line chisel line chasing
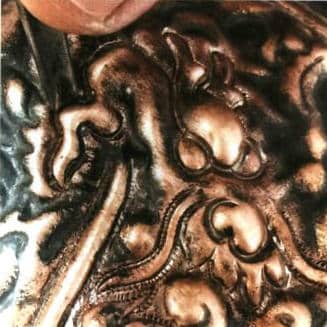
Figure 5-76 Line chasing with small line chisel
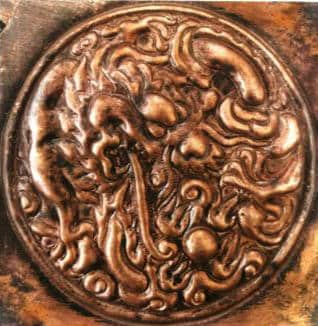
Figure 5-77 Completed line chasing
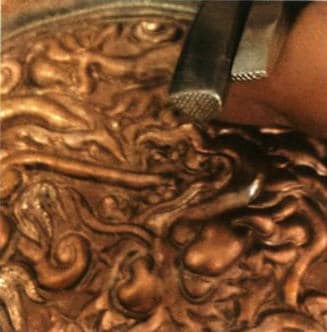
Figure 5-78 Dot-pattern chisel
Figure 5-79 Effect after embossing
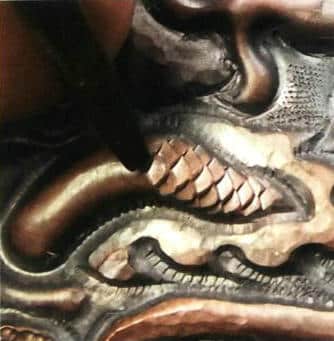
Figure 5-80 Chasing dragon scales with scale-pattern chisel
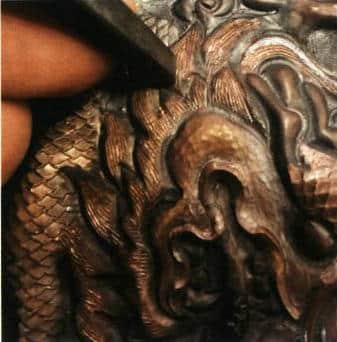
Figure 5-81 Three-line chisel embossing
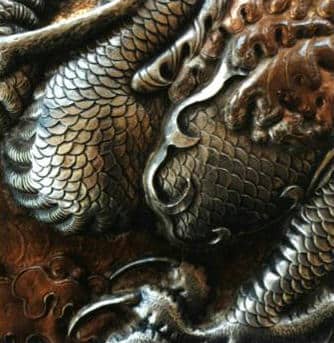
Figure 5-82 Close-up view of completed embossing
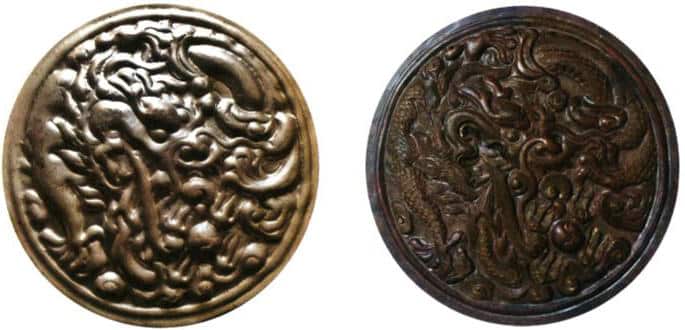
Figure 5-83 Effect illustrations of the stamp plate before and after chasing
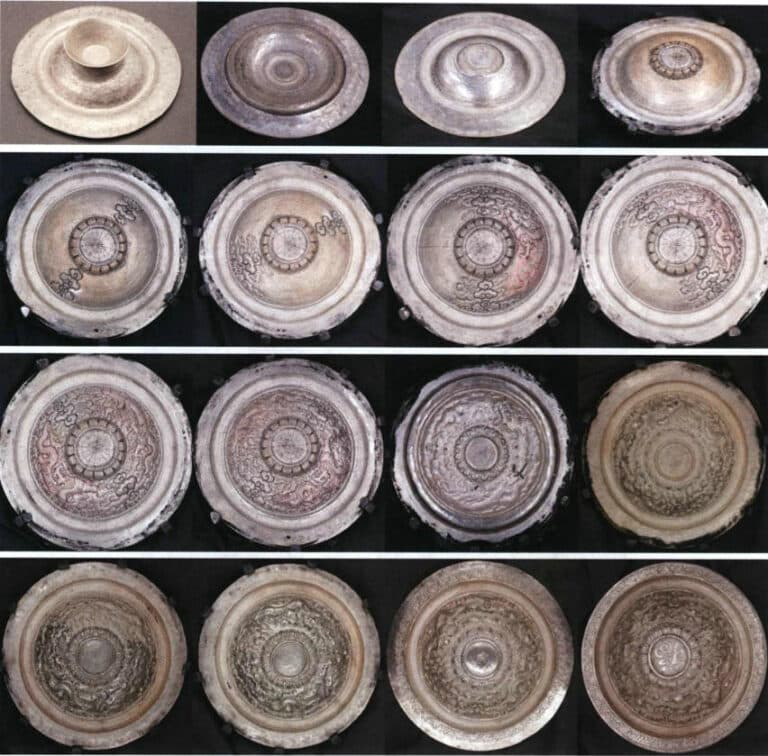
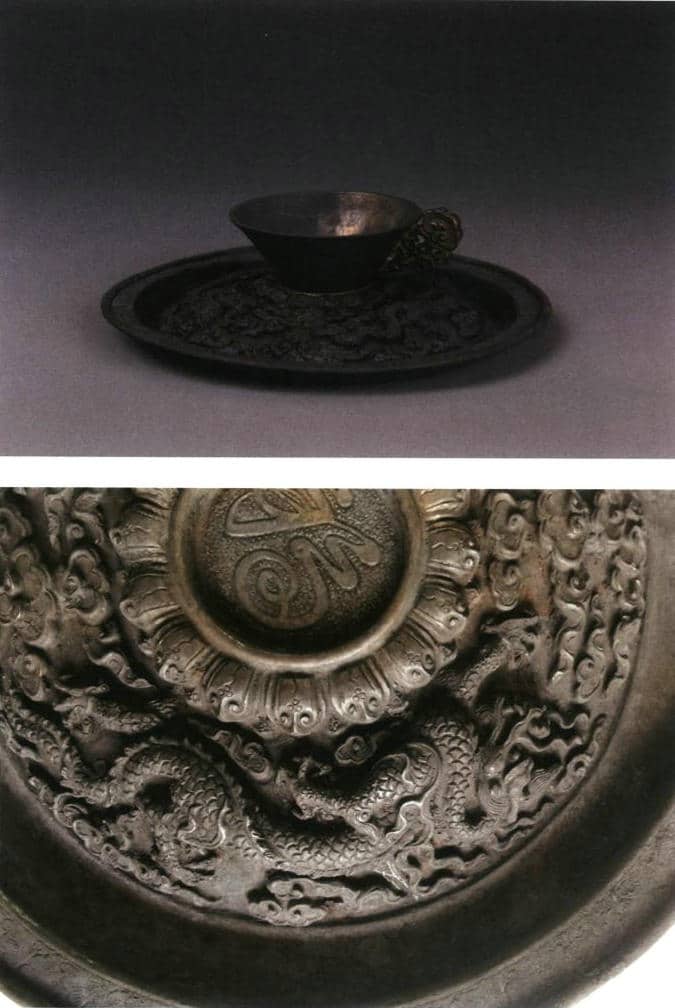
Figure 5–84 Process of making a dragon basin cup
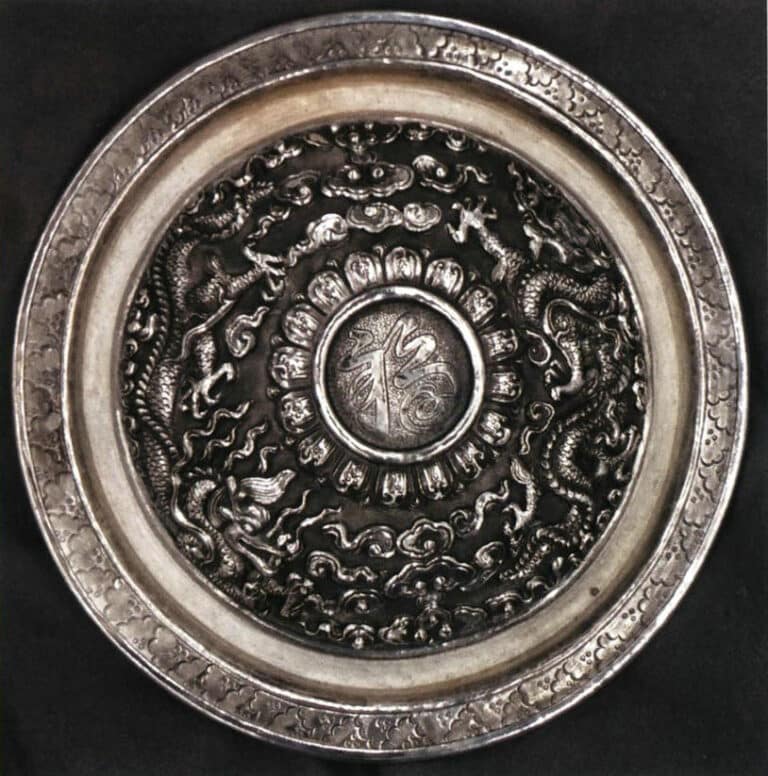
Figure 5–85 Antique-style dragon basin